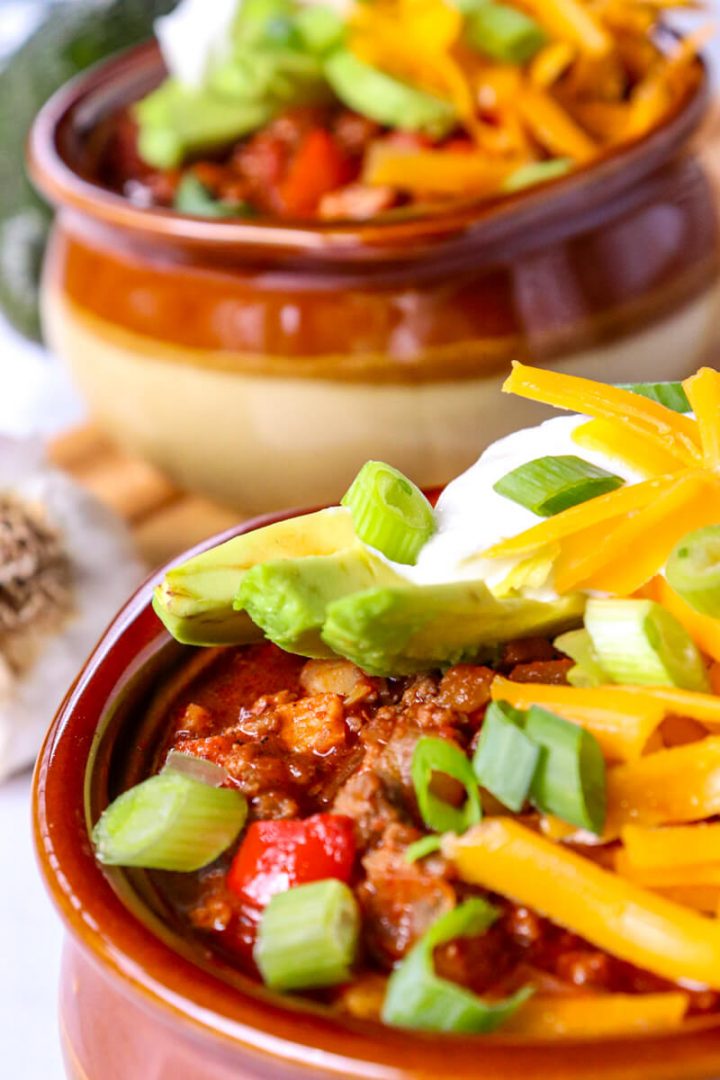
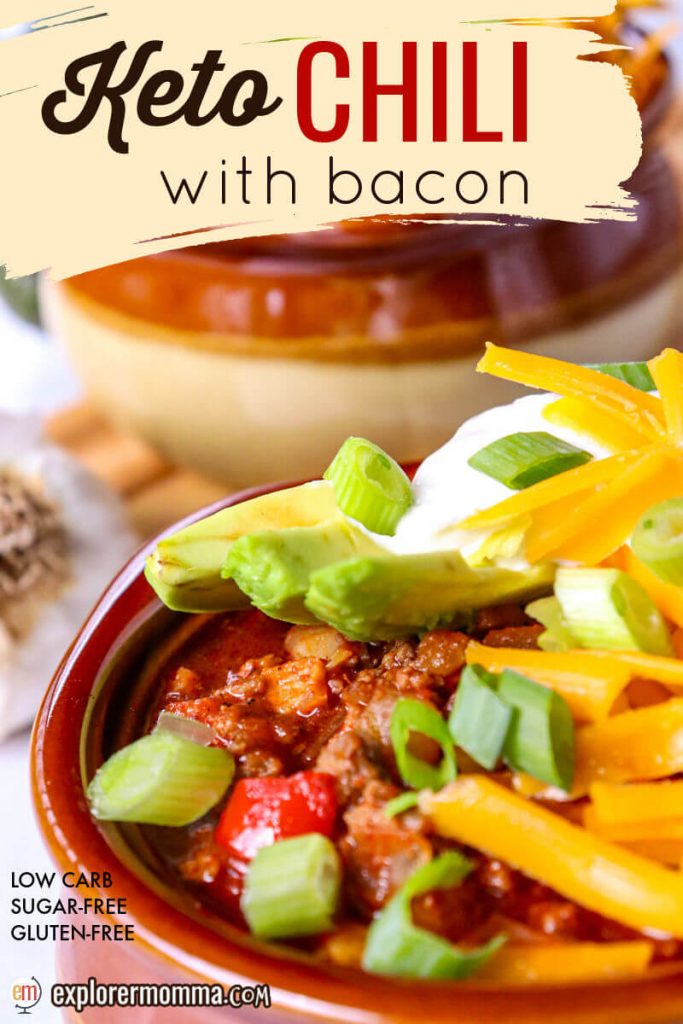
Delicious and comforting, this is the best keto chili recipe with a fabulous secret ingredient, bacon! Well, maybe not so secret. It's a classic keto chili con carne and delicious cold-weather low carb dinner easy to make on the stove, slow cooker, or pressure cooker.
This post may include Amazon links. As an Amazon Associate, I earn from qualifying purchases.
Scroll down to the bottom of the page for the recipe card with ingredient amounts and printable recipe to make it NOW or PIN it here for later!
Once there's a chill in the air and I'm back to wearing sweaters and fleece vests, I love to eat and drink hot food. There's just something incredibly comforting about wrapping your hands around a mug of tea or a bowl of soup. Then feel the heat going down to warm you from the inside out!
Traditional chili has long been a favorite dinner of mine. It's classic, comforting, and perfect to fill you up on a snowy day.
In fact, when I was in elementary school, I always looked forward to chili day. Almost everyone in the school would select hot lunch on that wonderful day when we were served chili with an ooey-gooey cinnamon roll.
The BEST!
Yes, there was something special about the pairing of a homemade cinnamon roll with chili to make a kid's mouth water. It did wonders for our moods on those days. Also significant to point out, the parents joined in this glorious tradition for our annual chili and cinnamon roll fundraiser dinner.
I didn't hear many complaints.
Now, I still love my chili (and keto cinnamon rolls). I just make it a bit differently. Let me tell you, it's absolutely as delicious as I remember, and maybe a little more.
So let's get to it. How do you make keto chili with bacon 🥓?
🍽 Equipment for keto chili con carne
- stockpot or Dutch oven (or a slow cooker or pressure cooker such as an Instant Pot)
- measuring cups and spoons
- a spatula or large spoon
- whisk or fork
- knife and cutting board
- ladle
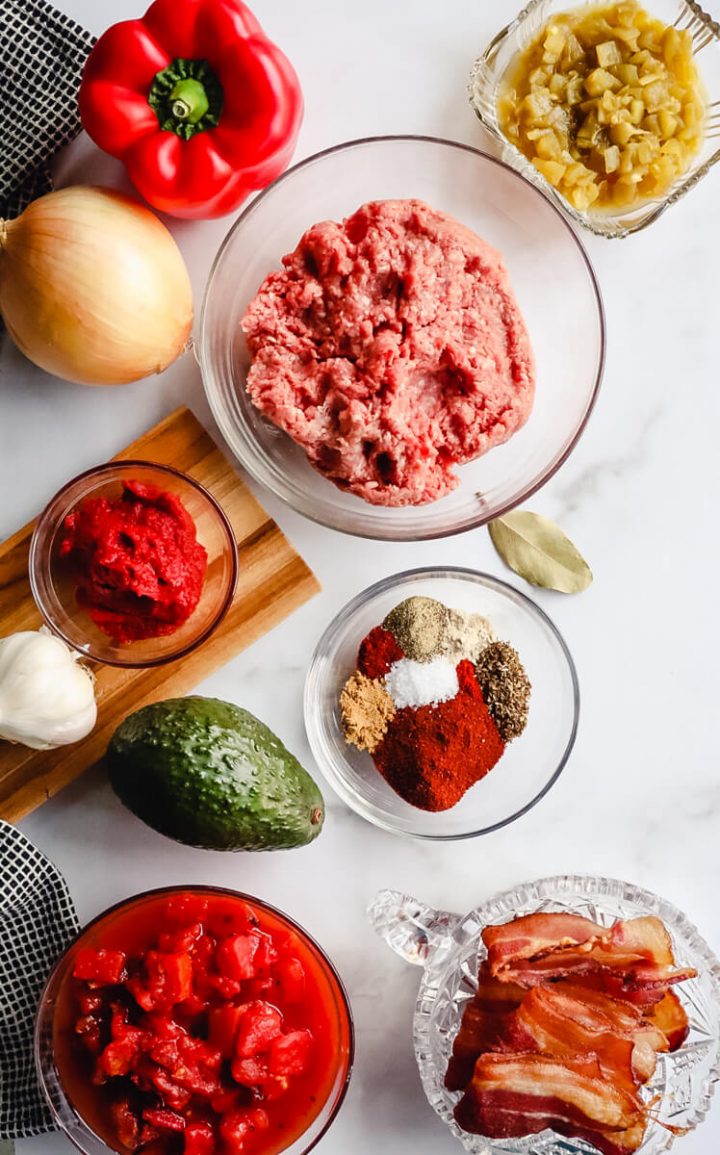
🥘 Ingredients in low carb chili
- bacon
- ground beef
- red or green bell pepper, chopped
- chopped onion
- garlic
- beef bone broth
- fire-roasted tomatoes
- tomato paste
- chopped green chilis (canned or roasted)
- chili powder
- cumin
- onion powder
- cayenne pepper
- oregano
- smoked paprika
- bay leaf
- salt
- black pepper
- brown sweetener (or any sweetener, optional)
- Worchestershire sauce (optional)
- preferred toppings
Don't you love good quality ingredients? Fresh from the farm, from your own backyard, or organic from a trusted grocery store.
I say this a lot, and my daughter may roll her eyes at times. However, be picky with ingredients and take the time to research what goes in your mouth.
I can almost guarantee fresher and better quality ingredients will taste better and make you feel better too!
🔪 Instructions
There are several different ways to cook chili, and while I've made it on the stovetop for years, the pressure cooker method is fairly new to me. I am now a huge proponent of the Ninja Foodi (or Instant Pot) as it's so easy! I love the quick prep and easy cleanup.
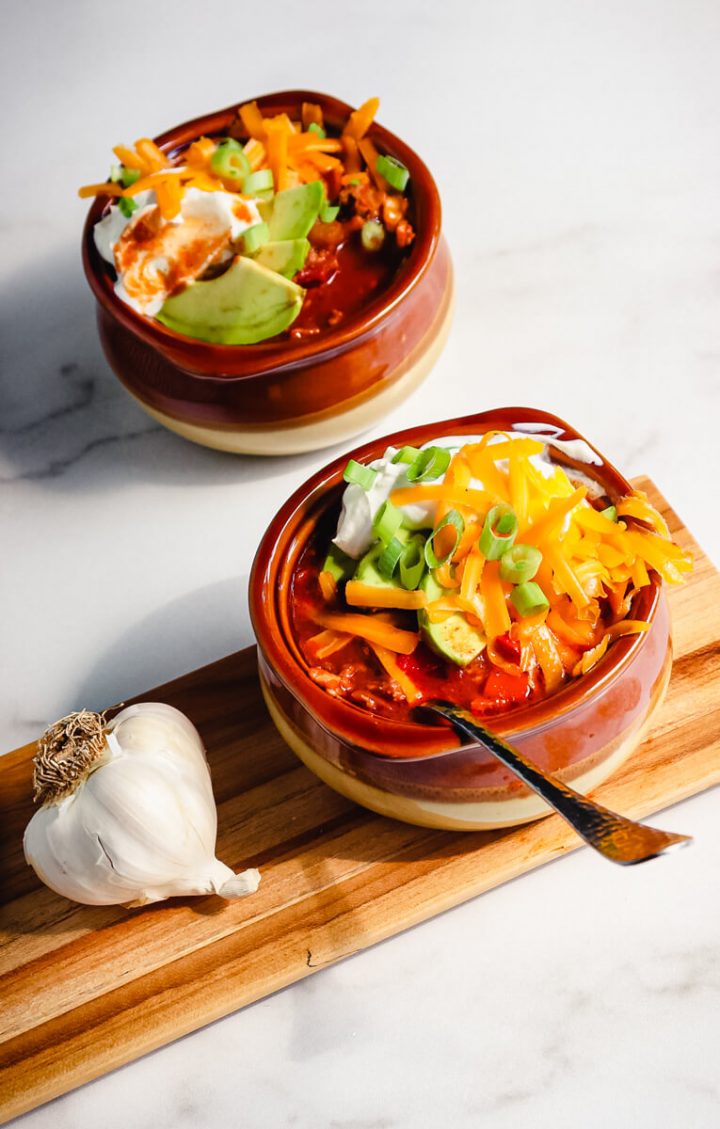
Stovetop - how to make a keto chili con carne recipe
The first version, the traditional stovetop method always works, and it's my favorite method when it's really cold out. Why? It heats the kitchen up and fills the room with warm, comforting chili smells.
To begin, get out all the equipment and ingredients. First, cook the bacon until crisp in a Dutch oven. Chop it into small pieces and retain two tablespoons of the melted bacon fat.
For now, set aside the bacon.
In the same pan with the bacon fat, cook the ground beef, chopped onions, bell pepper, and garlic on medium-high heat. This should take four to five minutes or until the beef has browned and the veggies begin to soften. Drain the excess fat.
Next, pour in the beef bone broth and bring it to a boil. Then turn the heat down to simmer.
After that, add in the green chilis, tomatoes, bacon, and tomato paste. Whisk the tomato paste so that it's evenly distributed.
Then measure in the chili powder, cumin, onion powder, cayenne, oregano, smoked paprika, salt, and pepper. Stir it all together well and add the bay leaf.
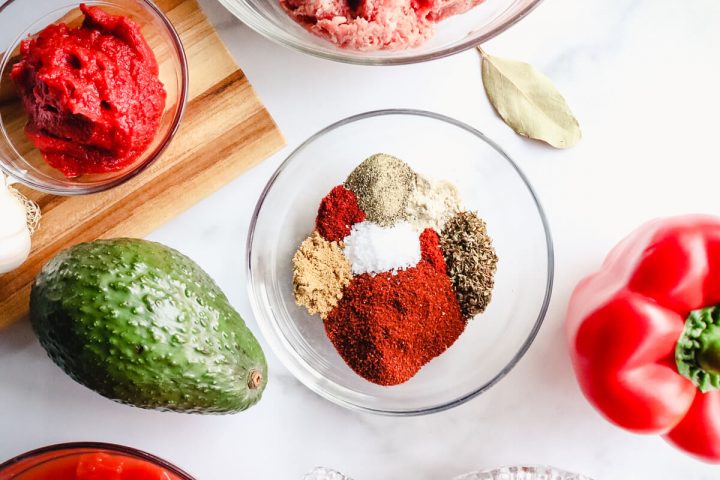
Note: Some people like the traditional sweetness, and I suggest a brown sweetener such as Brown Swerve. However, it can be completely left out if that's preferred, or use any other desired sweetener.
Personally, I like to add the brown sweetener and Worchestershire sauce, but they are both optional. There is not enough of the Worchestershire sauce to significantly increase carbs, but if there's a concern, leave it out.
Now, simmer the pot on low for at least half an hour on the stove. The longer it cooks, the more the flavors will blend together and create deliciousness.
Slow Cooker
The slow cooker is good to use when you want to let the chili simmer for a longer amount of time. Or, I like to use it when taking the chili to a party or event.
With the slow cooker, follow the first steps and brown the ground beef with the veggies and bacon fat. Next, drain the excess fat (don't worry, plenty will remain) and use a spatula to move the meat to the slow cooker.
From then on, add the ingredients to the slow cooker instead of the Dutch oven or stockpot as described above. Cook on low for two to three hours and then warm until ready to serve.
Pressure Cooker (Instant Pot/Ninja Foodi)
Cook and then chop the bacon in an Instant Pot or other pressure cooker using the sauté function. Set aside the bacon but put two tablespoons of the bacon fat in the bottom of the pot.
Next, in the pot of the pressure cooker, cook the ground beef, chopped onions, bell pepper, and garlic on medium-high sauté for about four to five minutes or until the beef has browned and the veggies begin to soften. Drain the excess fat.
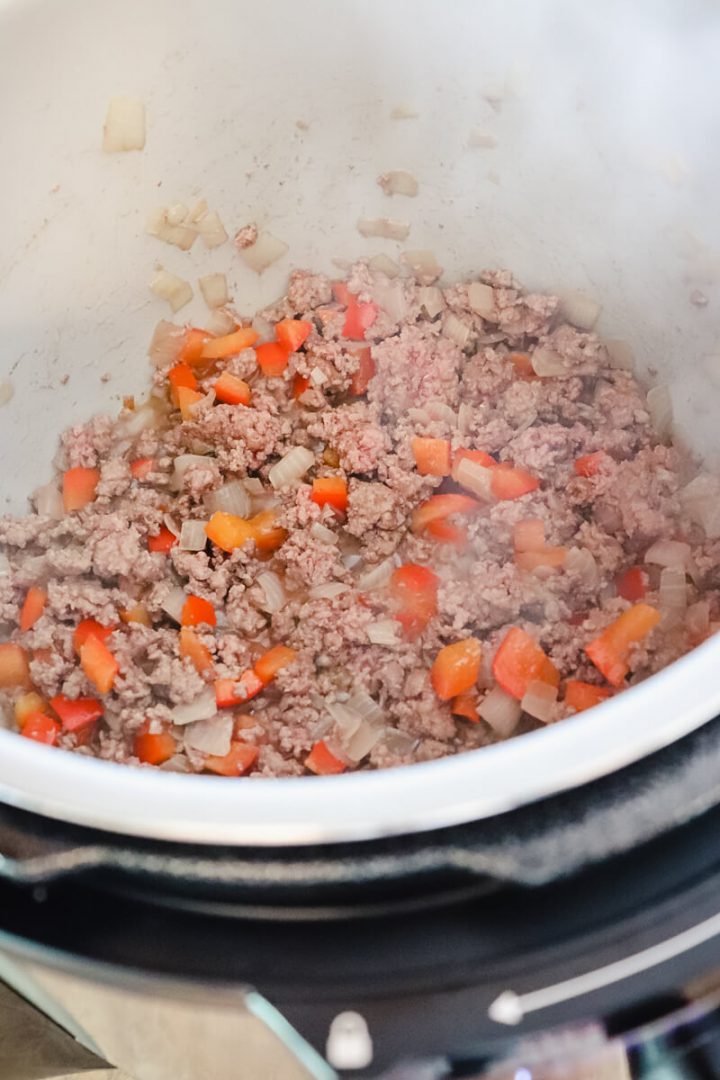
Next, pour in the beef bone broth and add in the green chilis, tomatoes, bacon, and tomato paste. Whisk in the tomato paste so that it's evenly distributed.
Then measure in the chili powder, cumin, onion powder, cayenne, oregano, smoked paprika, salt, and pepper. Stir it all together well and add the bay leaf.
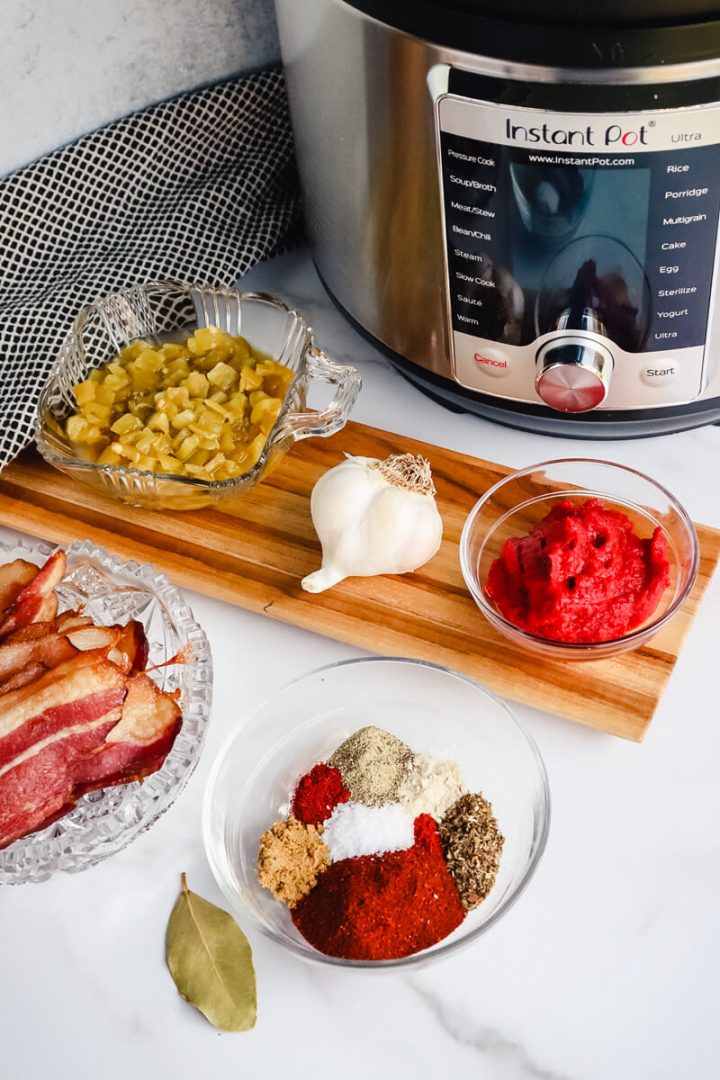
Now, turn on the pressure cooker (Instant Pot, Ninja Foodi) to the Chili/Beans or Low setting and place the lid on the pot. Cook for 20 minutes then release the pressure either manually or allow it to release naturally.
Lastly, serve it up plain or with your favorite toppings.
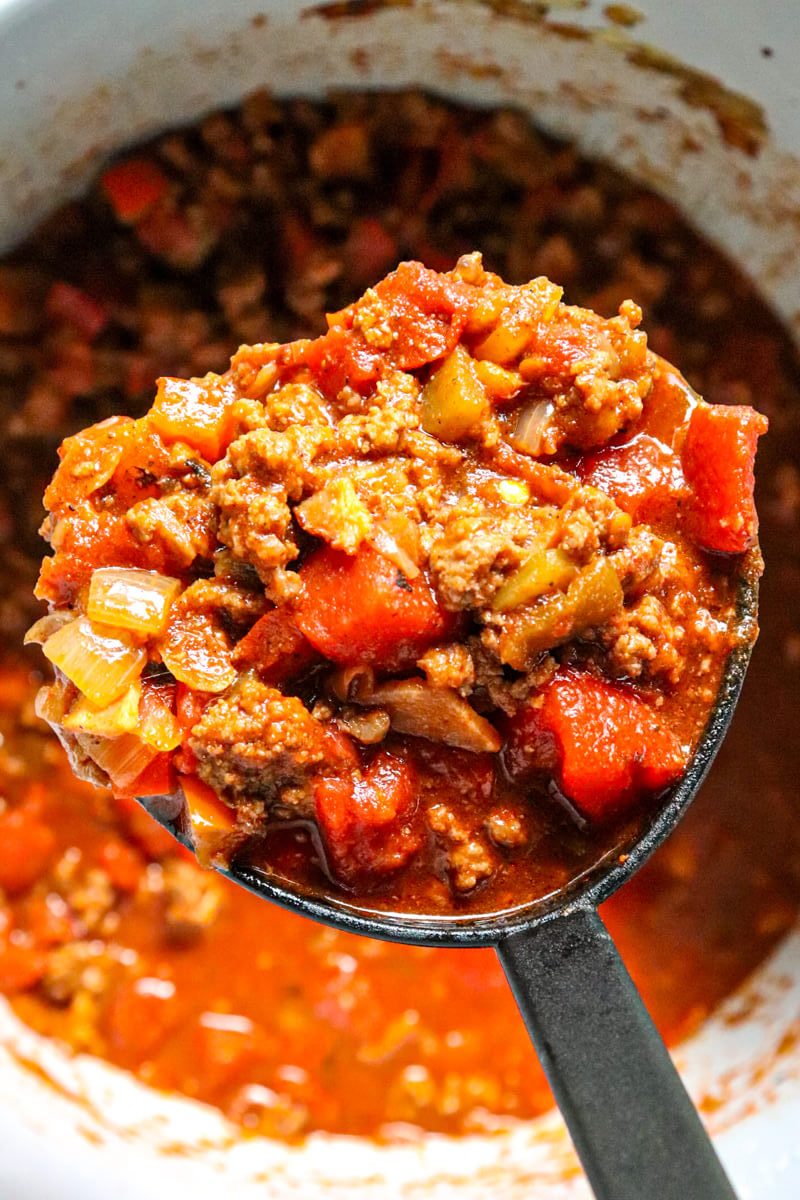
💭 Top tip - keto chili
Who loves toppings on chili? Me!
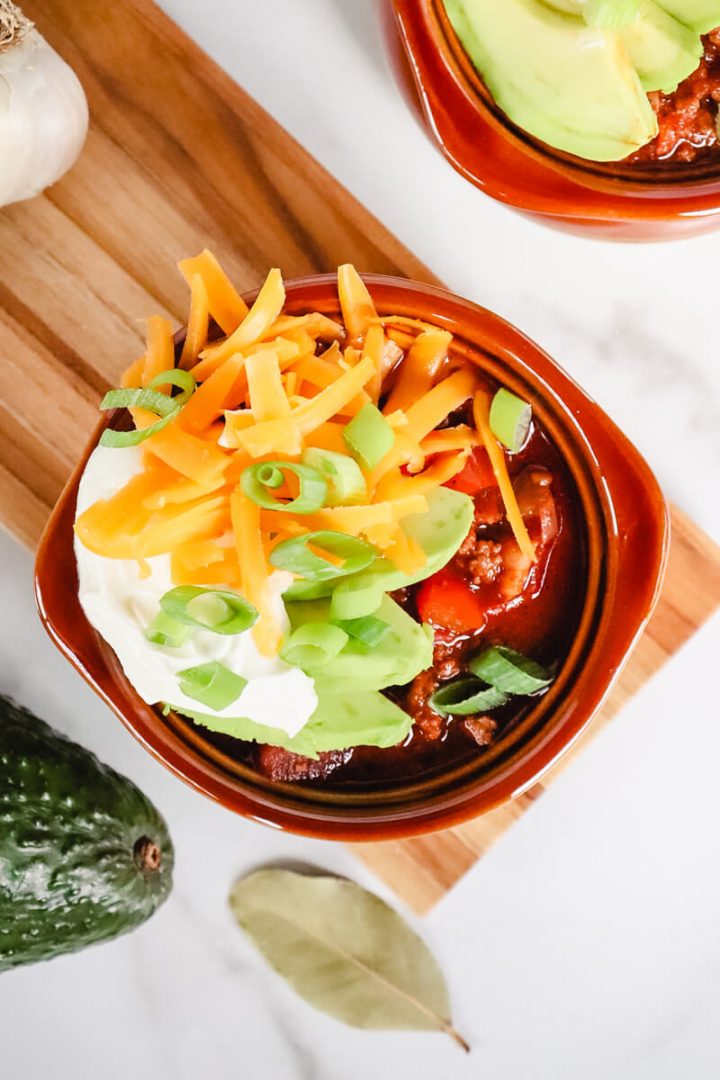
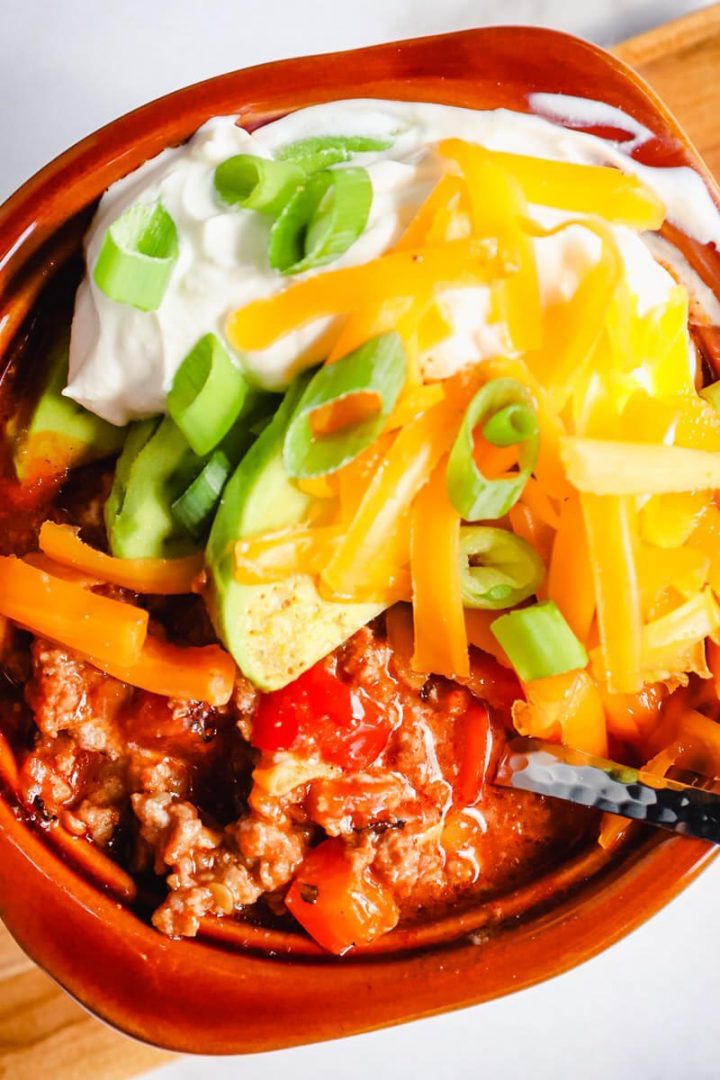
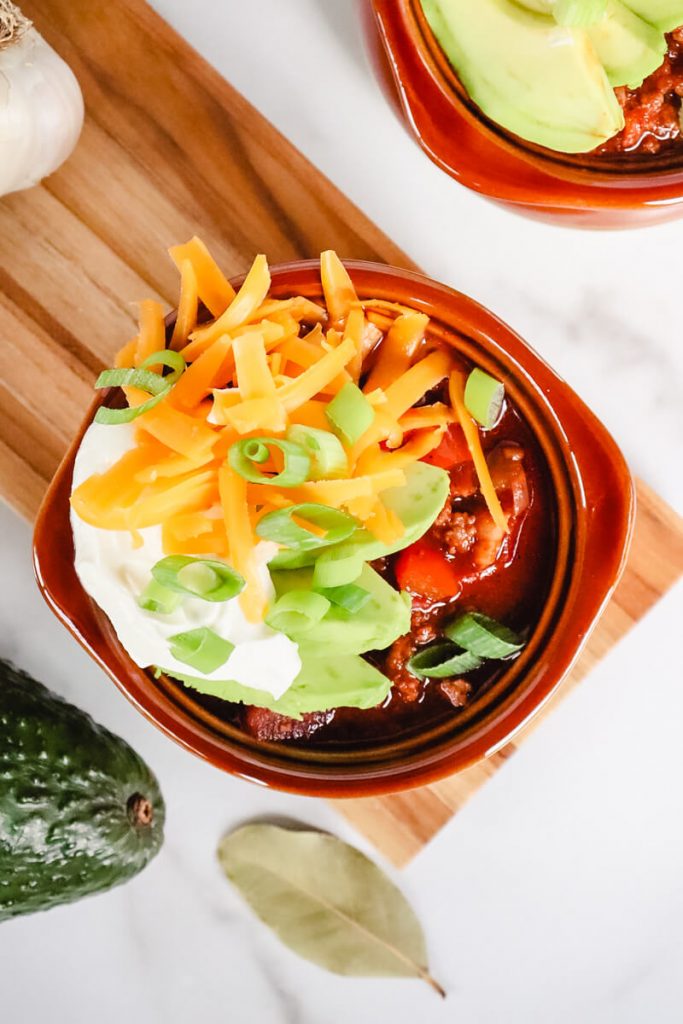
To make the chili even that much better, try out some different toppings. Some of our family favorites include:
- cheddar cheese
- sour cream
- sliced avocado
- green onions or chives
- more chopped bacon
- others? Get creative!
🥣 How to store keto chili
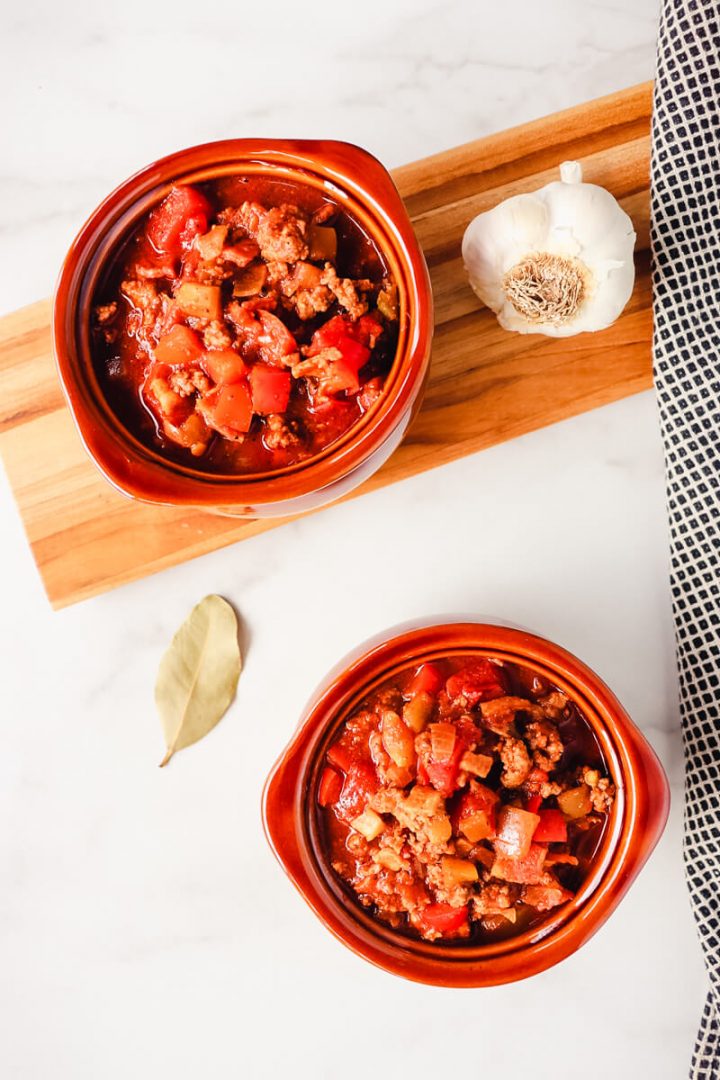
If not eaten immediately, keto chili with bacon can be stored for later. It will keep covered in the refrigerator for four to five days. In fact, sometimes I like the flavor even more the next day.
Also, chili is something easily frozen in individual portions for a quick weeknight meal. Measure three-fourths of a cup of chili into one or more freezer zipper bags. Place them flat, one on top of the other in the freezer for easy storage.
🍲 Variations on a keto chili recipe
One of my favorite ways to vary this recipe is to switch the bacon with half a pound of good pork chorizo sausage. While I LOVE the bacon, it's also good to mix things up a little.
Cook the chorizo at the same time as the ground beef. If you have bacon fat on hand (I almost always do), still use the two tablespoons to cook it in. If not, use coconut or avocado oil.
Follow all the other instructions and you'll end up with a spicy chorizo chili!
📋 Sides with keto chili recipes
- Fathead dough Keto Cinnamon Rolls
- Keto Biscuits - Garlic Parmesan
- Keto Cheddar Focaccia
- Sour Cream and Onion Keto Chips
- Kale Crunch Salad
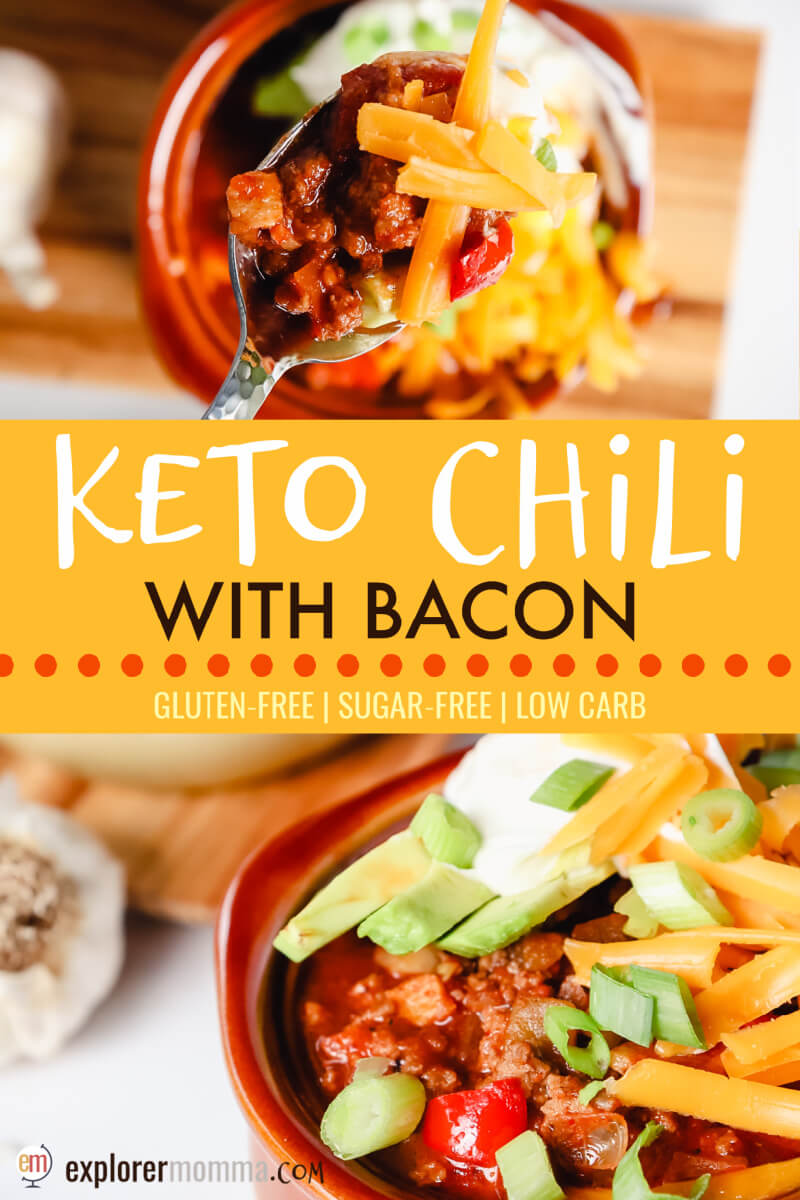
Pin the recipe here:
Tag me in your recipe pics on Instagram @explorermomma.
If you LOVE this recipe please consider giving it a five-star rating in the review area below!
📖 Recipe
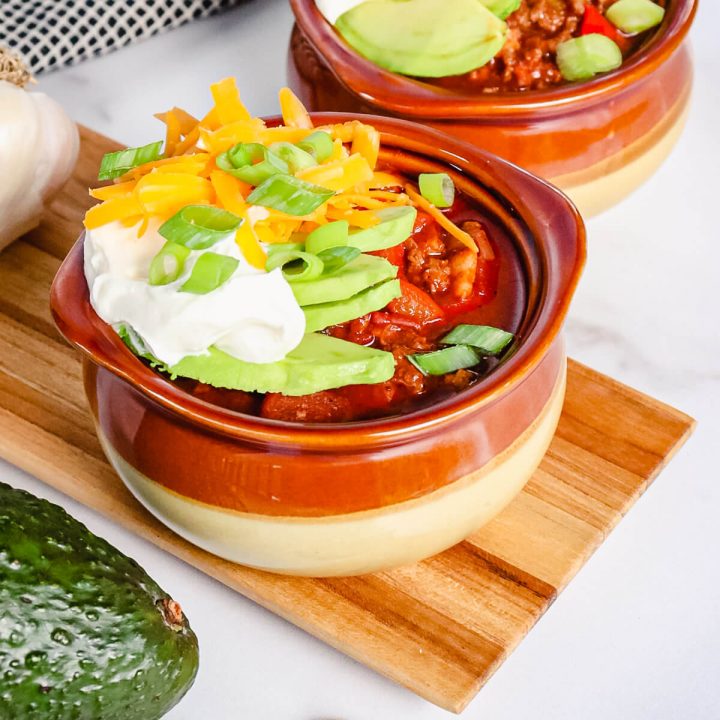
The Best Keto Chili With Bacon
Packed with flavor, an amazingly delicious keto chili with that secret ingredient, bacon! The perfect winter comfort food for a gluten-free and sugar-free dinner.
Ingredients
- 4-5 bacon strips
- 1 lb. ground beef
- 1 red or green bell pepper, chopped
- ⅓ cup chopped onion
- 2 cloves garlic (minced)
- 1 ½ cups beef bone broth
- 1 cup chopped fire-roasted tomatoes
- 2 tablespoons tomato paste
- 4 oz. chopped green chilis (canned or roasted)
- 2 tablespoons chili powder
- 1 teaspoon cumin
- 1 teaspoon onion powder
- ¼ teaspoon cayenne pepper (more or less for spice)
- 1 teaspoon dried oregano
- 1 teaspoon smoked paprika
- 1 bay leaf
- ½ teaspoon salt
- ½ teaspoon black pepper
- 2 tablespoons brown sweetener (or any sweetener, optional)
- 1 tablespoon Worchestershire sauce (optional)
Instructions
- Cook and chop the bacon in a Dutch oven or using the sauté function on a pressure cooker. Retain 2 tablespoons melted bacon fat. Set aside the bacon.
- With the bacon fat in the same pan or pressure cooker, cook the ground beef, chopped onions, bell pepper, and garlic on medium-high sauté for about 4-5 minutes or until the beef has browned and the veggies begin to soften.
- Pour in the beef bone broth and bring to a boil. Then turn the heat down to simmer.
- Add in the green chilis, tomatoes, bacon, and tomato paste. Whisk the tomato paste to be evenly distributed.
- Measure in the chili powder, cumin, onion powder, cayenne, oregano, smoked paprika, salt, and pepper. Stir it all in well and add the bay leaf. If using the brown sweetener and Worchestershire sauce, add it at this time also.
- Simmer on low for at least half an hour on the stove. OR turn the pressure cooker (Instant Pot, Ninja Foodie) to the Chili/Beans or Low setting and place the lid on the pot. Cook for 20 minutes, then release the pressure either manually or allow it to release naturally.
- Serve with your favorite toppings.
Notes
Possible toppings:
Sliced avocado, cheddar cheese, chives, sour cream
Nutrition Information:
Yield: 8Amount Per Serving: Calories: 259Total Fat: 17gCarbohydrates: 7gNet Carbohydrates: 5gFiber: 2gSugar: 3gProtein: 19g
*Nutrition Facts per MyFitnessPal.com. For most accurate facts, calculate your own with the exact ingredients you use in the recipe.
Nutrition Disclaimer
Please be aware I am not a medical specialist or nutritional professional. On this blog, I share recipes and what works for me. Please do not take anything on this blog as medical advice and always consult with your doctor before starting any diet or exercise program.
I use MyFitnessPal.com to calculate nutrition facts as a courtesy to my readers, and I remove erythritol from the final carb count and net carb count because does not affect my own blood glucose levels.
This is as accurate as possible, but it's best to independently calculate nutritional information on your own with the specific ingredients you use. I expressly disclaim any and all liability of any kind with respect to any act or omission wholly or in part in reliance on anything contained in this website.



Leave a Reply