There's something magical about a good movie night. Blankets on the couch, lights dimmed, everyone gathered around the screen… and of course, snacks within reach.
Growing up, movie snacks meant giant bowls of popcorn, candy bars, potato chips, and sugary drinks. Fun? Absolutely. Keto-friendly? Not even a little.
The tricky part about following a keto or low-carb lifestyle is that snacking during movies is practically a tradition. And when you sit down for a two-hour film, it's easy to start craving something crunchy, salty, or sweet.
But here's the good news: you absolutely can enjoy keto movie snacks that feel just as indulgent without the carb crash afterward.
Over the years, I've experimented with plenty of low carb movie snacks for family movie nights, girls' weekends, and cozy evenings at home. Some are homemade, some are store-bought shortcuts, and a few have become permanent favorites in our house.
If you're looking for great ideas, you're in the right place. Let's talk about how to build a delicious, satisfying movie snack spread that keeps you on track.
And don't worry, I'll definitely cover some great keto popcorn alternatives too.
👉 Just want to download my Free Low Carb Snack Guide? Click here!
[feast_advanced_jump_to]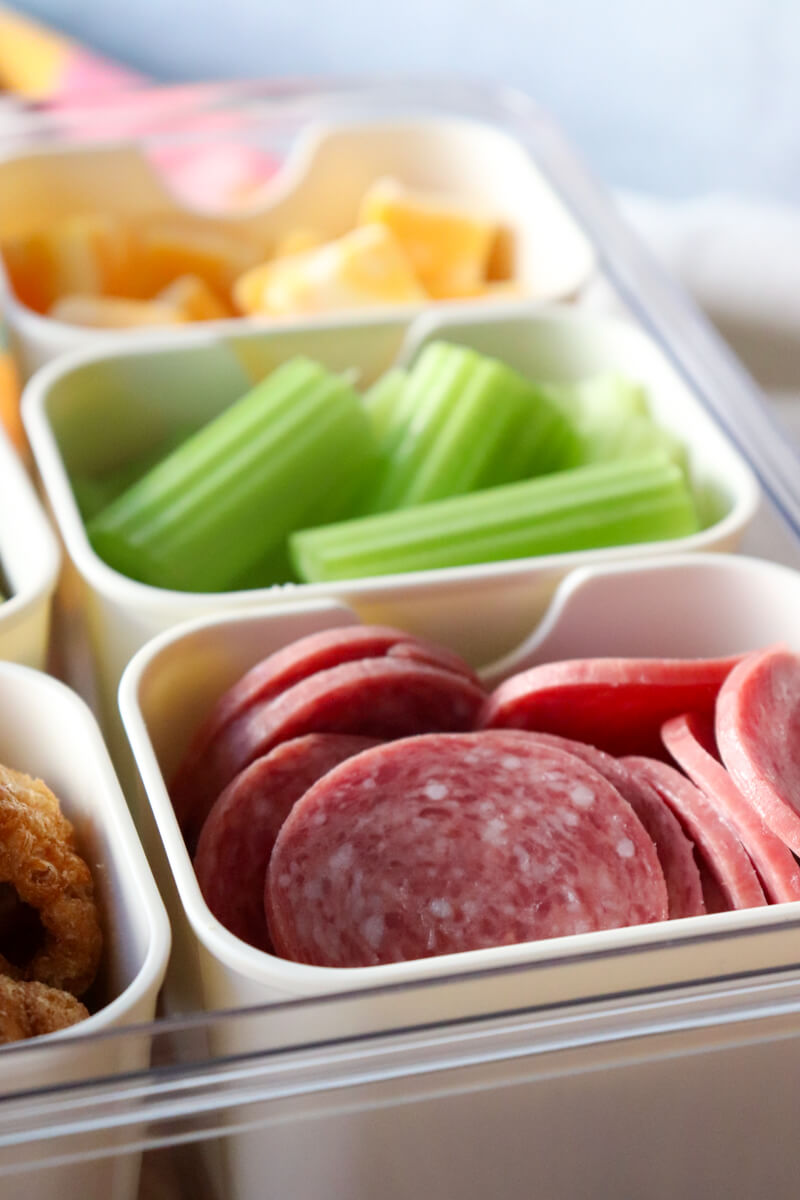
Why Traditional Movie Snacks Are So Carb Heavy
Before we dive into snack ideas, let's take a quick look at why traditional movie snacks can be such a challenge on keto.
Classic foods usually include:
- Buttered popcorn
- Nachos and chips
- Candy bars
- Chocolate-covered treats
- Soda or sugary drinks
While delicious, these foods are mostly made from corn, flour, sugar, and starch, all ingredients that spike blood sugar and quickly push you out of ketosis.
Even popcorn, which many people think of as a light snack, can add up quickly in carbs. A large bowl of movie theater popcorn can easily contain 60-80 grams of carbs, depending on the size.
That doesn't mean movie night is off the table. It just means we need to get a little creative with healthy movie snacks low carb options that still satisfy those snack cravings.

What Makes a Great Keto Movie Snack?
The best ones have a few things in common.
1. Easy to Grab
When you're watching a movie, you want something simple and bite sized. No forks, no complicated prep, and ideally no mess.
Good options include:
- bite-sized cheese
- nuts
- small desserts
- crispy snacks
The goal is to snack without interrupting the movie.
2. Crunchy or Creamy Texture
Texture is a big part of why we love movie snacks.
Crunchy foods like popcorn and chips are satisfying because they keep your hands busy while you watch. Creamy desserts like chocolate or pudding feel indulgent and comforting.
Great keto snacks often mimic those textures:
- crispy cheese chips
- roasted nuts
- chocolate desserts
- creamy dips
3. Protein and Fat for Staying Power
One of the best things about keto snacks is that they actually keep you full. Instead of sugary snacks that leave you hungry again halfway through the movie, keto snacks include:
- healthy fats
- satisfying protein
- fewer blood sugar spikes
This means you can enjoy your snack and still feel great afterward.
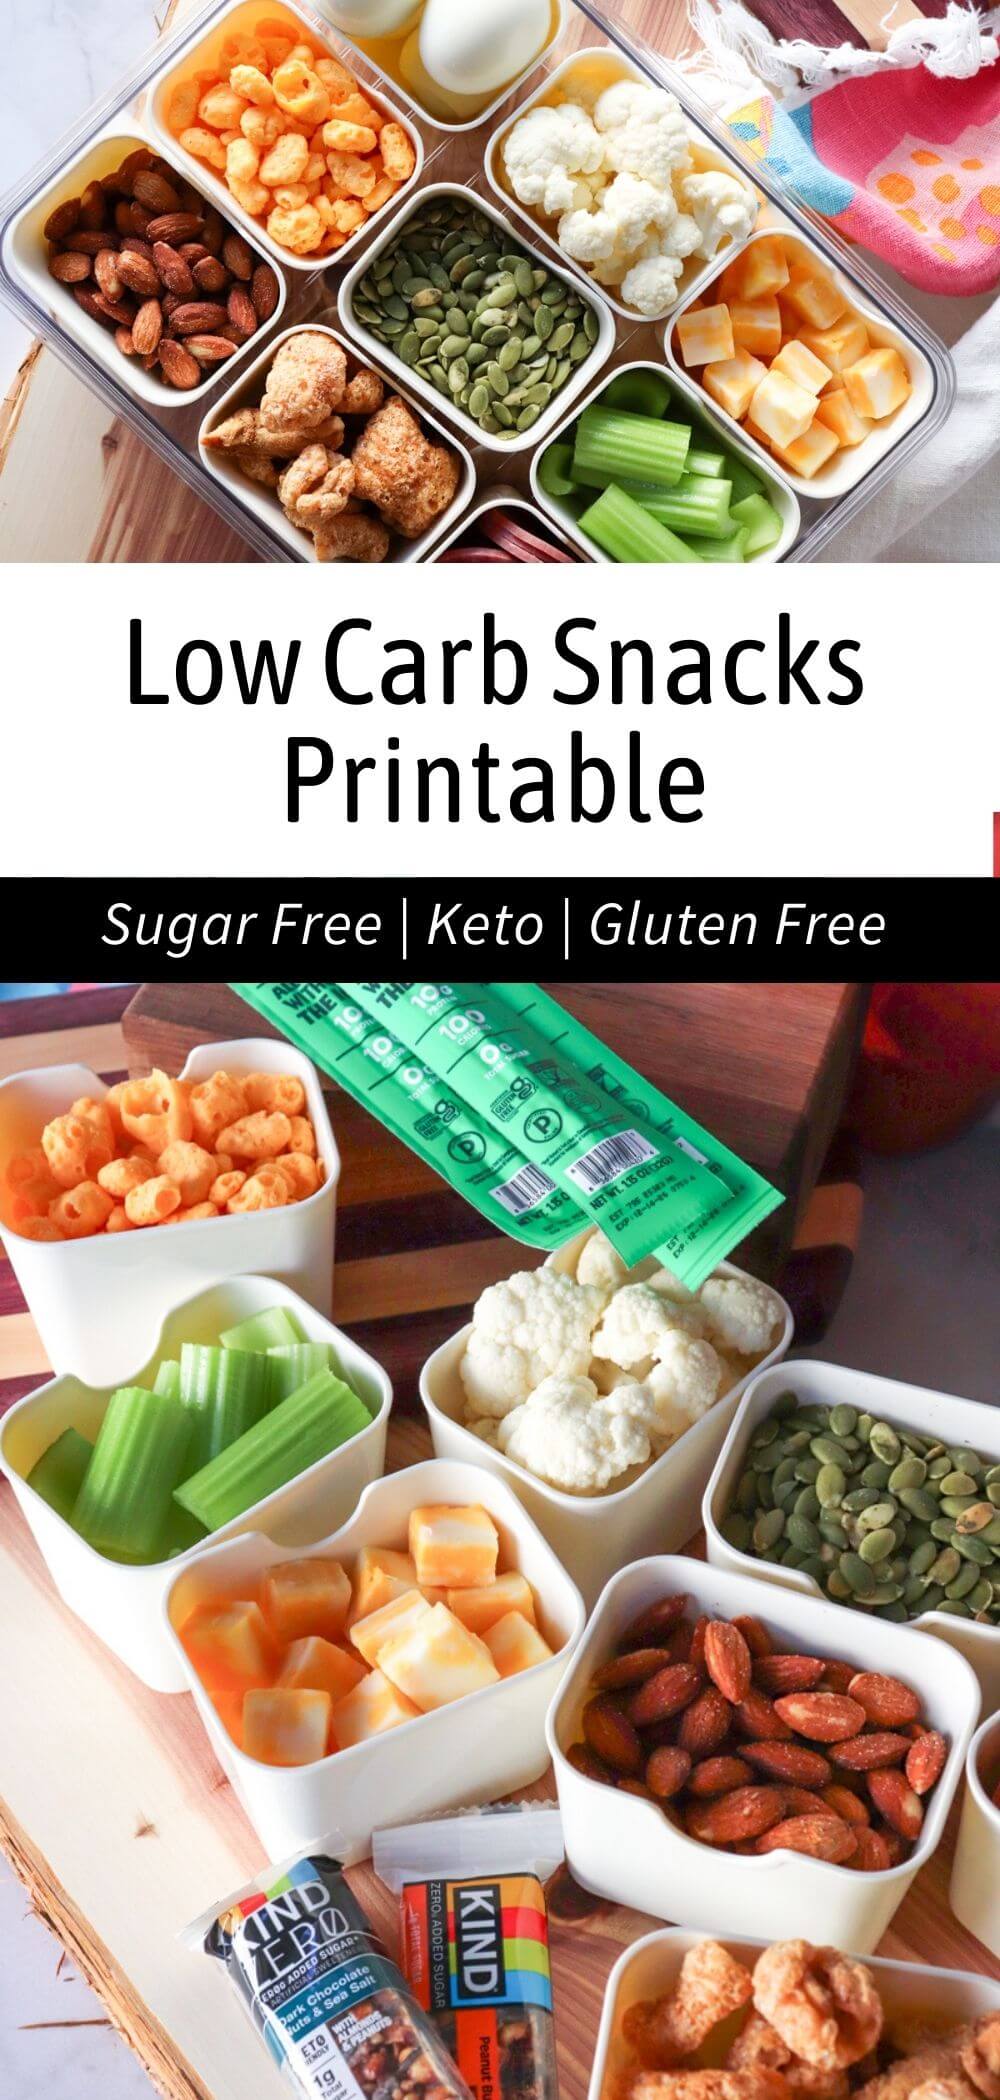
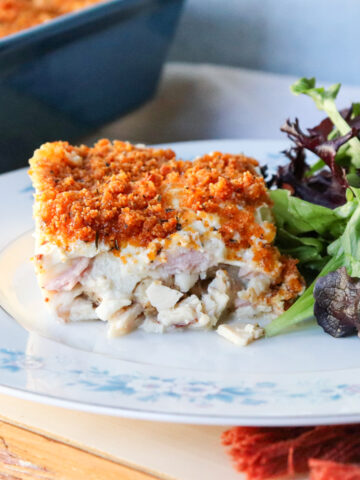
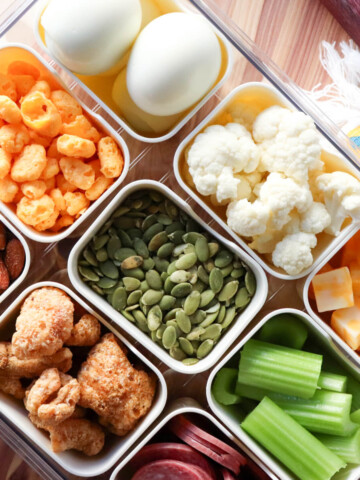
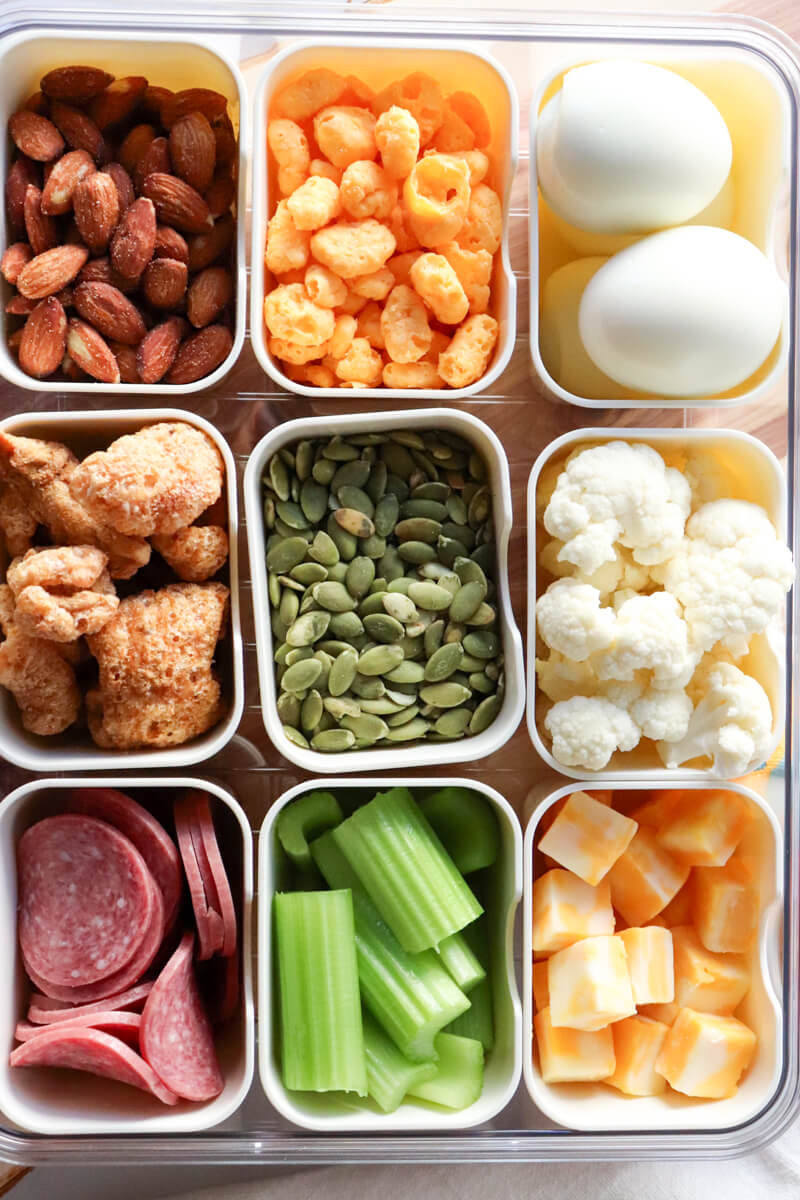
Easy Keto Movie Snacks (Store-Bought Options)
Sometimes the easiest snacks are the best snacks. These low carb movie snacks require almost no preparation and are perfect for spontaneous movie nights.
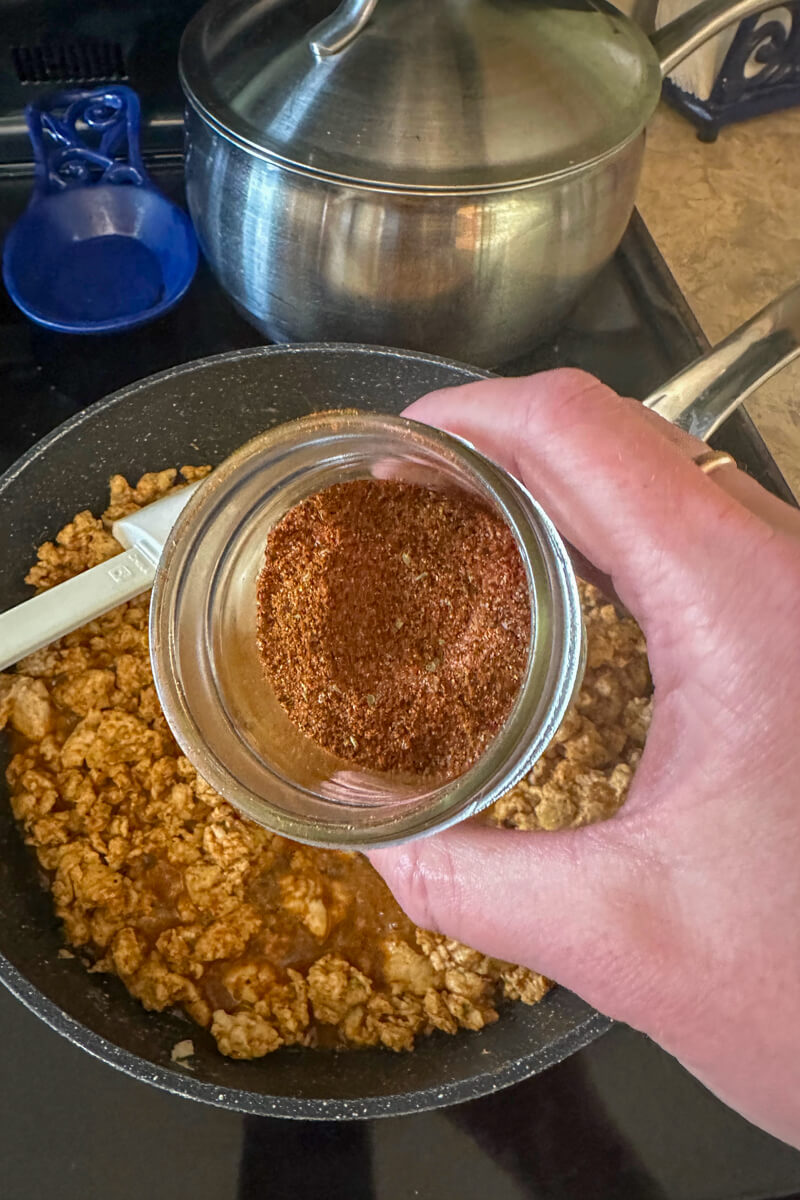
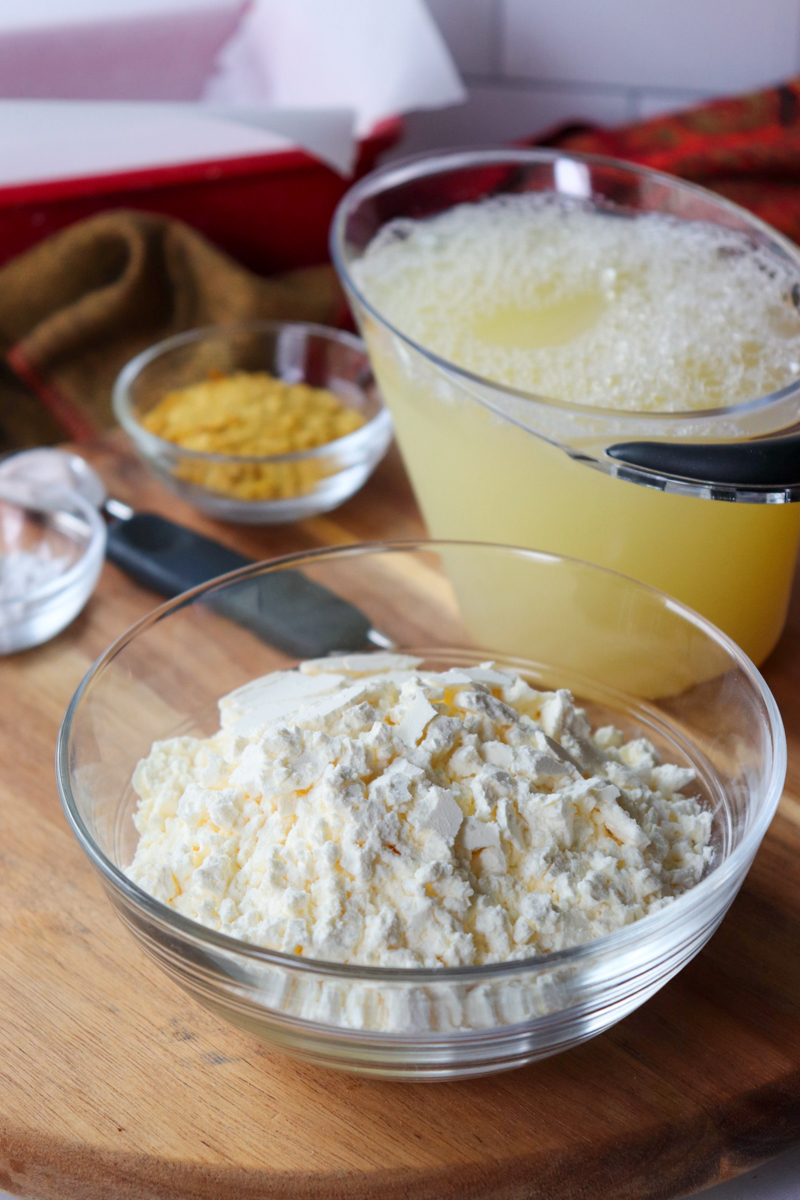
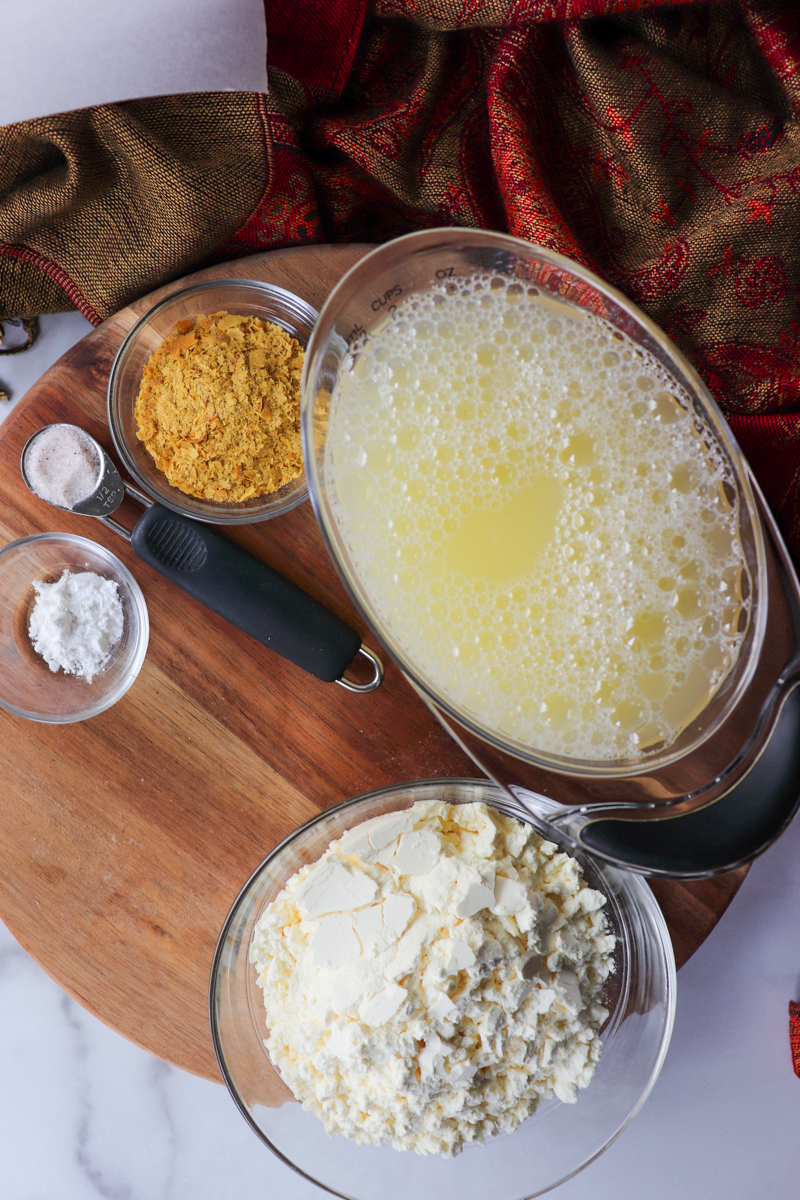
Pork Rinds
Pork rinds are one of the most popular keto popcorn alternatives. They're crunchy, salty, and perfect for dipping into guacamole, queso, or sour cream.
Try seasoning them with:
- chili lime seasoning
- ranch powder
- garlic parmesan
Cheese Crisps
Cheese crisps are another favorite for keto snacks. You can buy them ready made or make them easily at home by baking small piles of shredded cheese until crispy.
They're:
- crunchy
- salty
- packed with protein
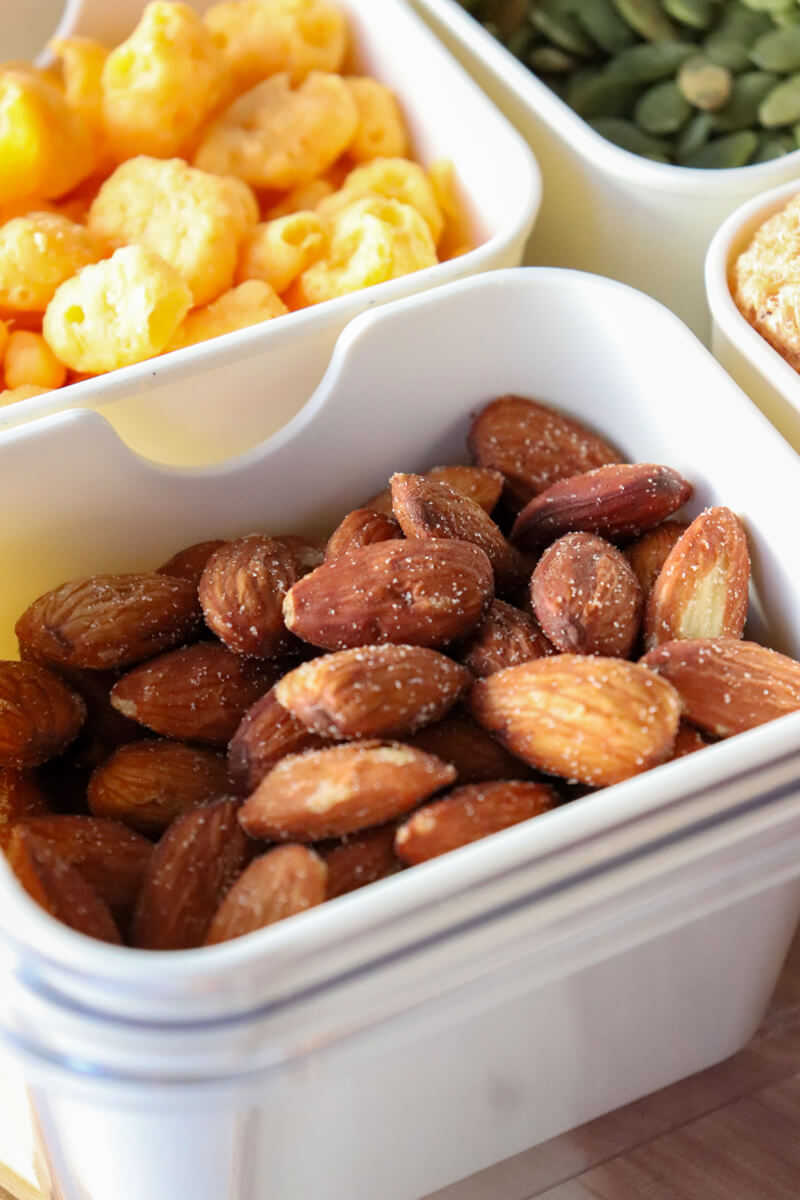
Nuts
Nuts are simple but satisfying.
Some of the best keto options include:
- macadamia nuts
- pecans
- almonds
- walnuts
Just watch portion sizes since carbs can add up quickly. I'm guilty of eating way too many salted almonds!
Olives and Pickles
If you enjoy savory snacks, olives and pickles are fantastic. They're flavorful, satisfying, and require zero preparation.
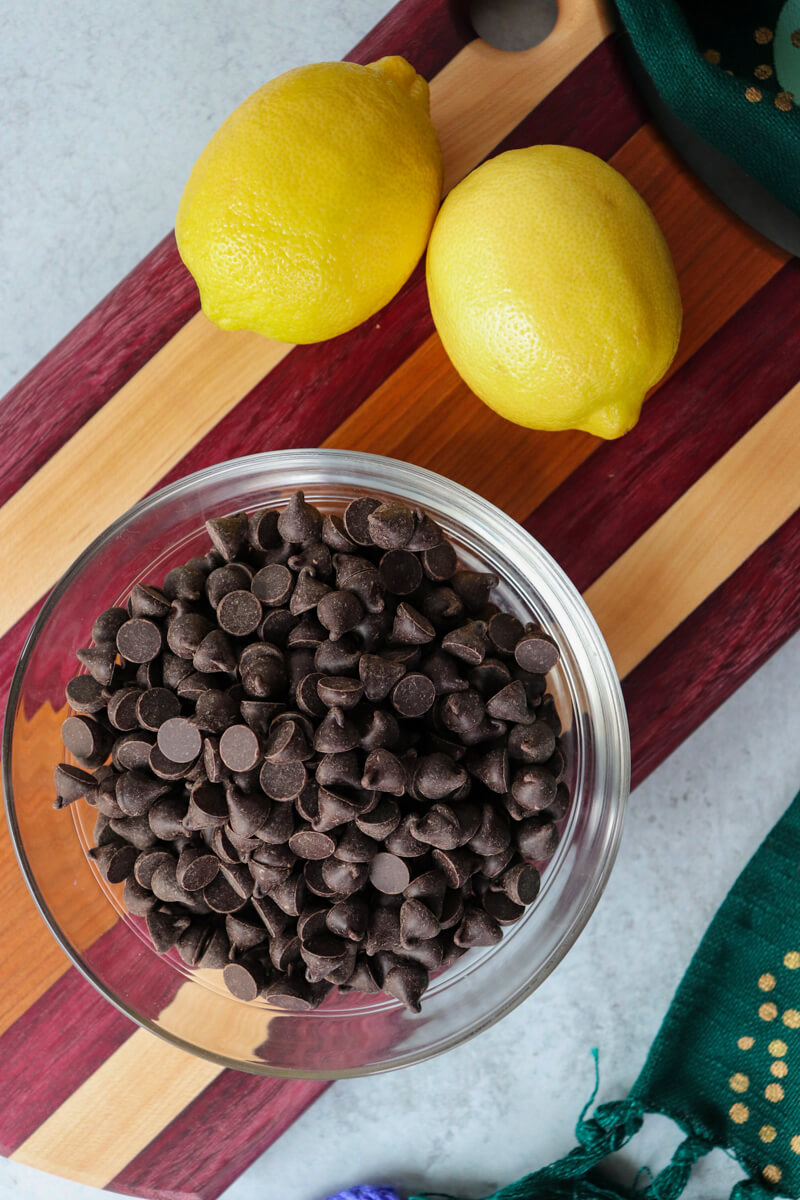
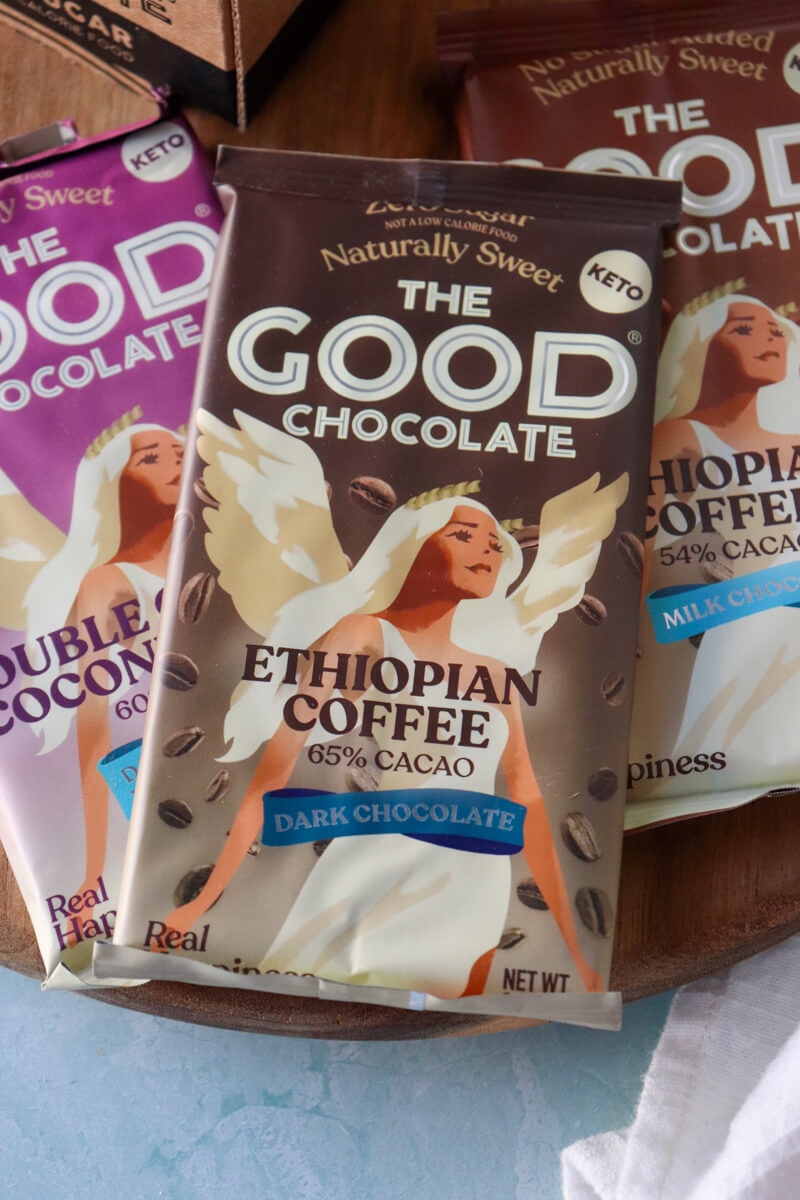
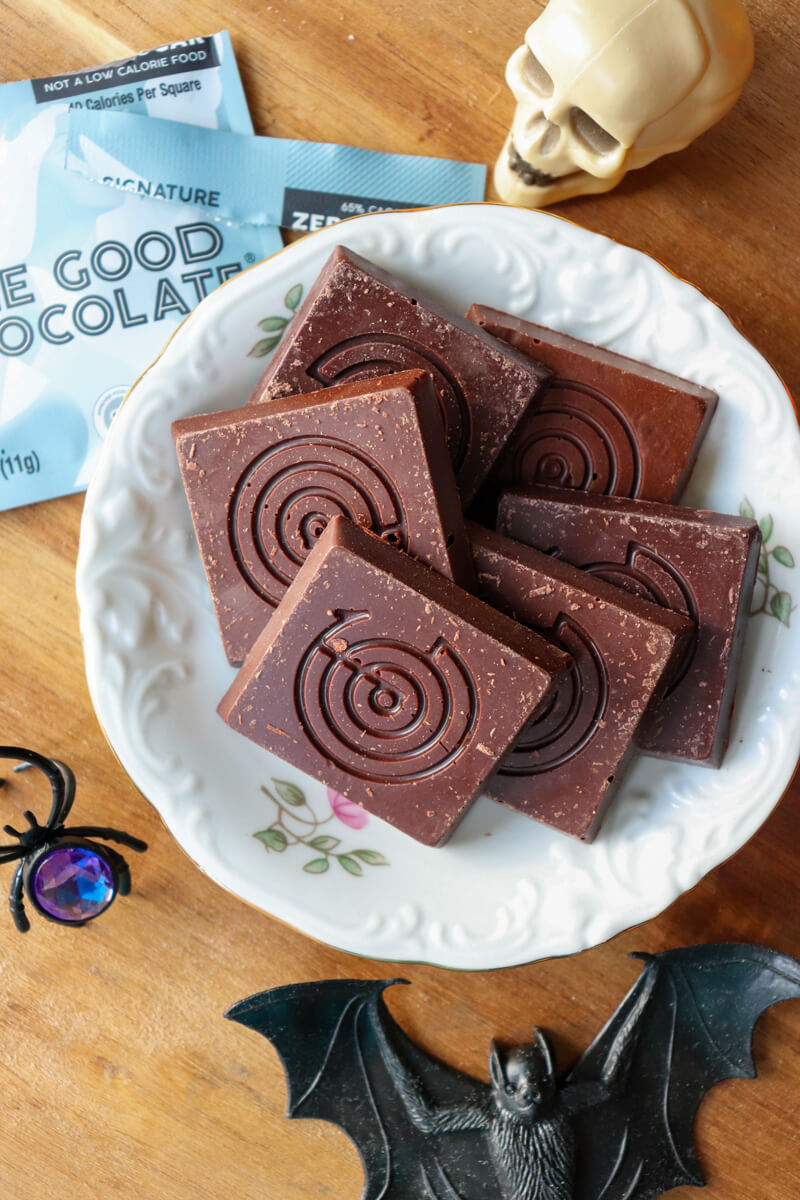
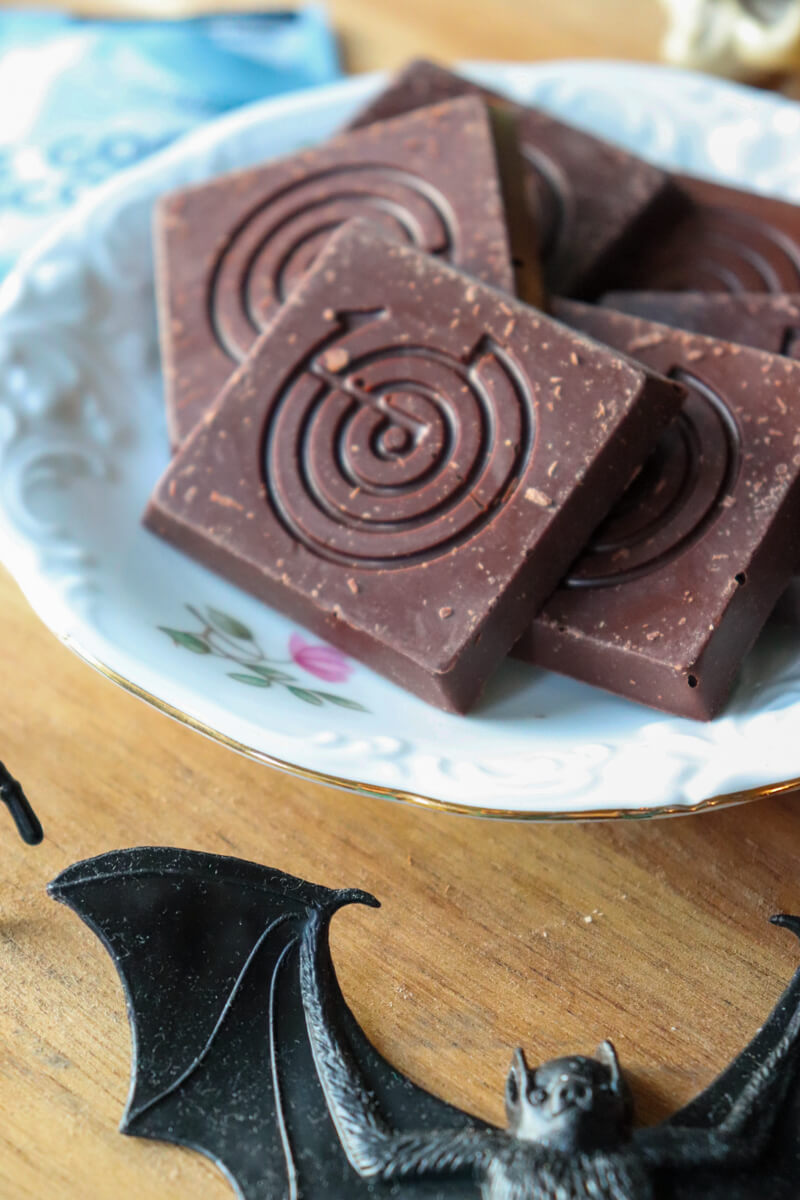
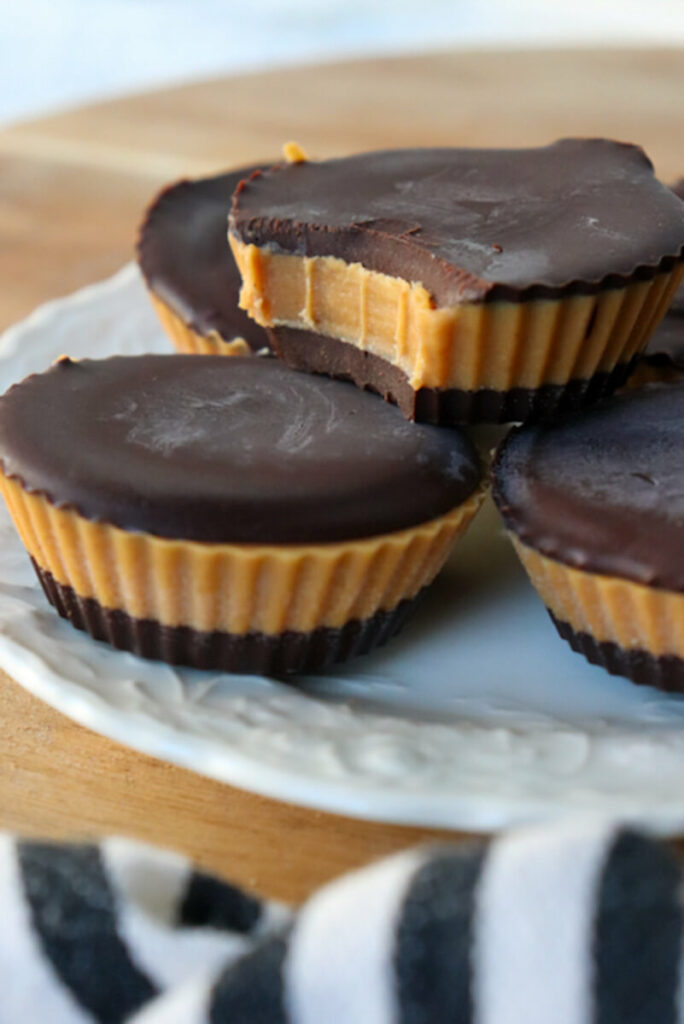
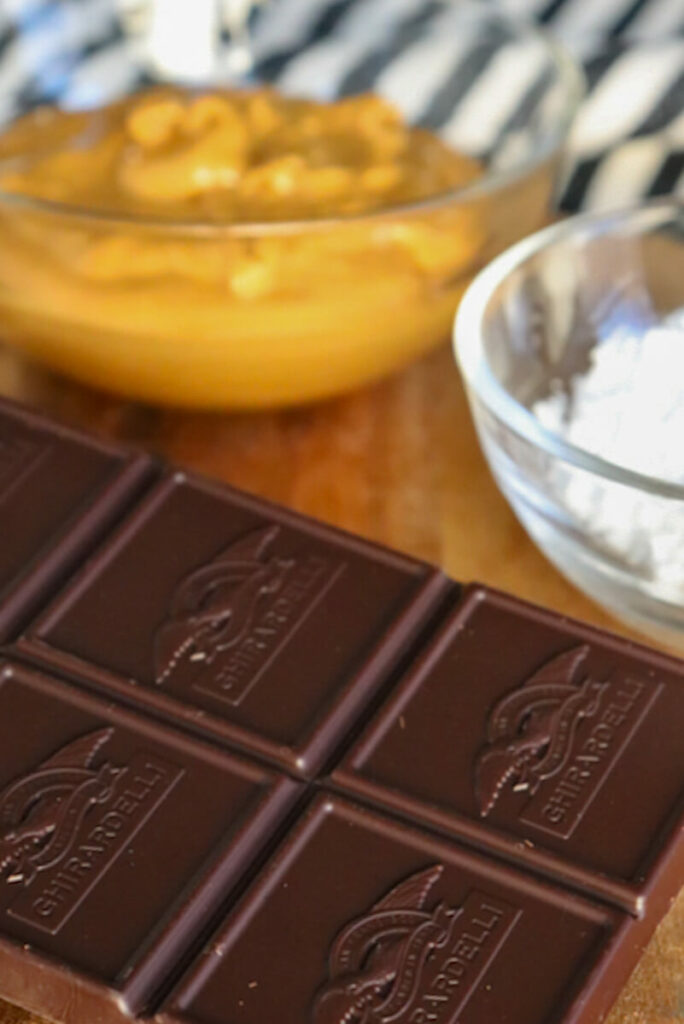
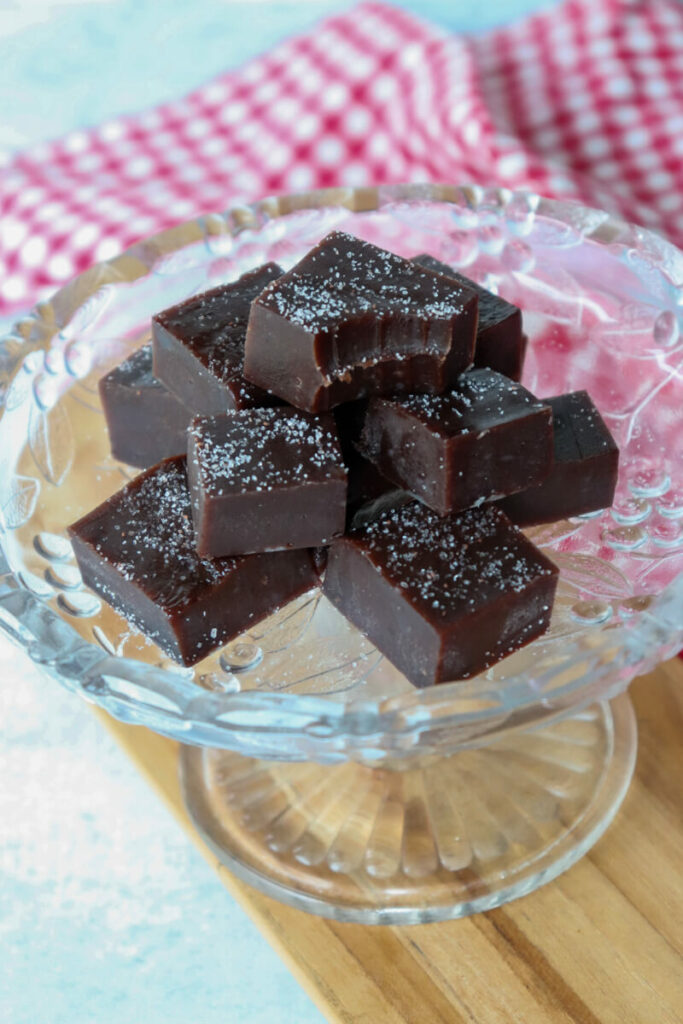
Dark Chocolate
Yes, chocolate can absolutely be part of a keto movie night. Look for unsweetened, or 85-90% dark chocolate, which contains far less sugar than traditional candy bars. I prefer dark chocolate sweetened with allulose.
A few squares paired with nuts make a delicious sweet treat.
Homemade Options
If you have a little time before movie night, homemade snacks can feel extra special. And honestly, some of these are so easy they barely count as cooking.
Parmesan Crisps
Parmesan crisps are one of the easiest keto popcorn alternatives. Simply place small piles of grated parmesan on a parchment-lined baking sheet and bake until golden and crispy. They're salty, crunchy, and completely addictive.
Keto Cheese Chips
Cheese chips are similar to parmesan crisps but can be made with many different cheeses.
Try:
- cheddar
- mozzarella
- pepper jack
They're perfect with salsa or guacamole. If you don't want to deal with making your own, Moon Cheese is a great low carb snack, ready when you are. I have an order of it automatically mailed to me monthly!
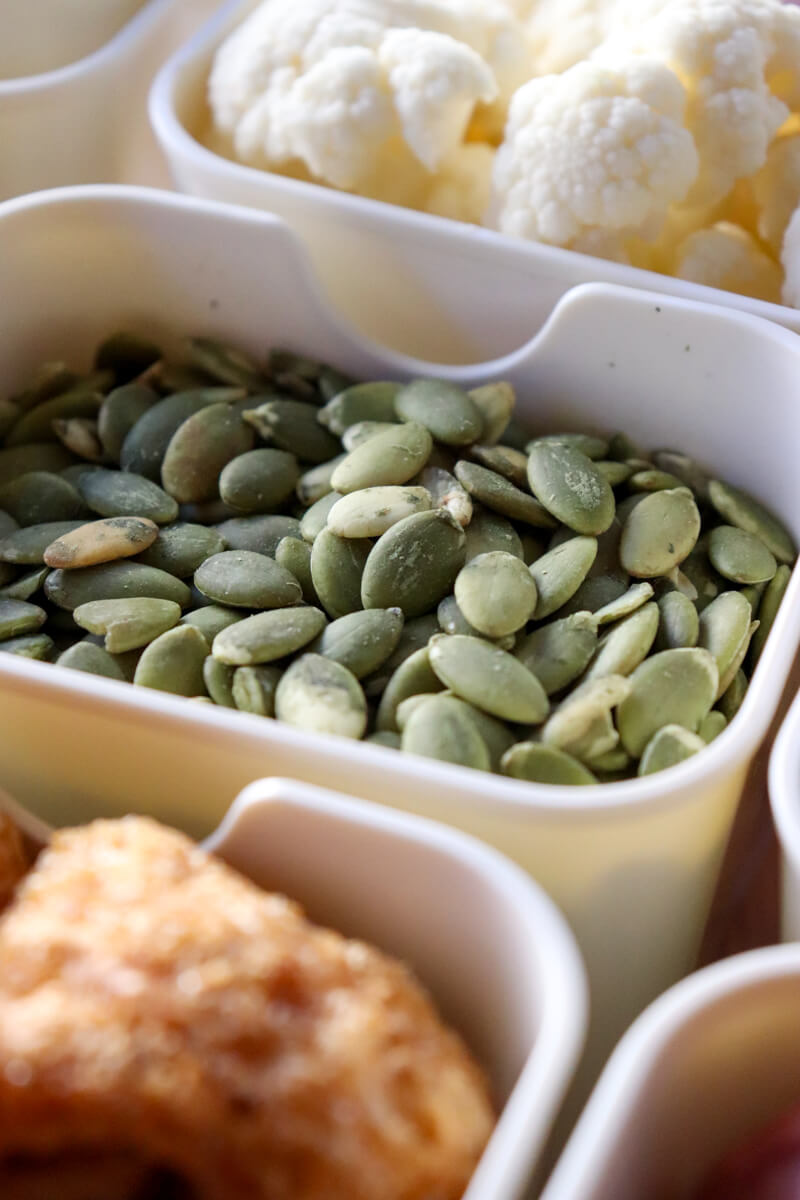
Roasted Pumpkin Seeds
Pumpkin seeds are another great low carb movie snack.
Toss them with:
- olive oil
- salt
- paprika
- garlic powder
Then roast until crunchy. They're packed with protein and minerals, making them a satisfying snack that lasts through the whole movie.
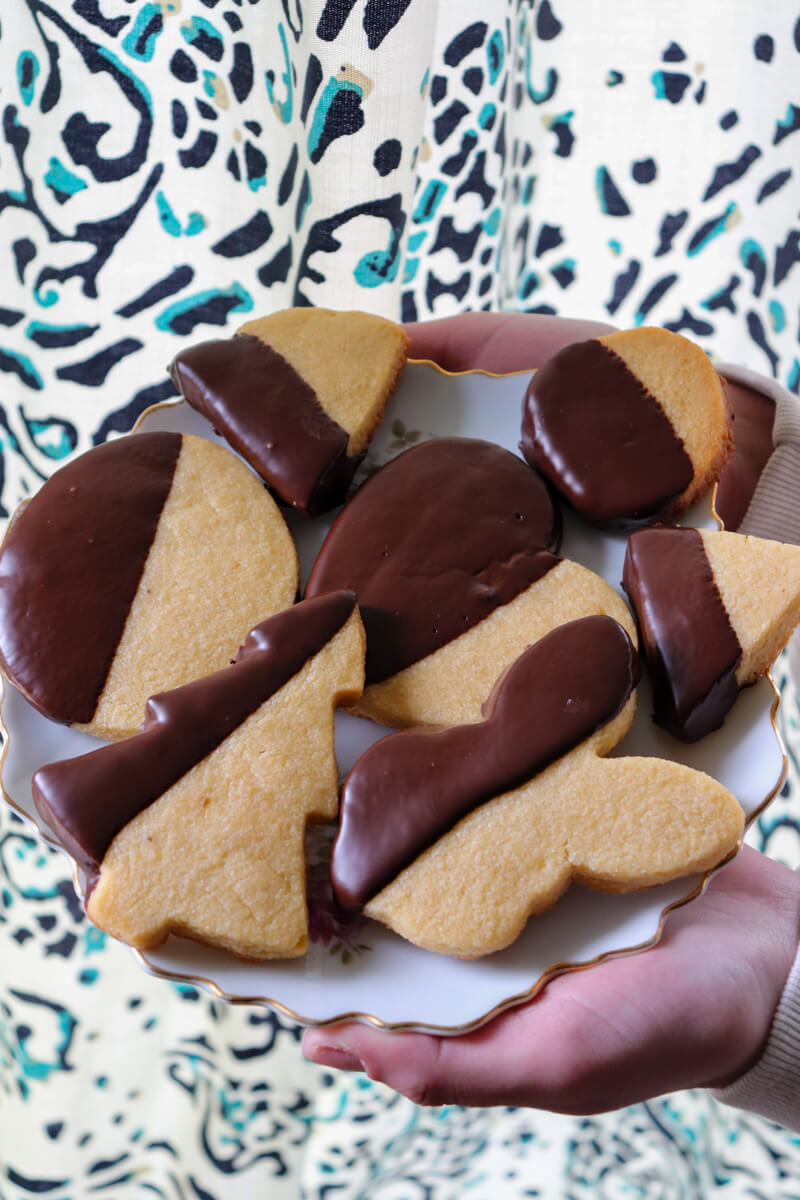
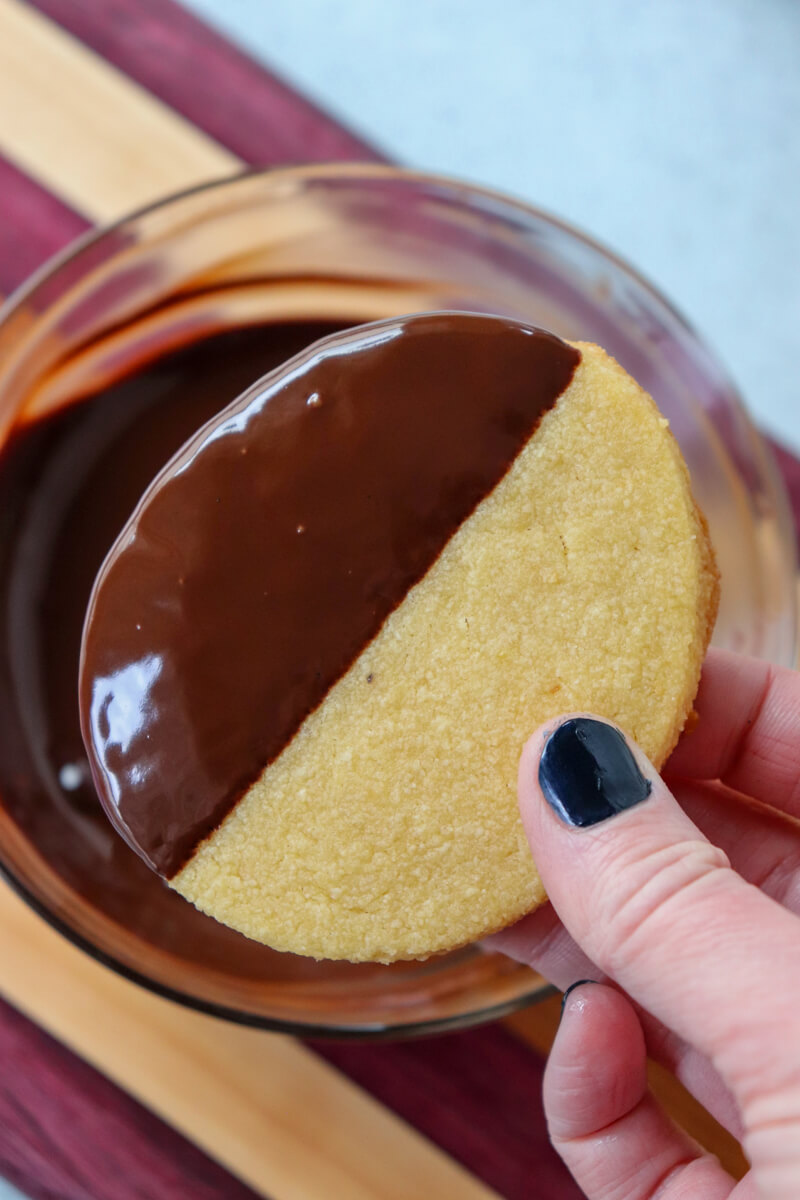
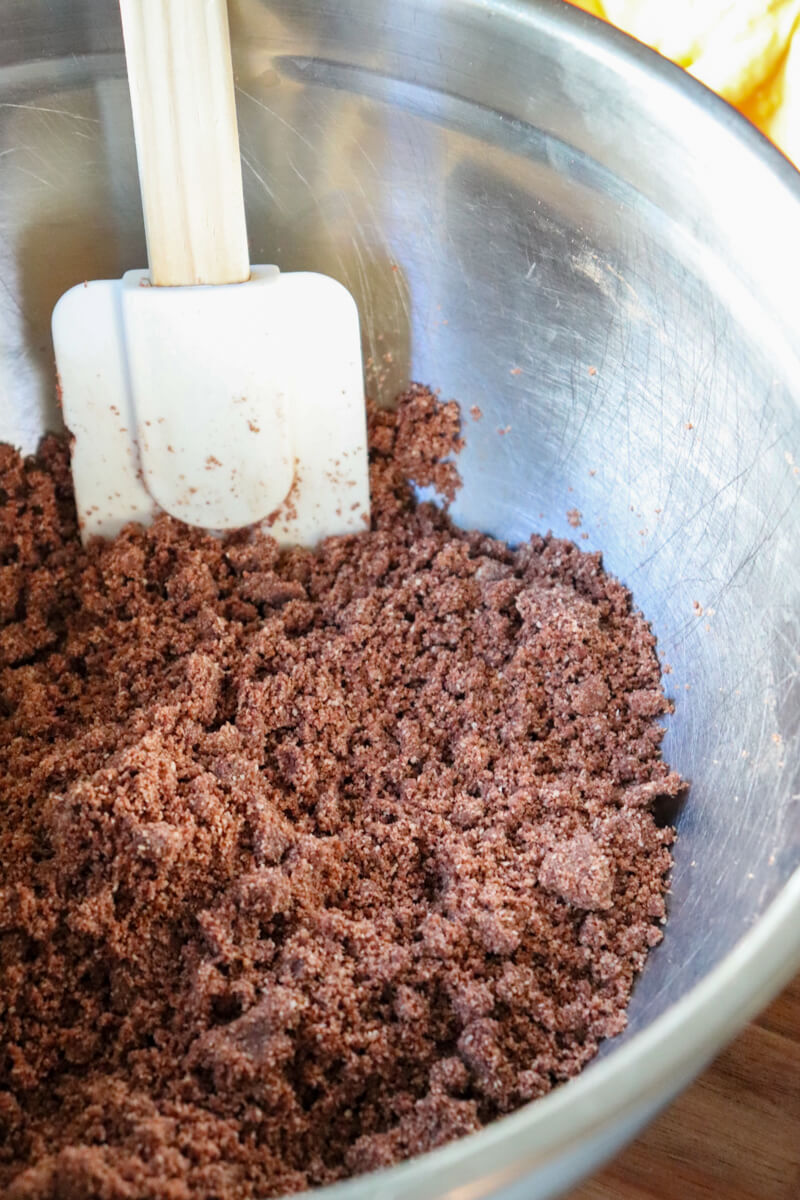
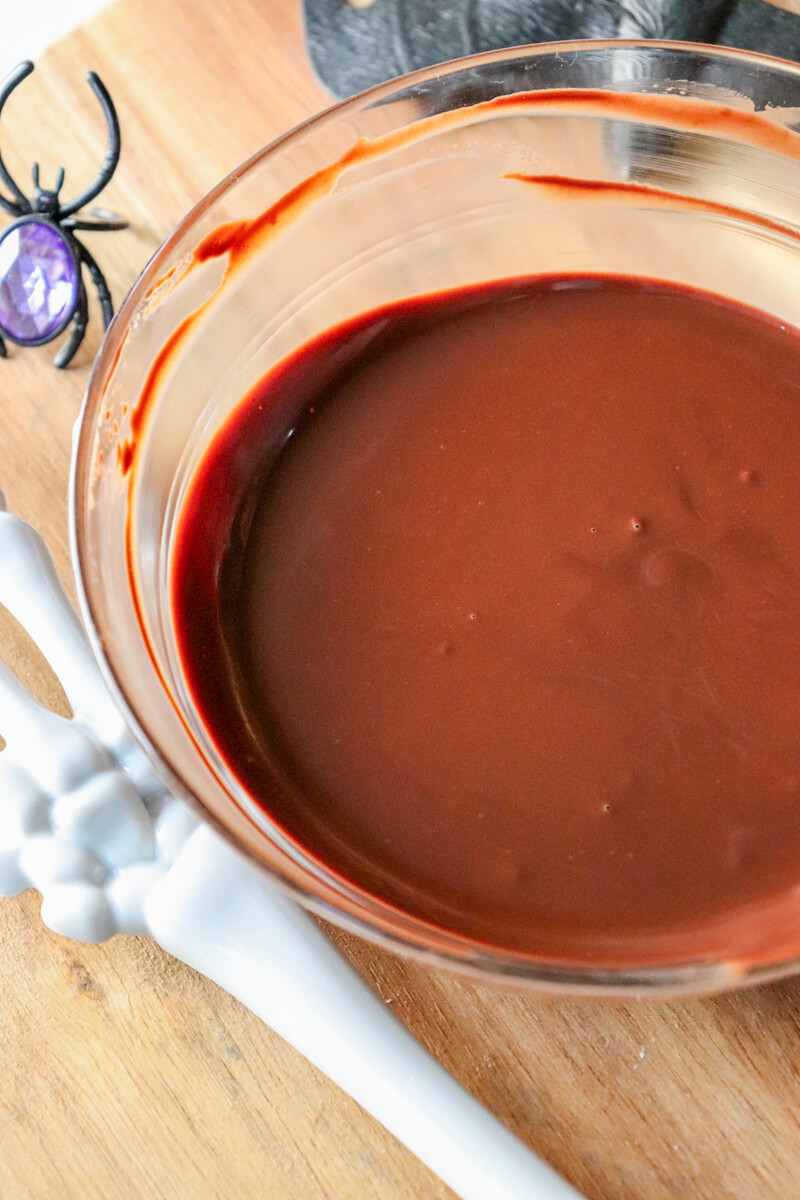
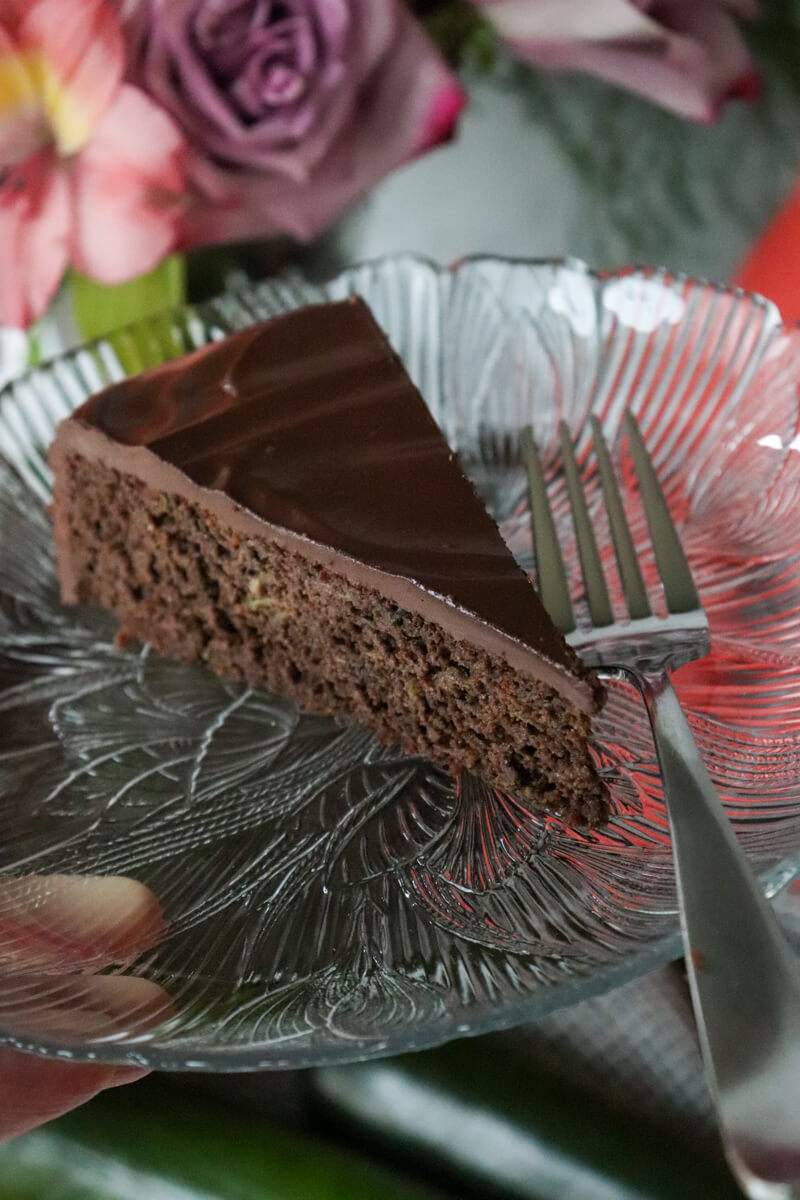
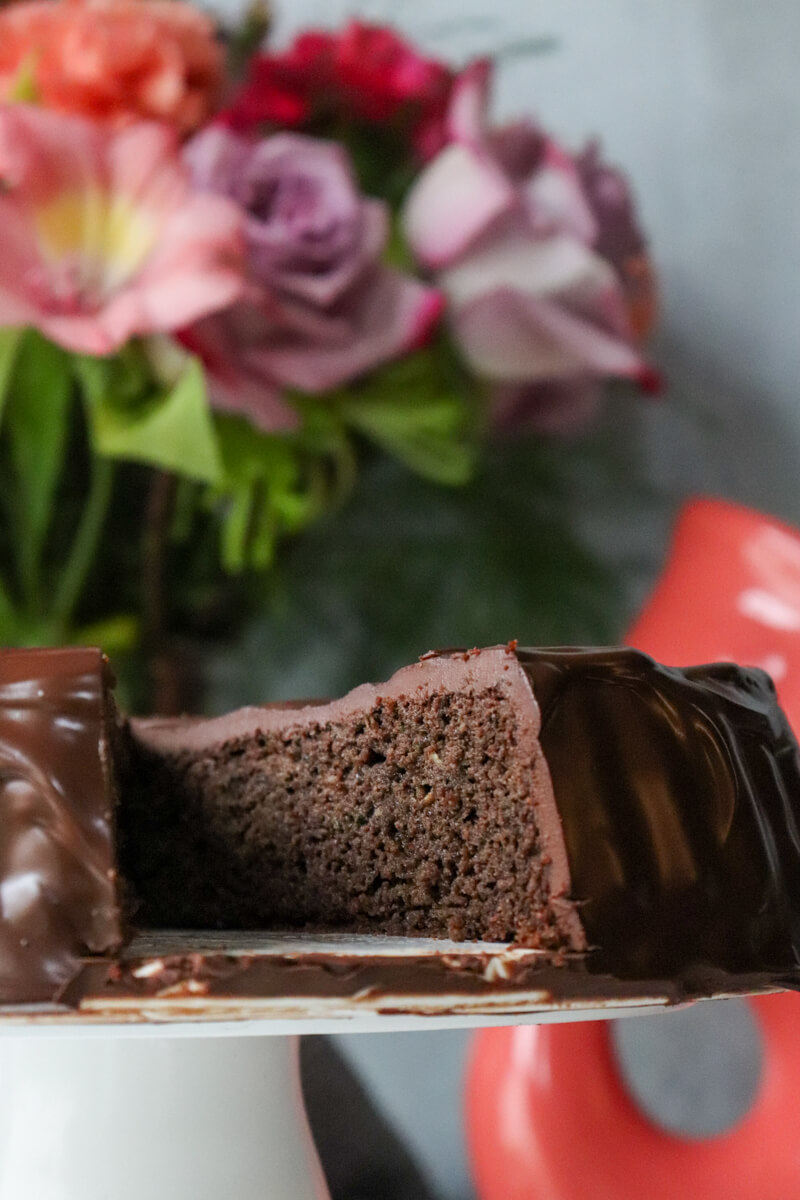
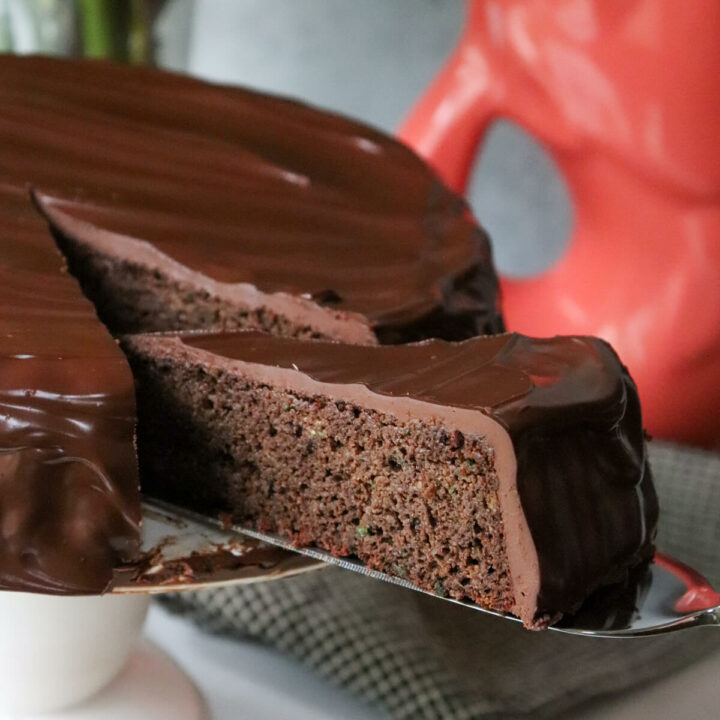
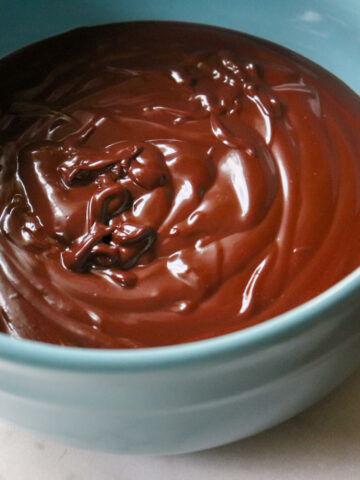
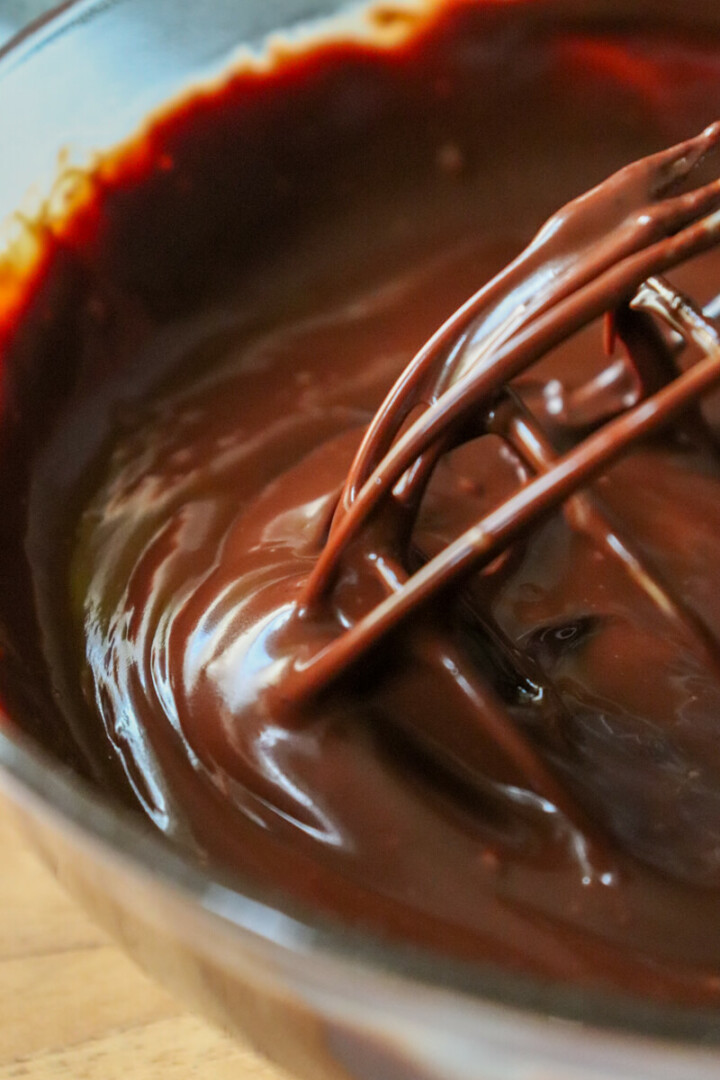
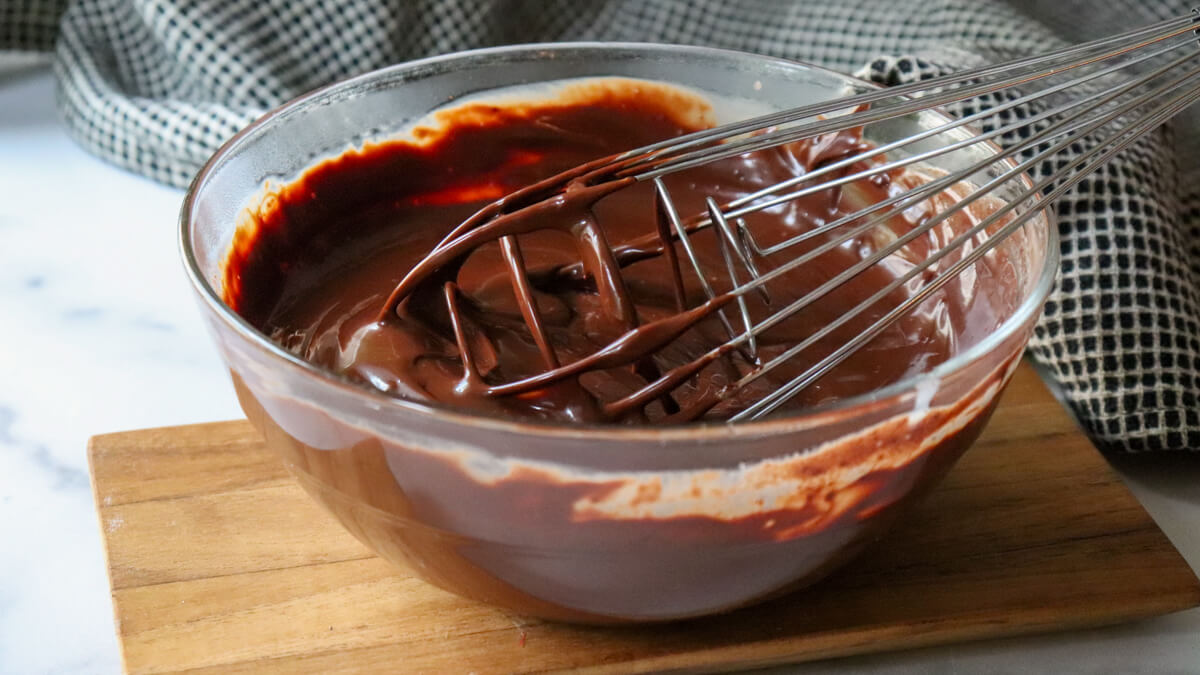
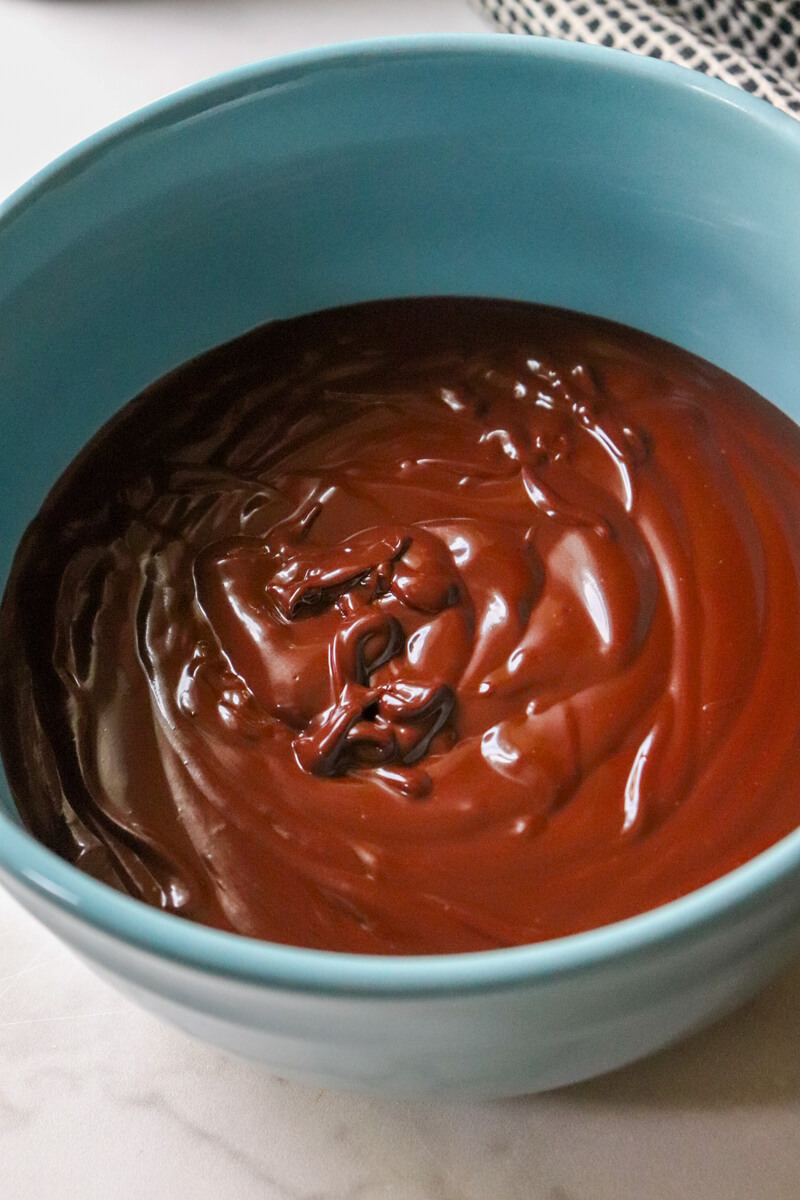
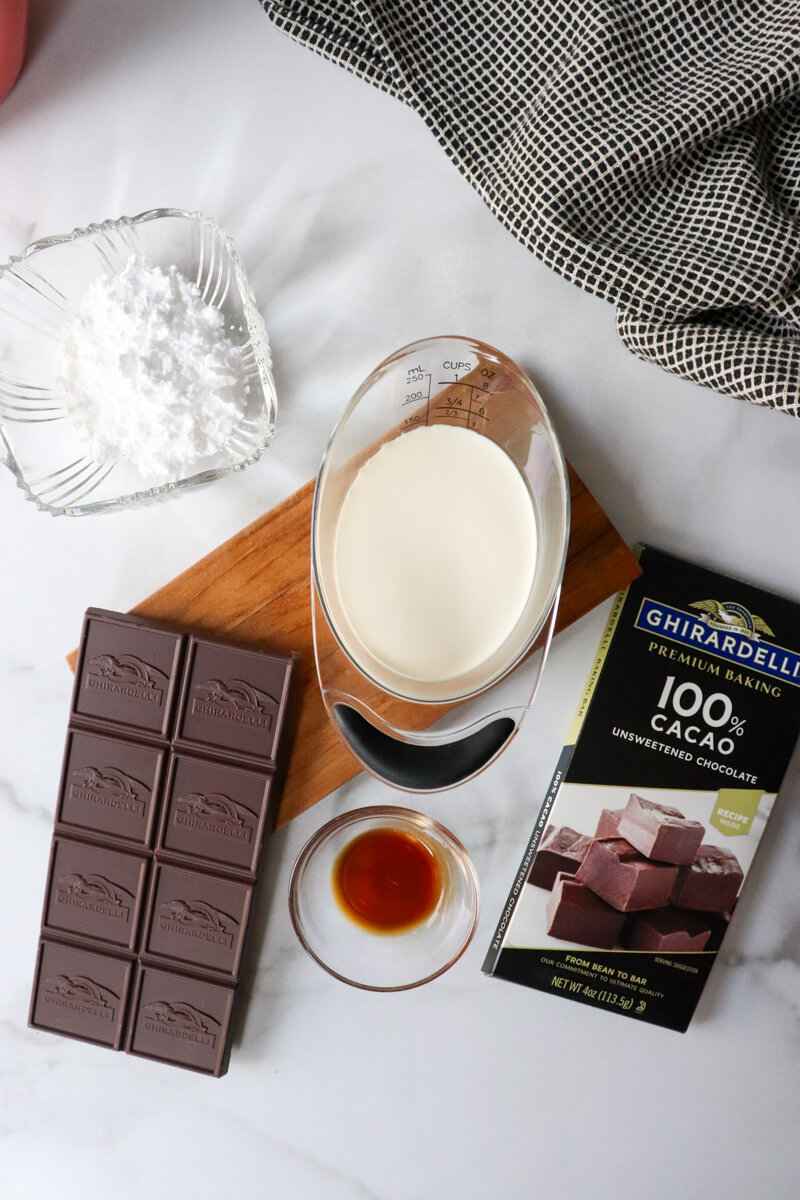
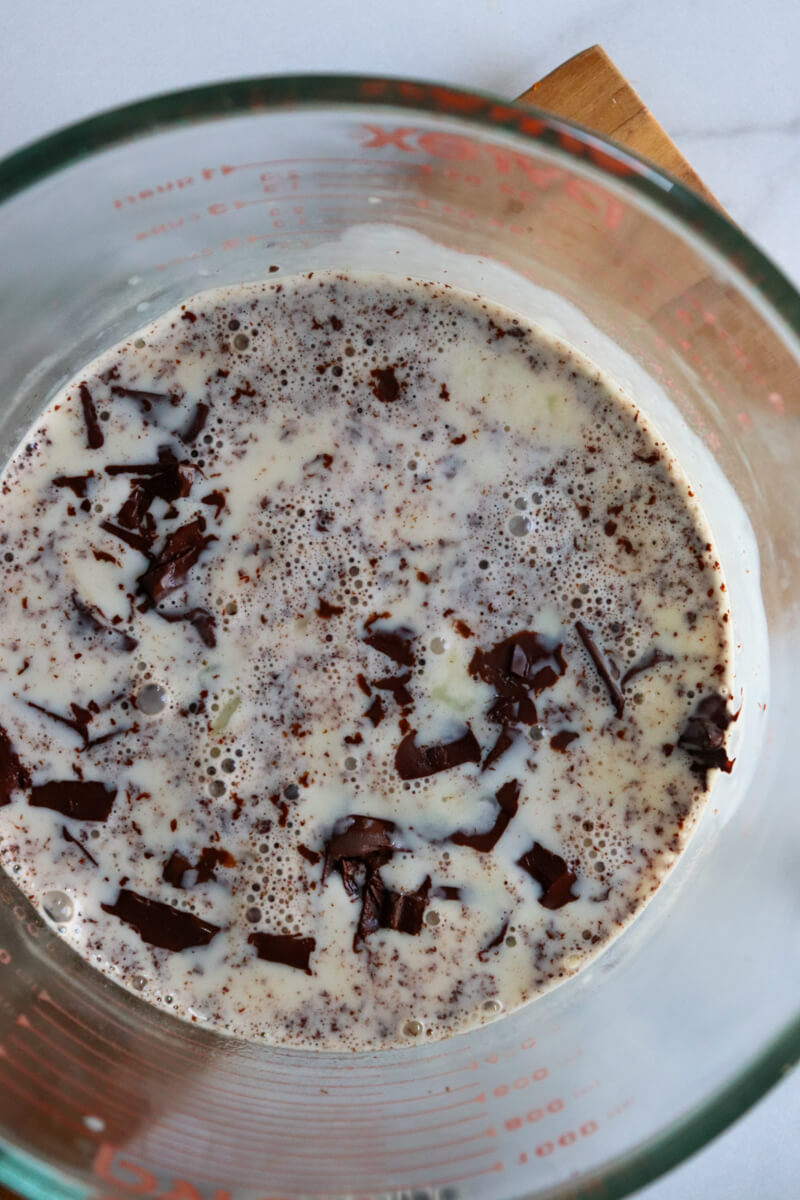
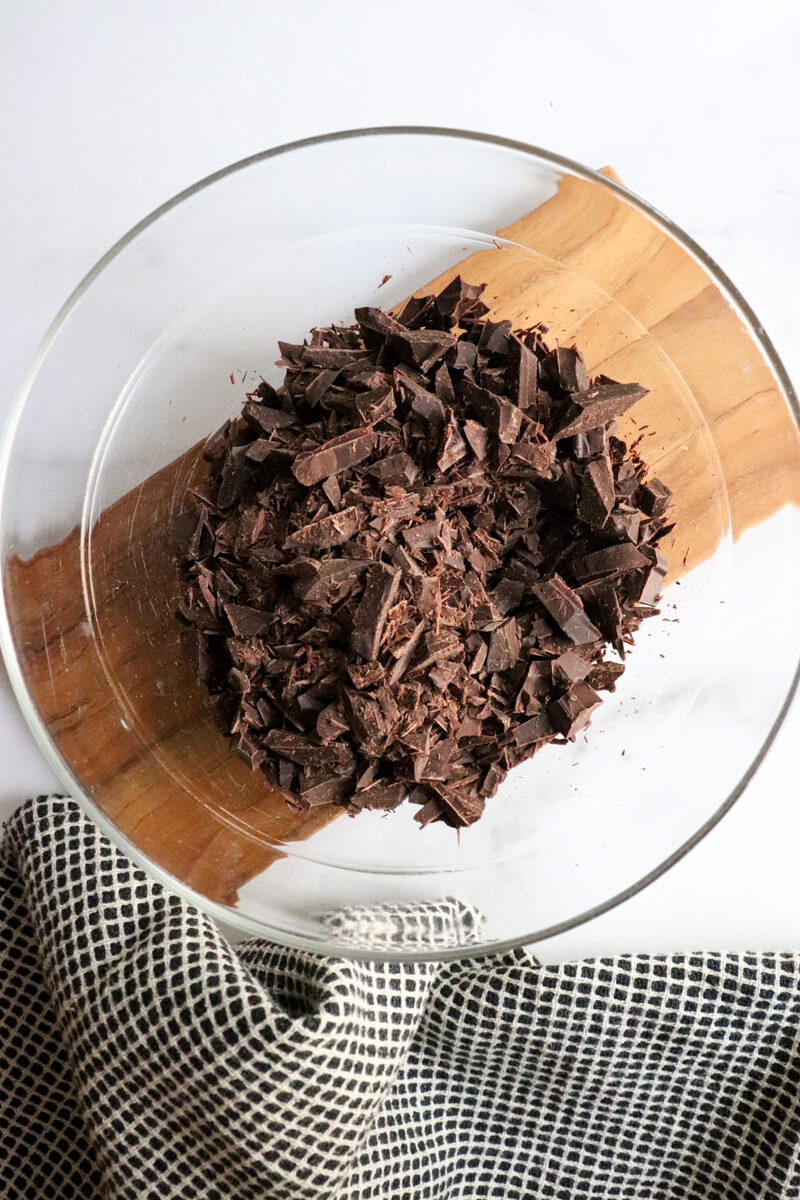
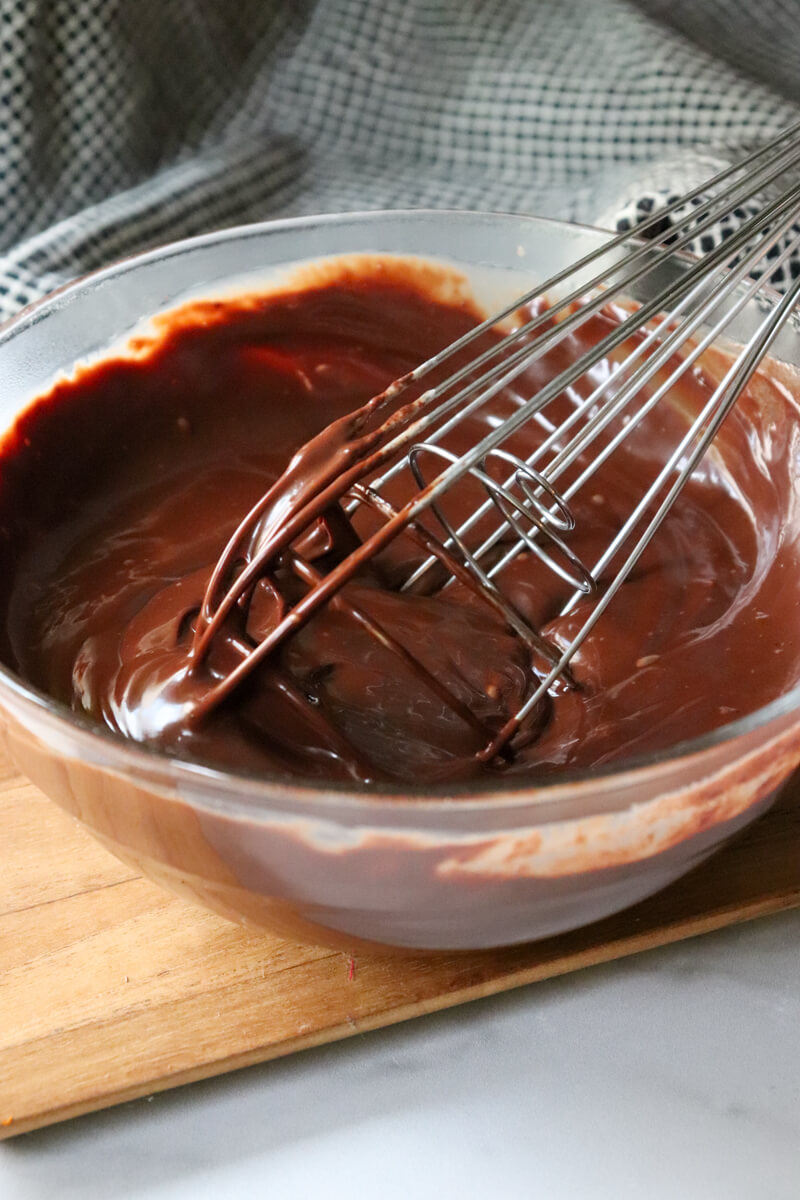
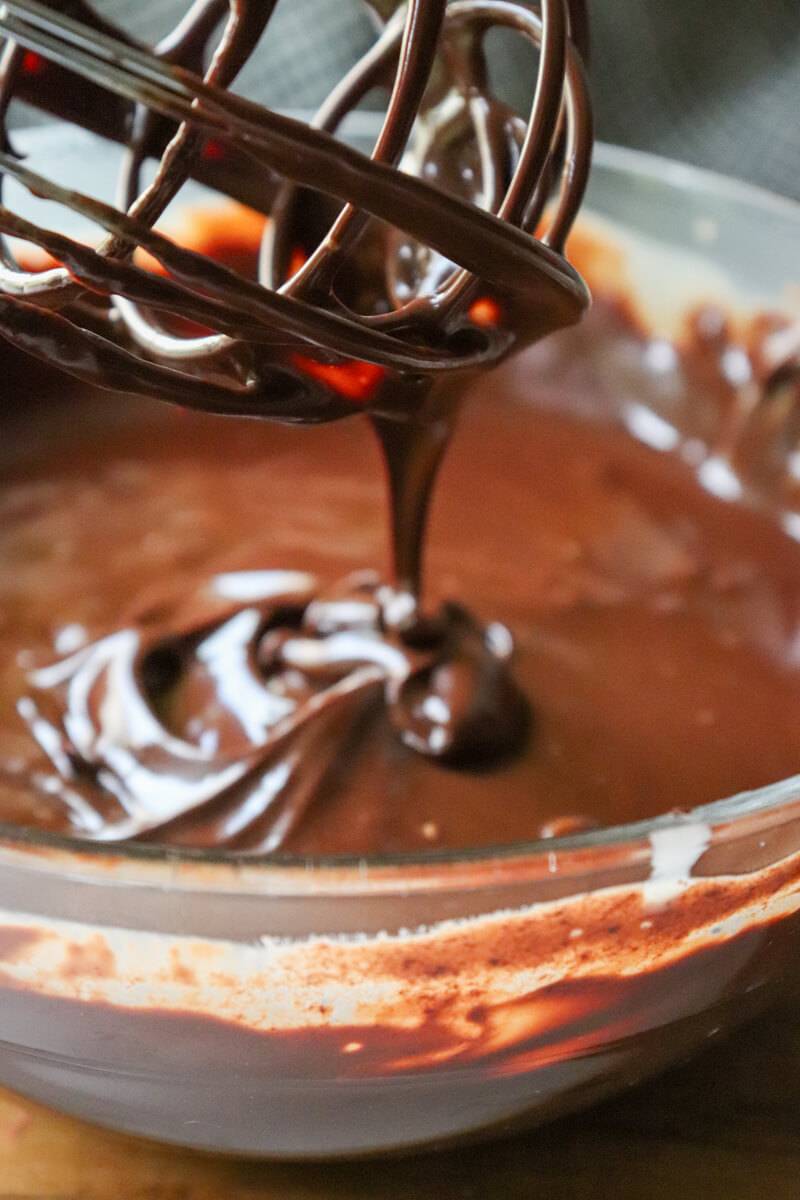
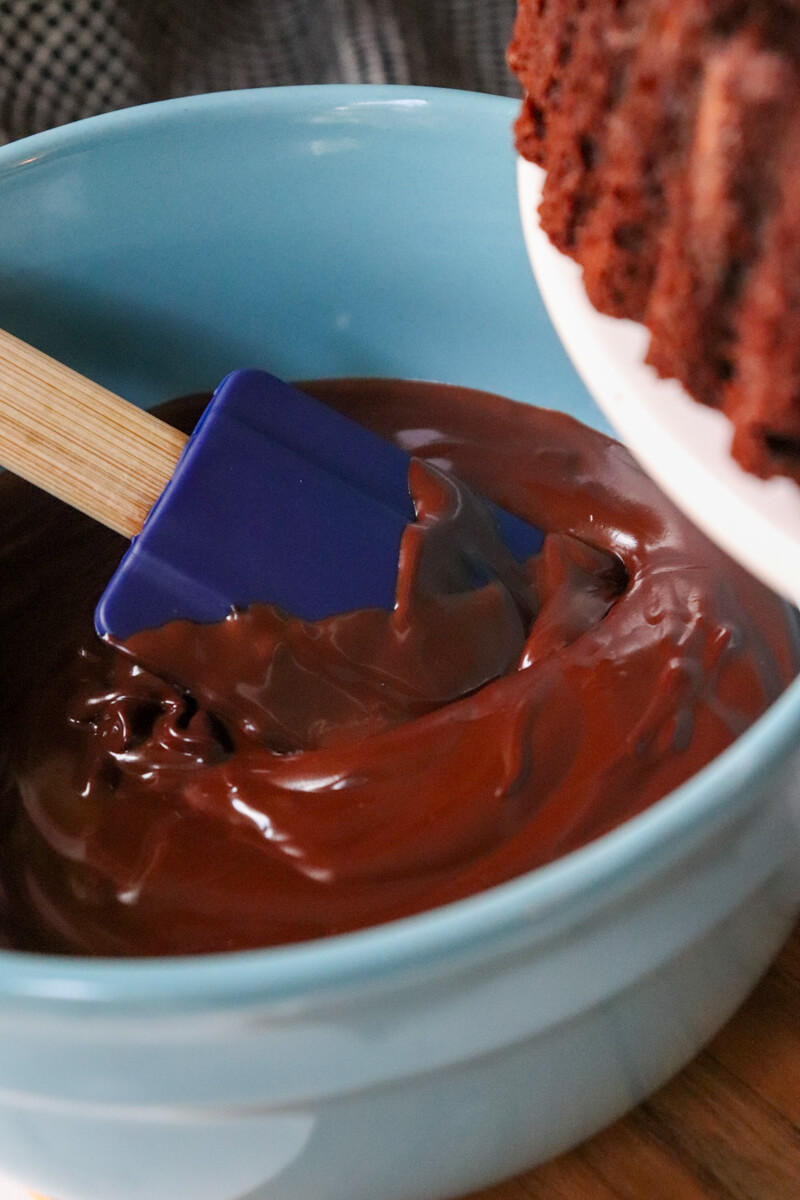
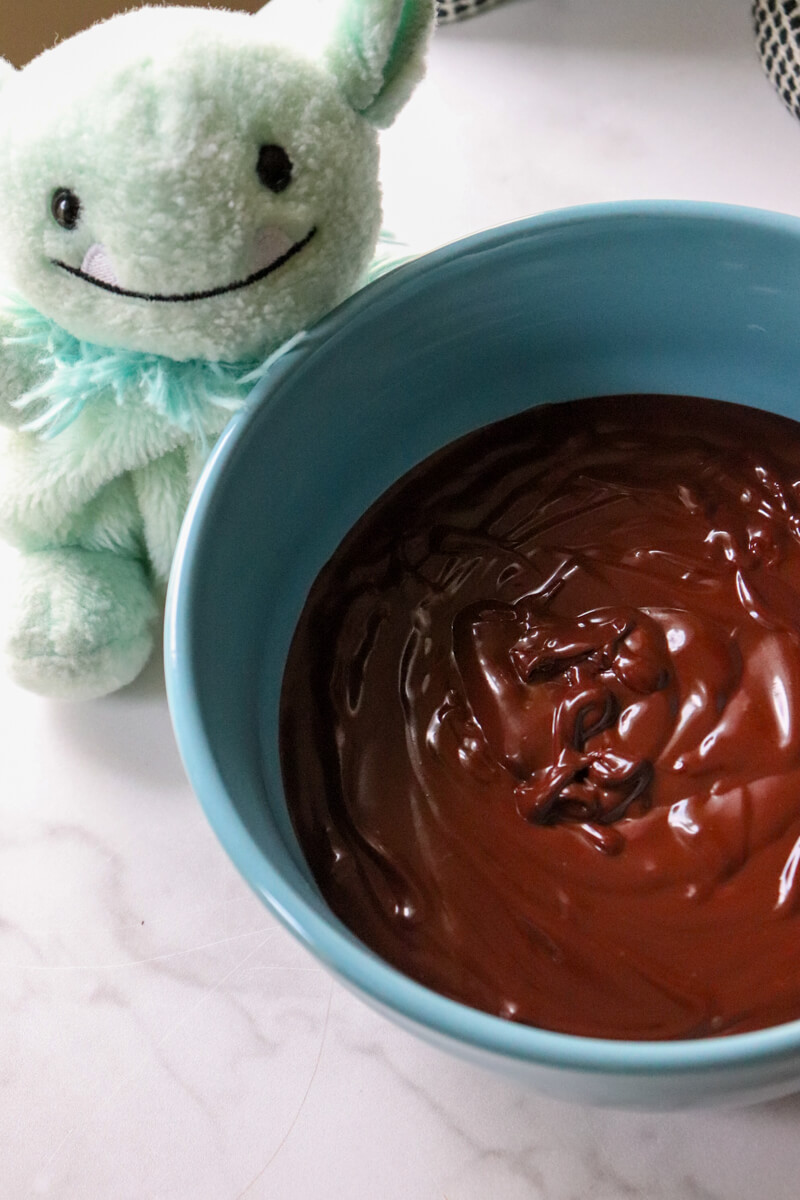
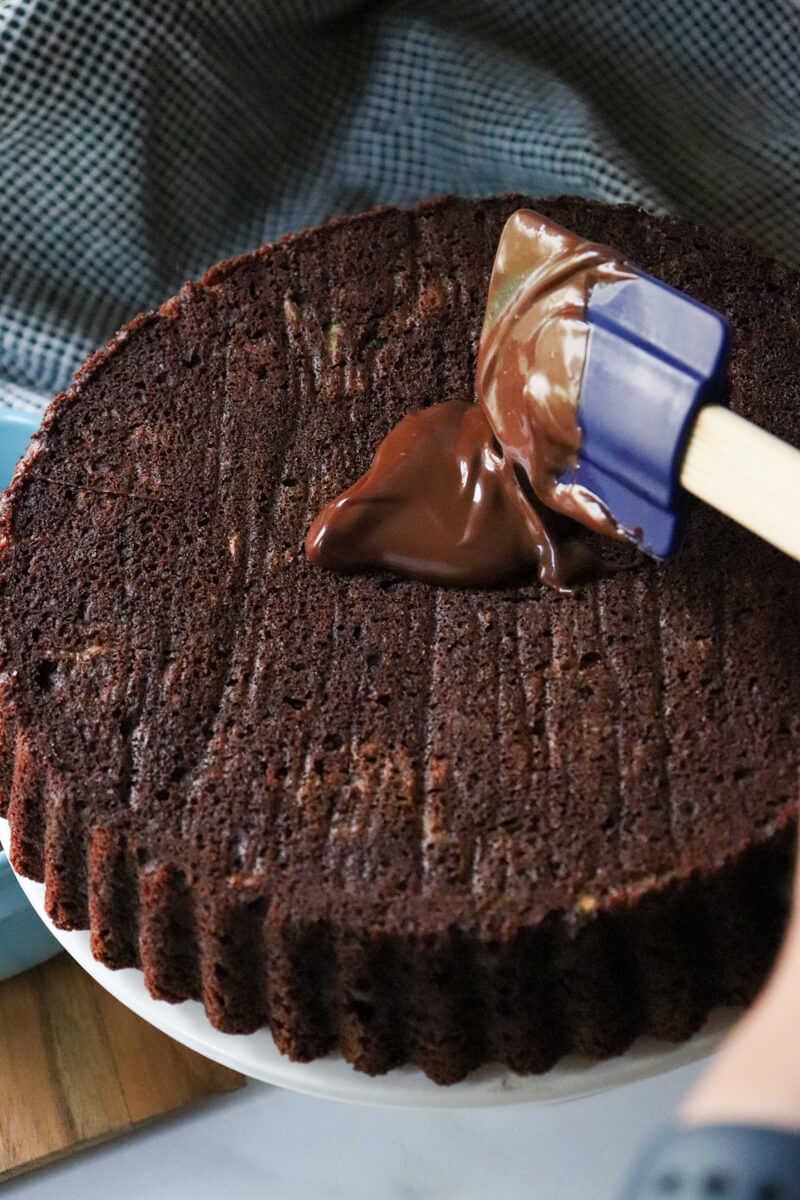
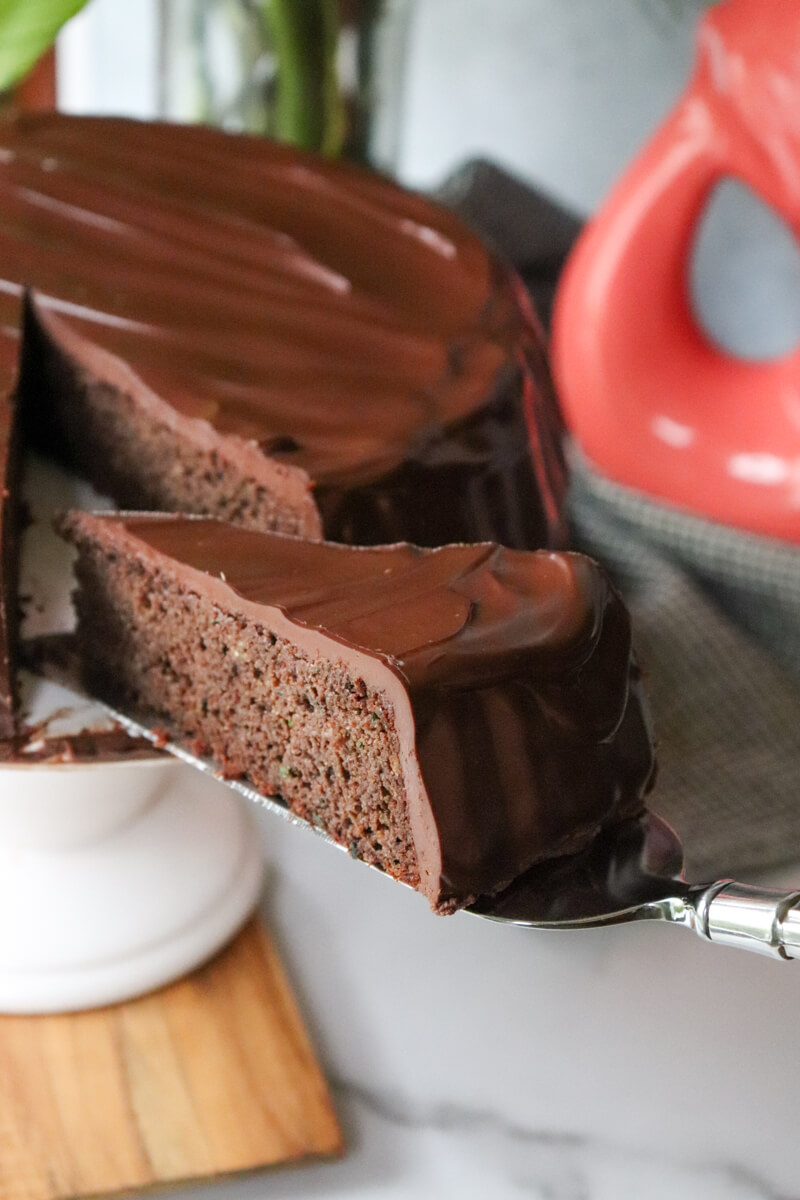
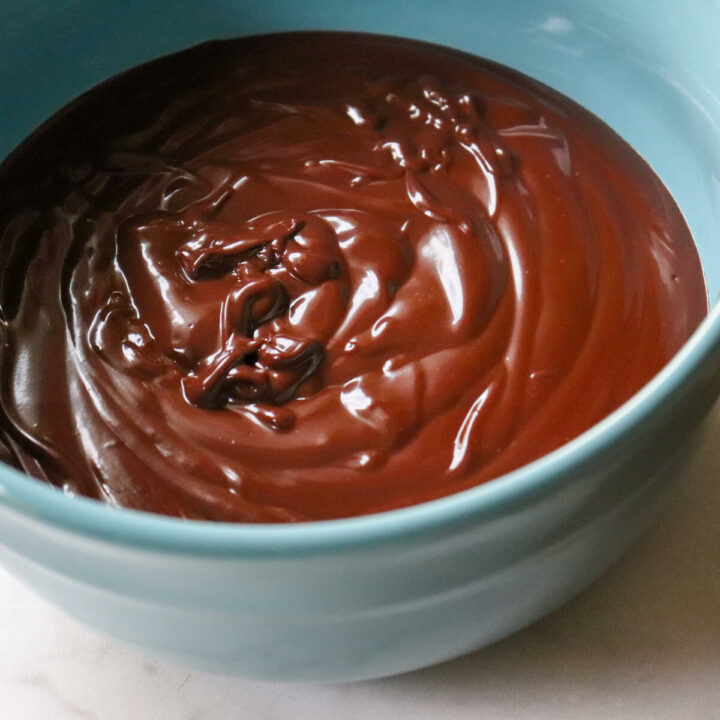
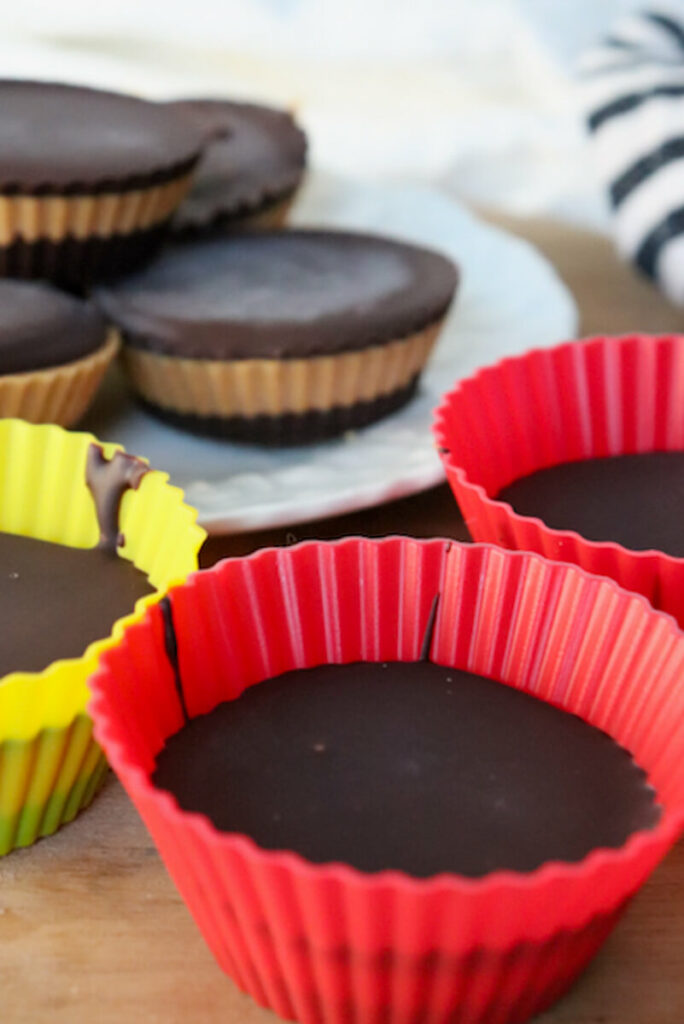
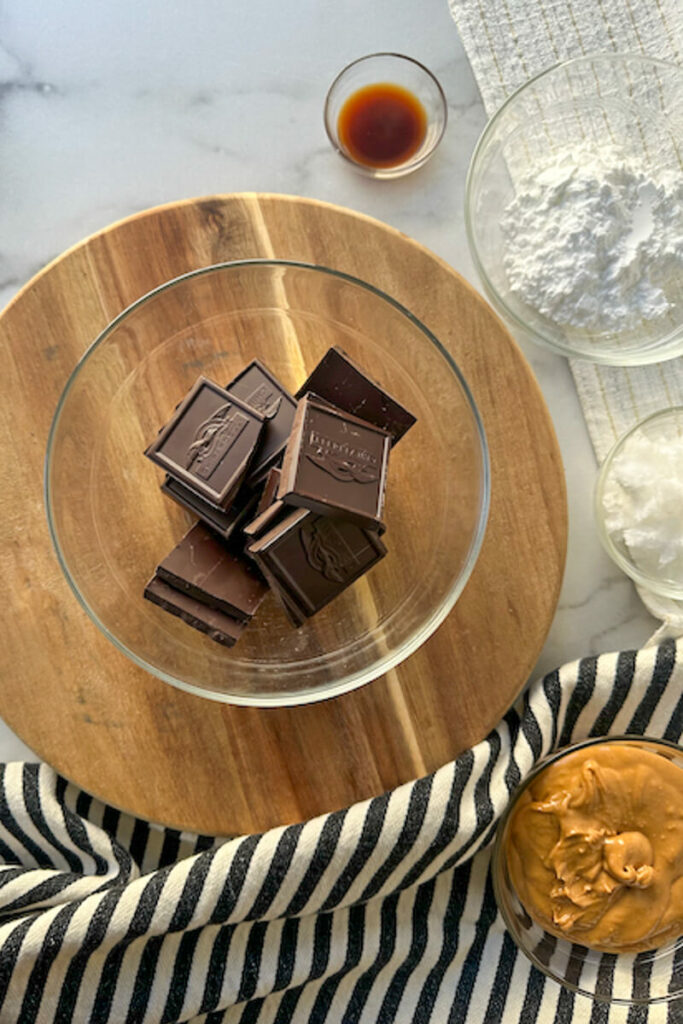
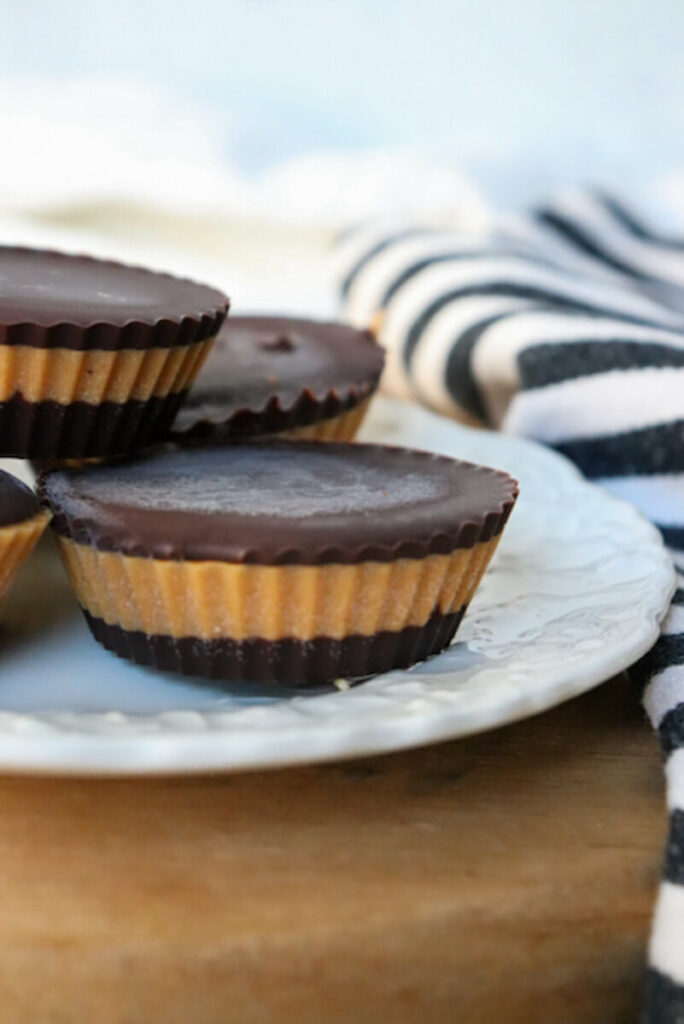
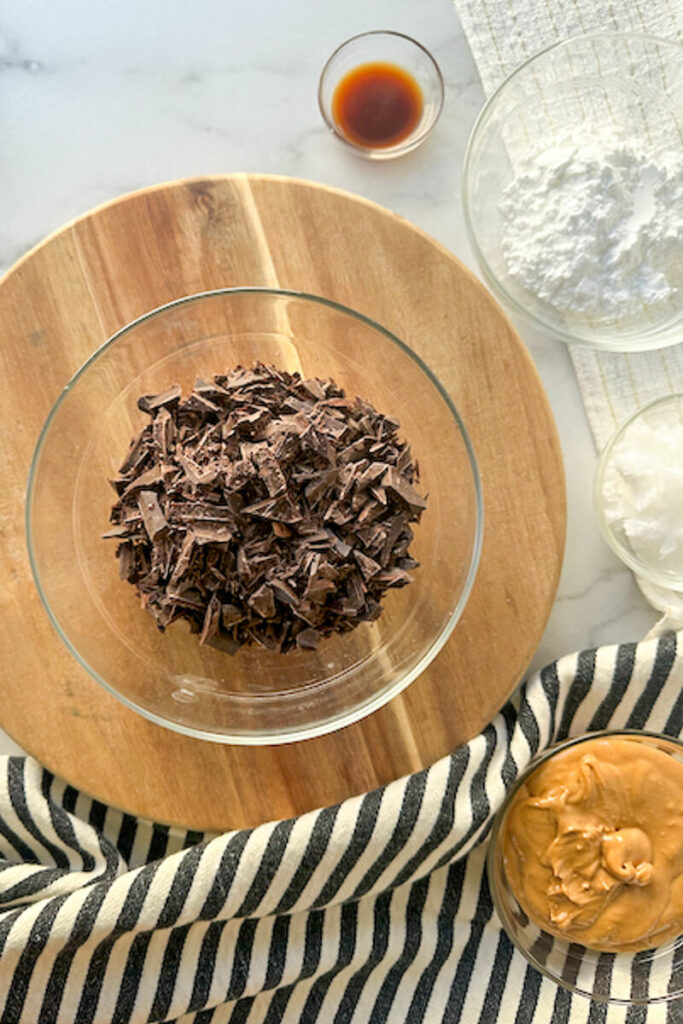
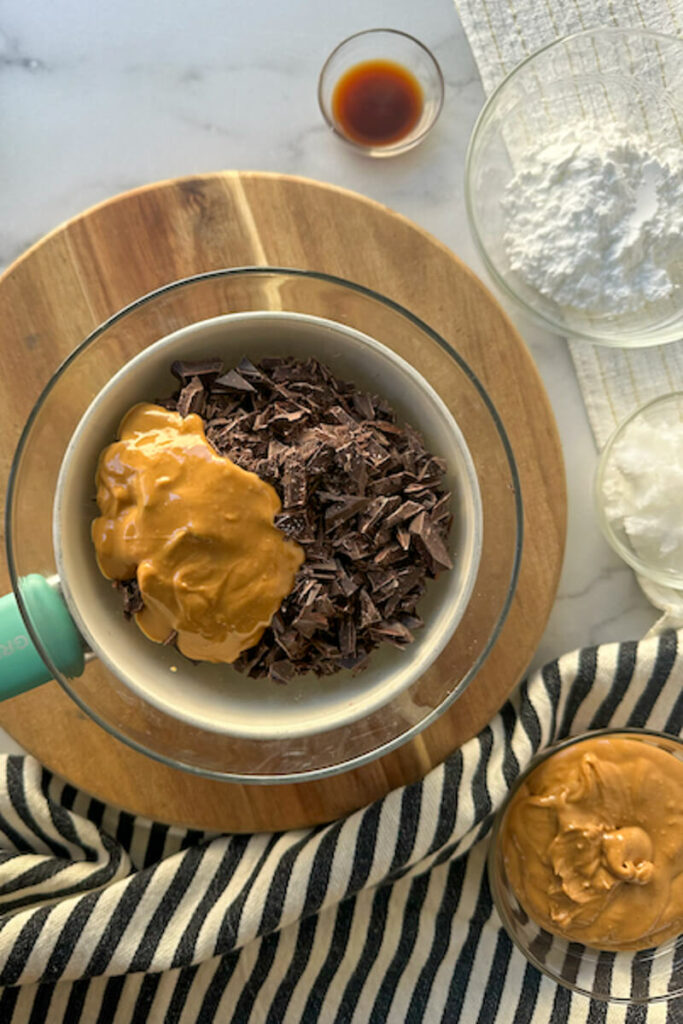
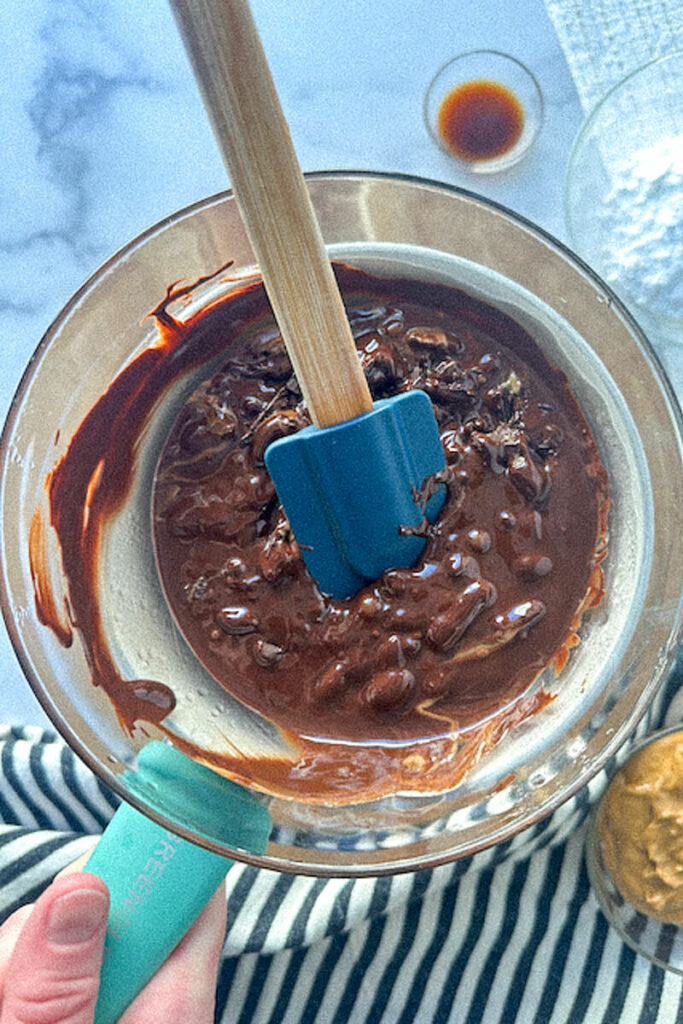
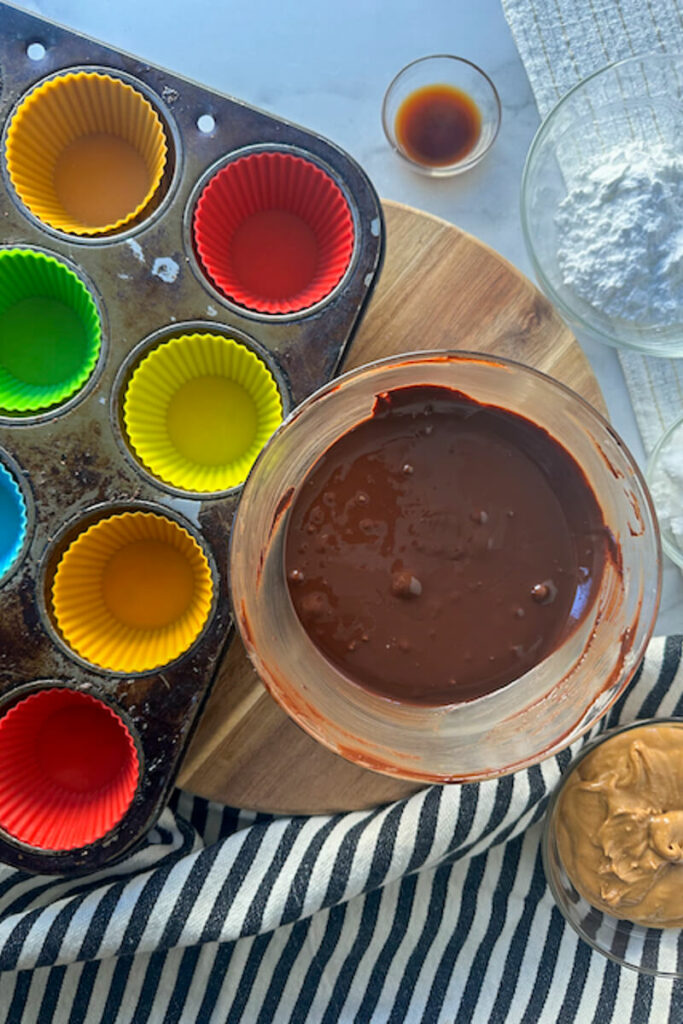
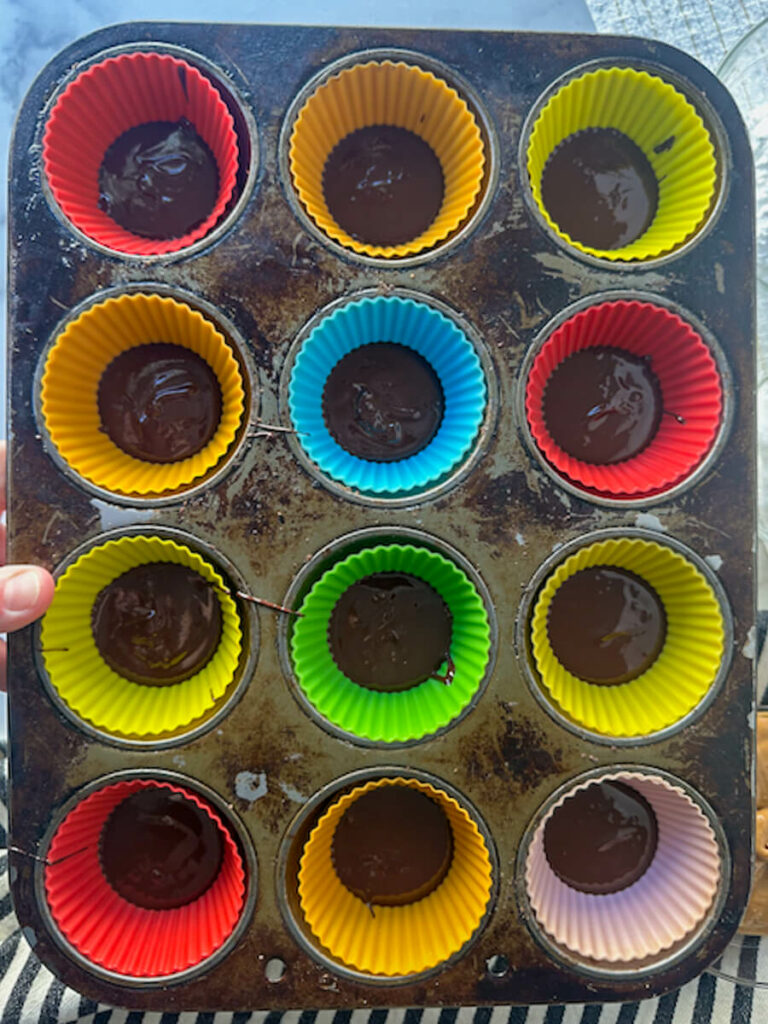
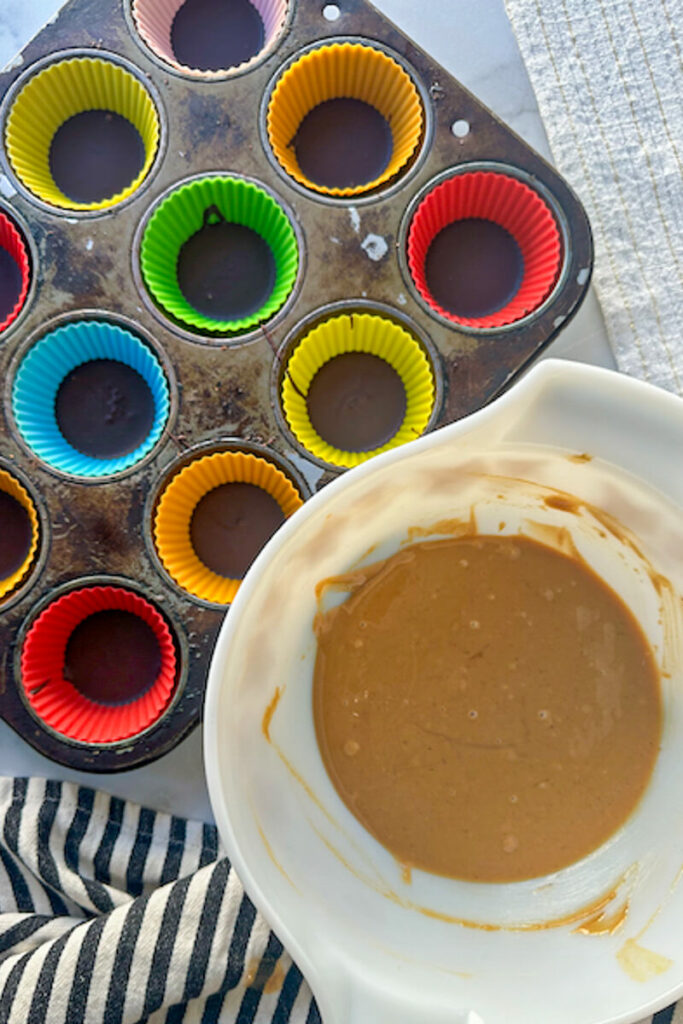
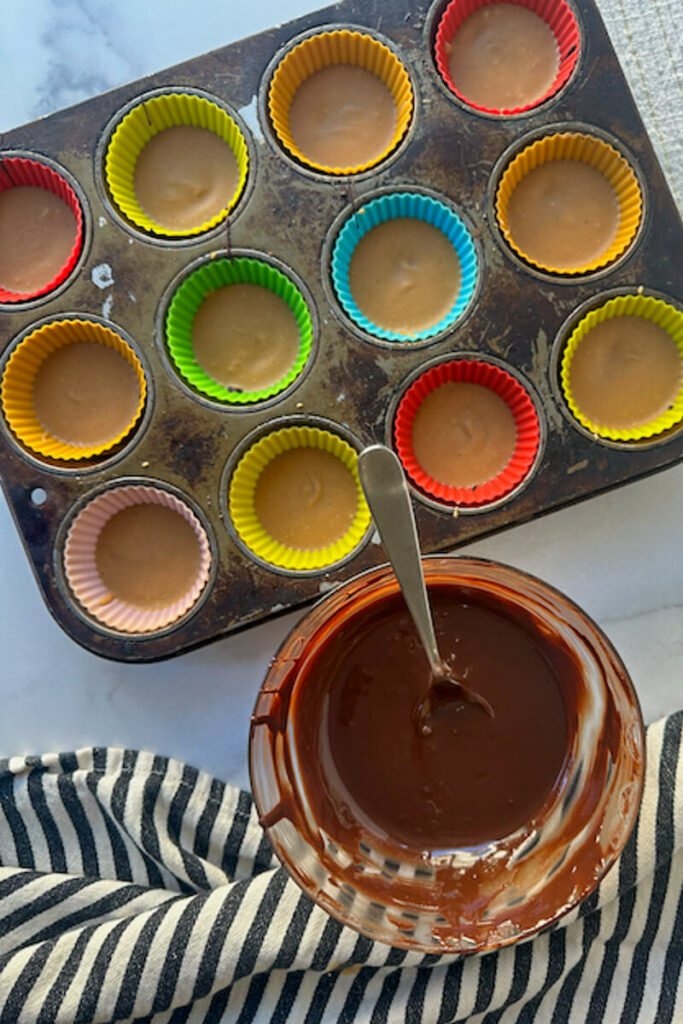
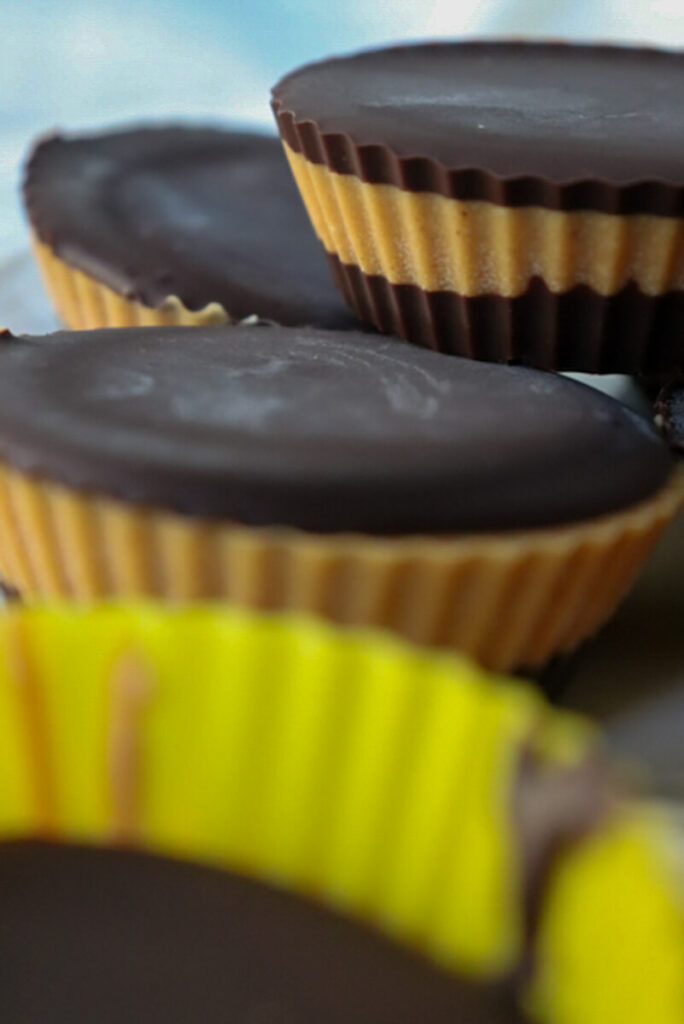
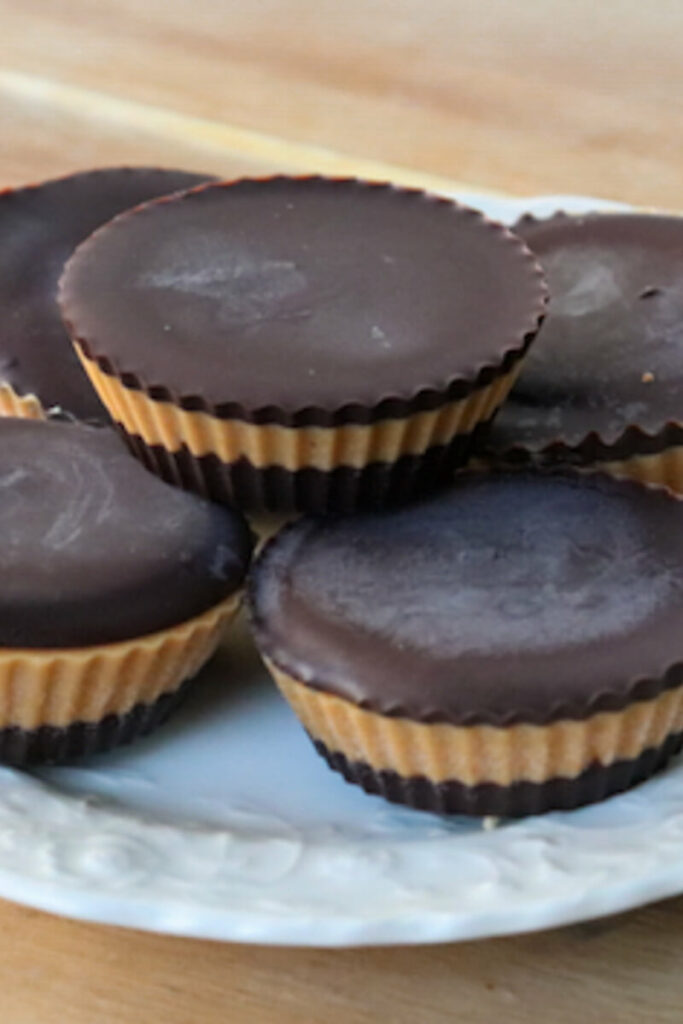
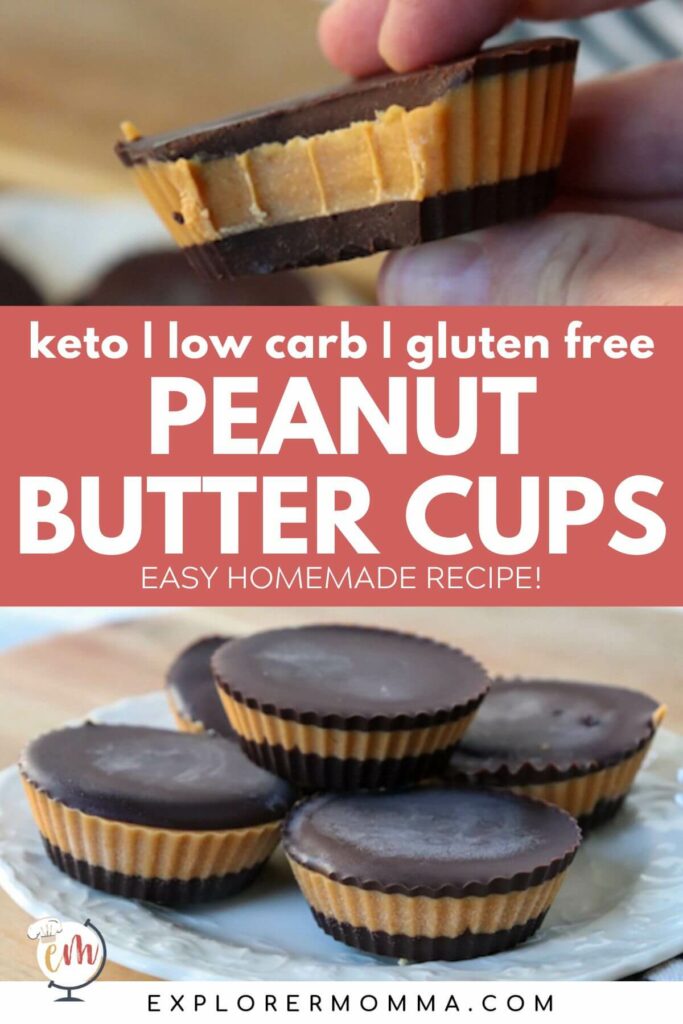
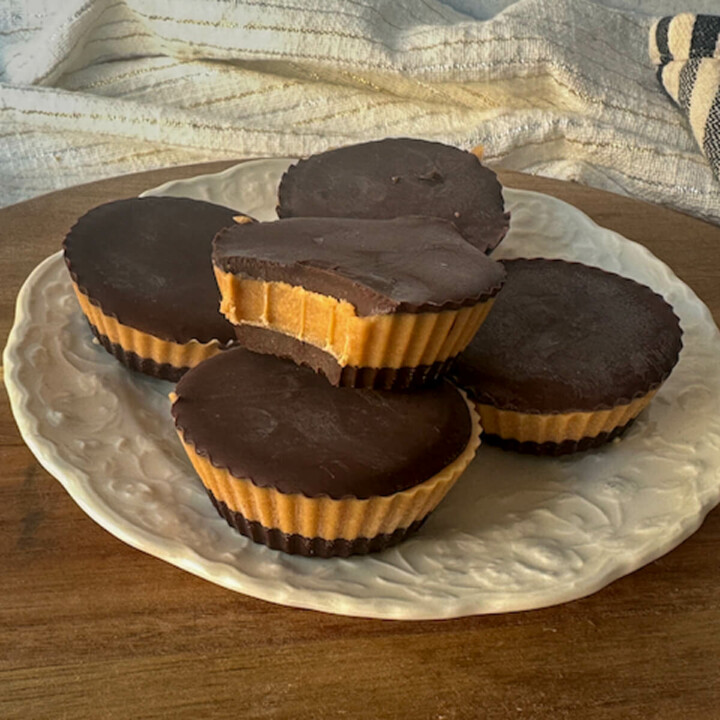
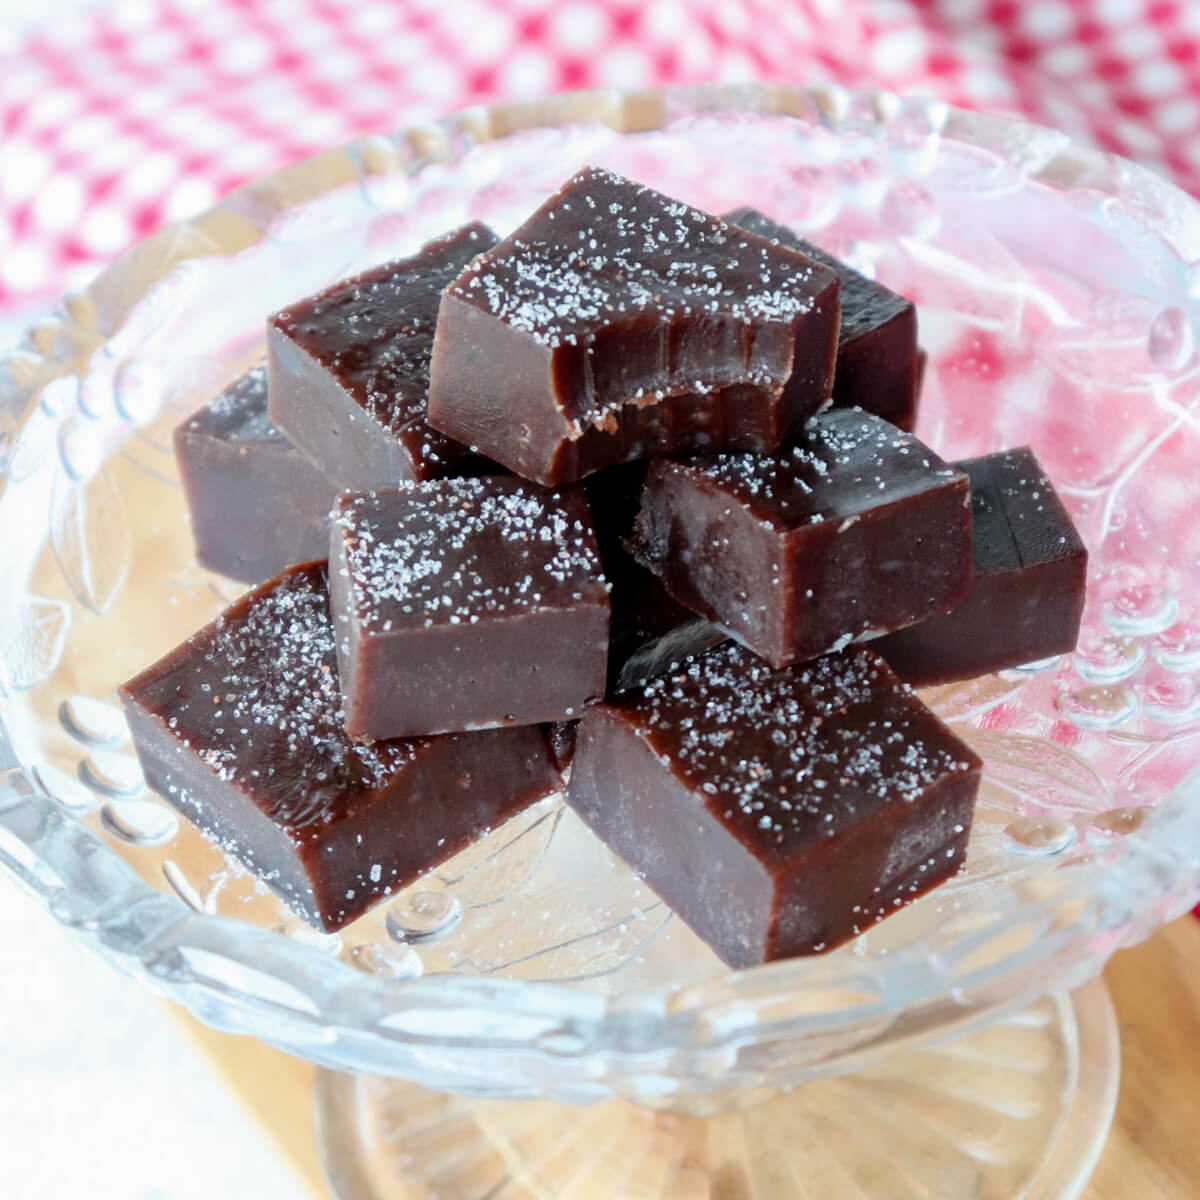
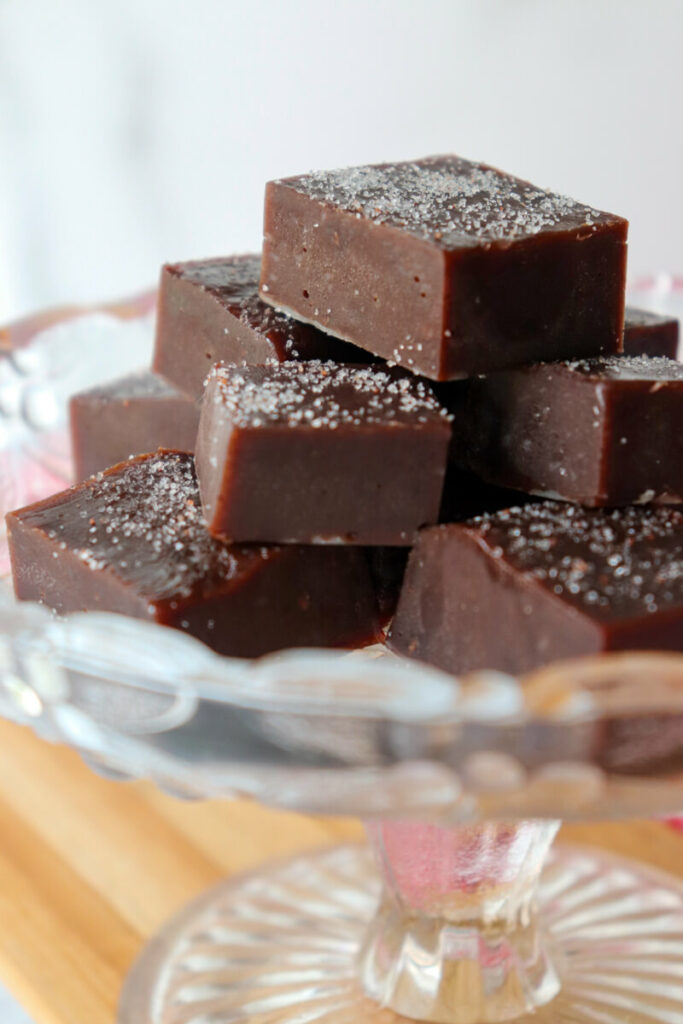
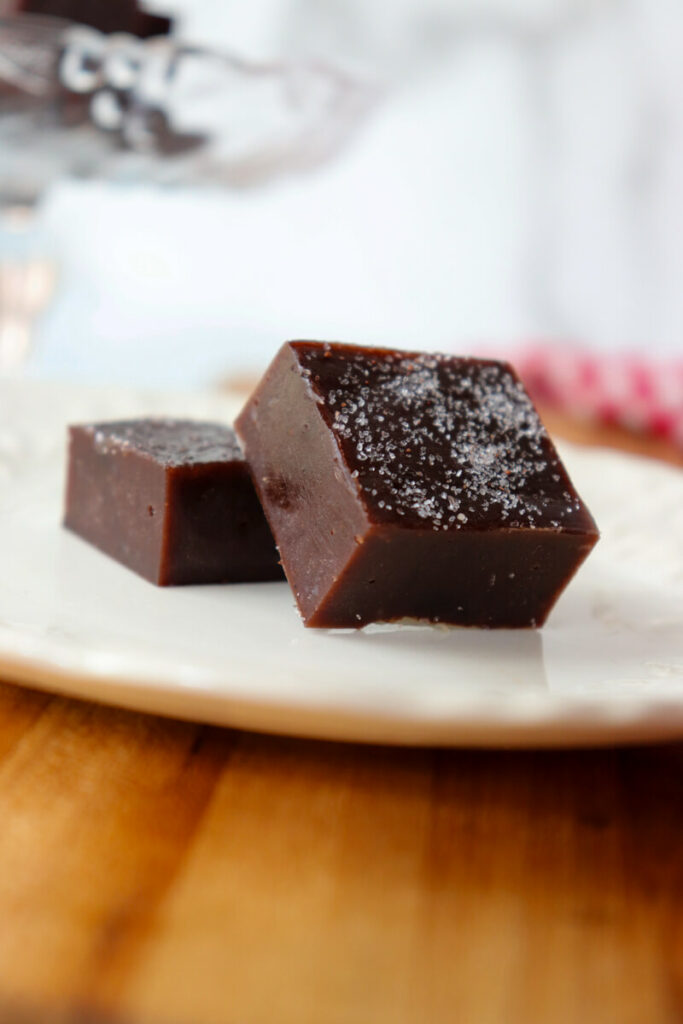
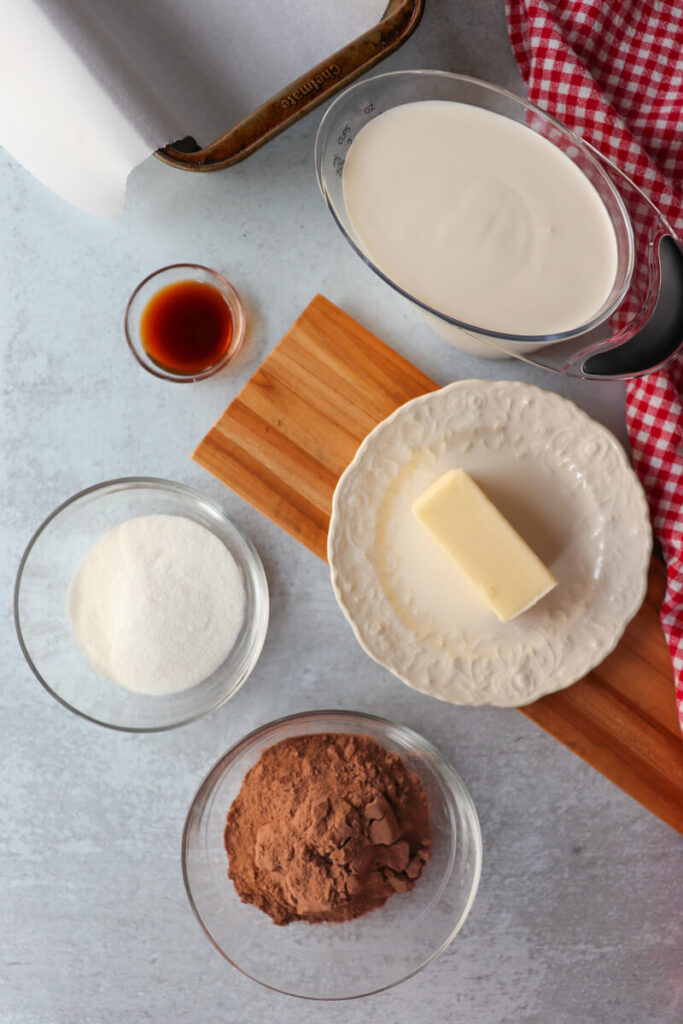
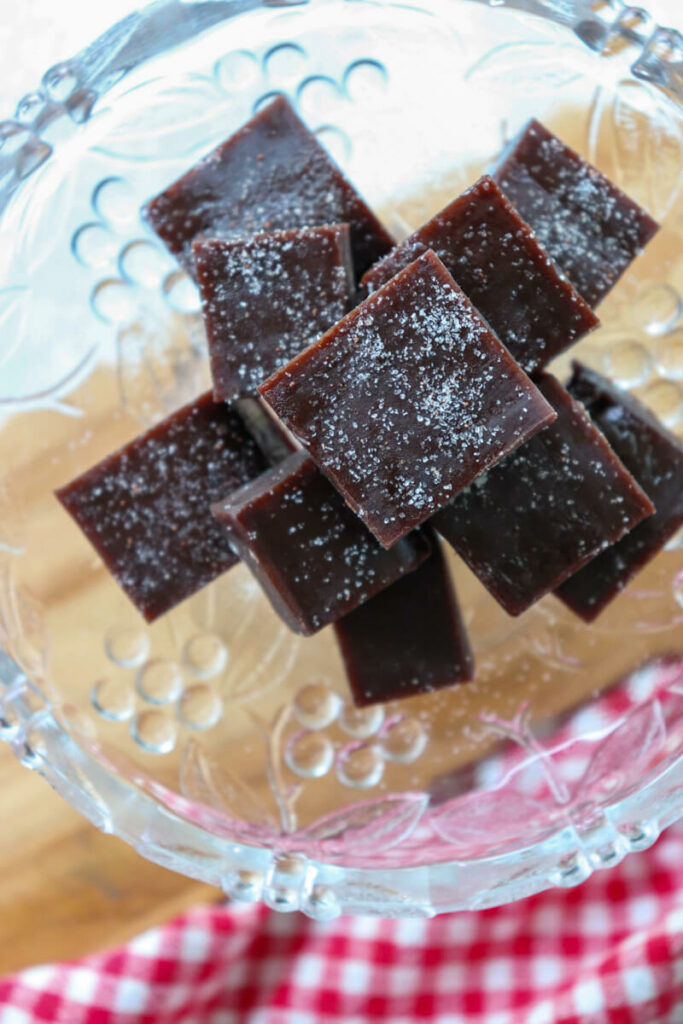
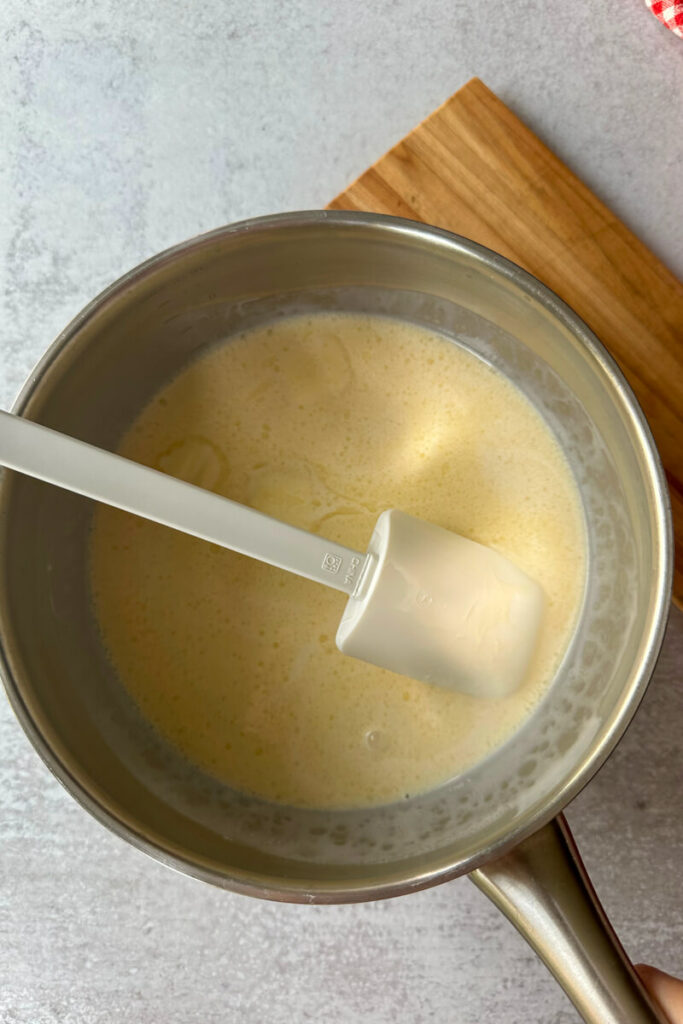
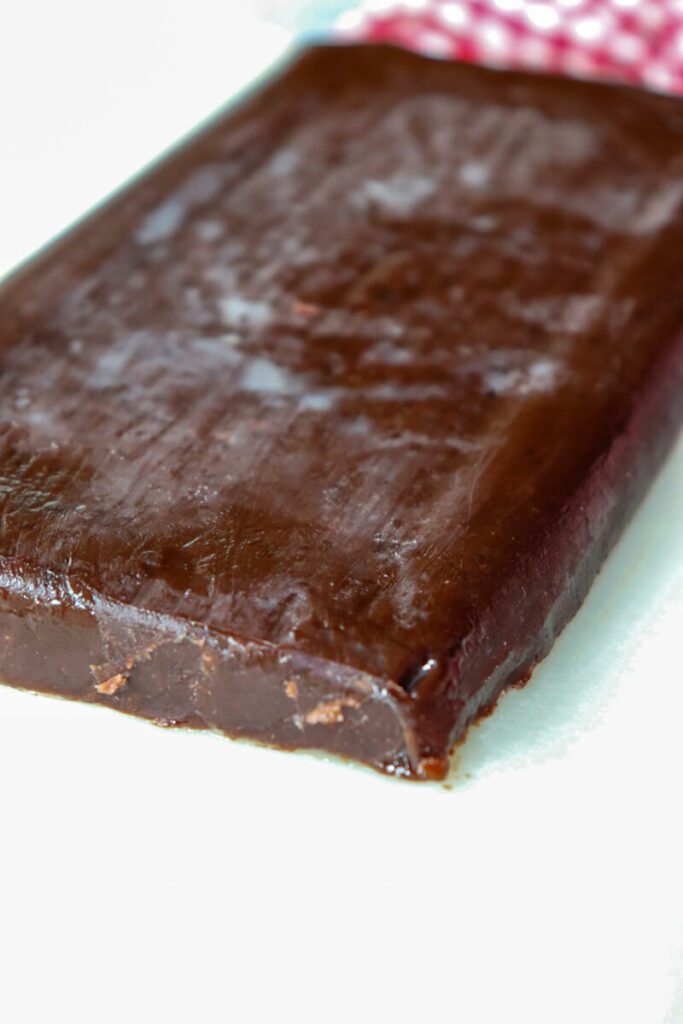
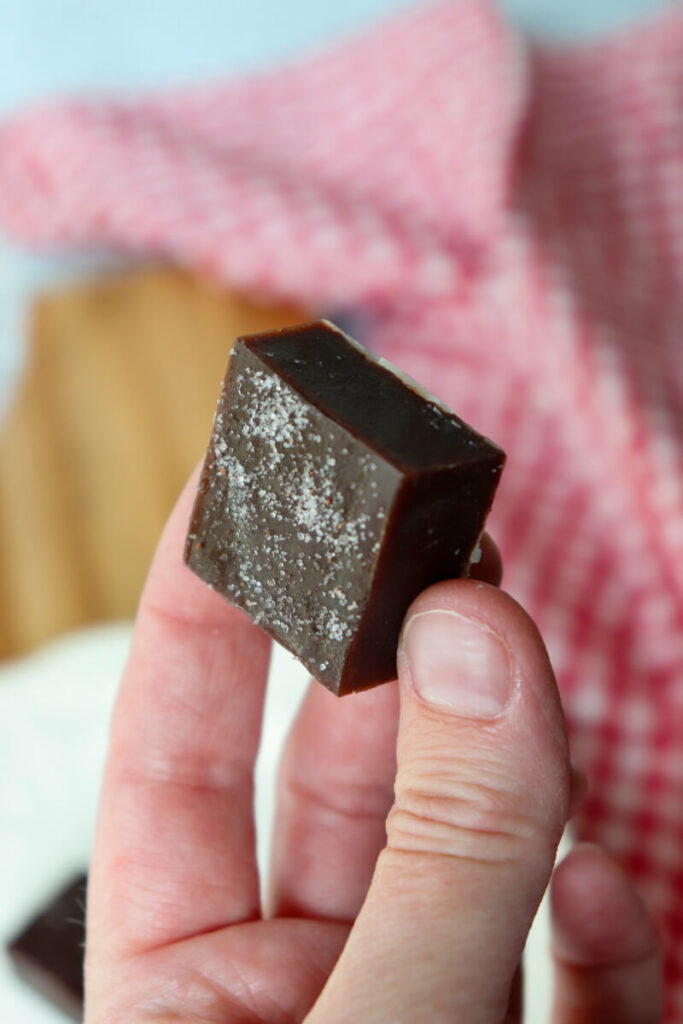
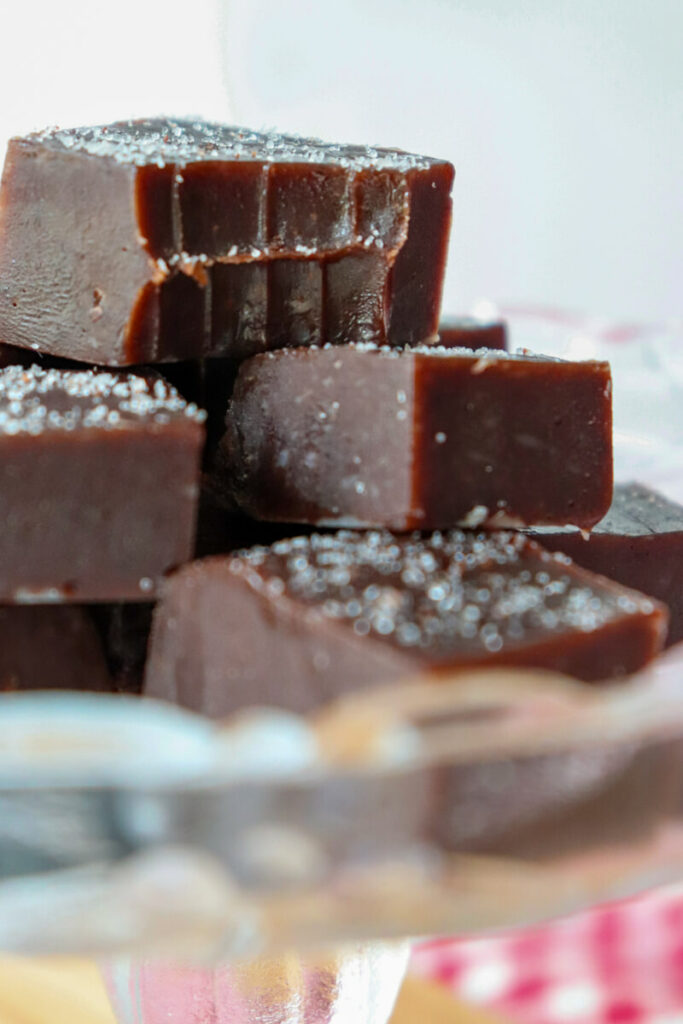
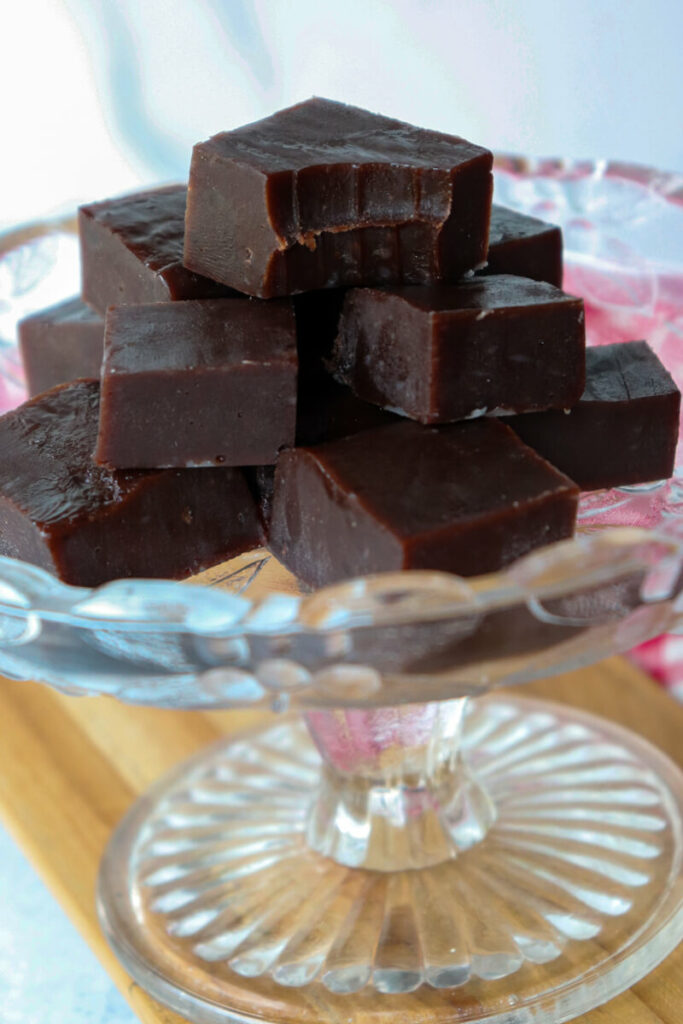
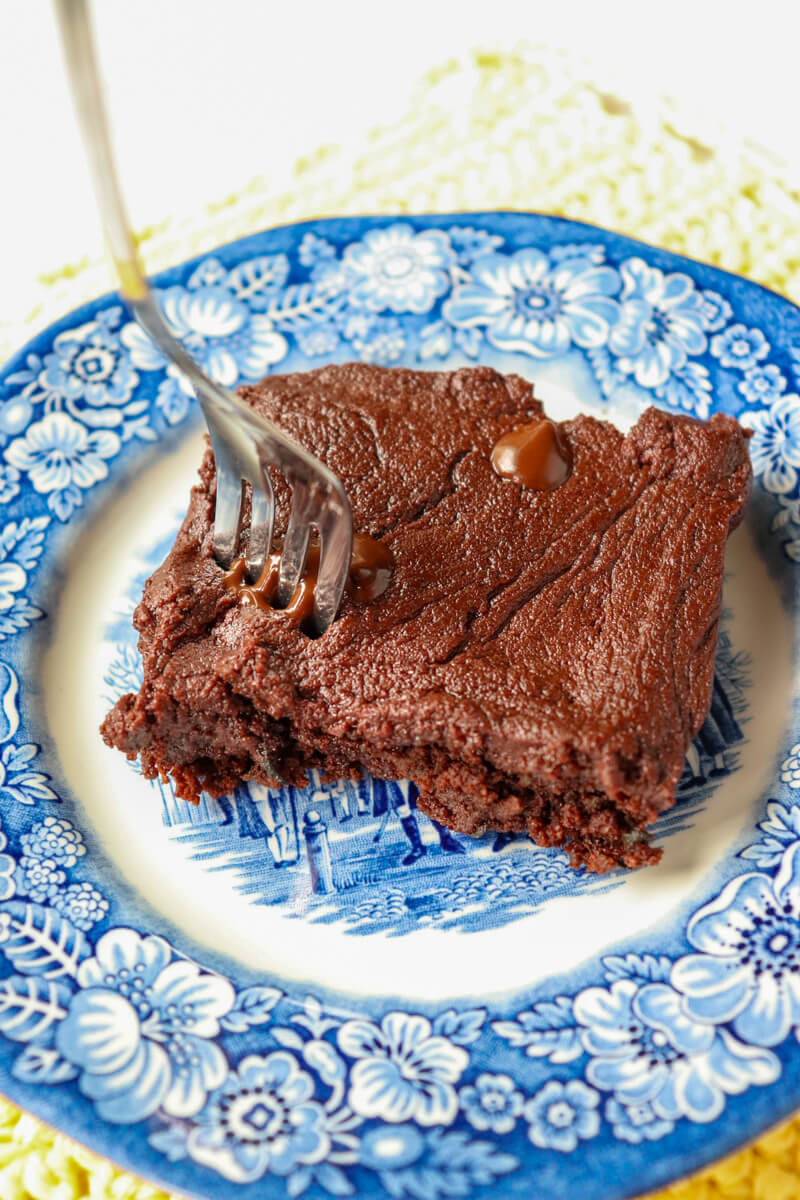
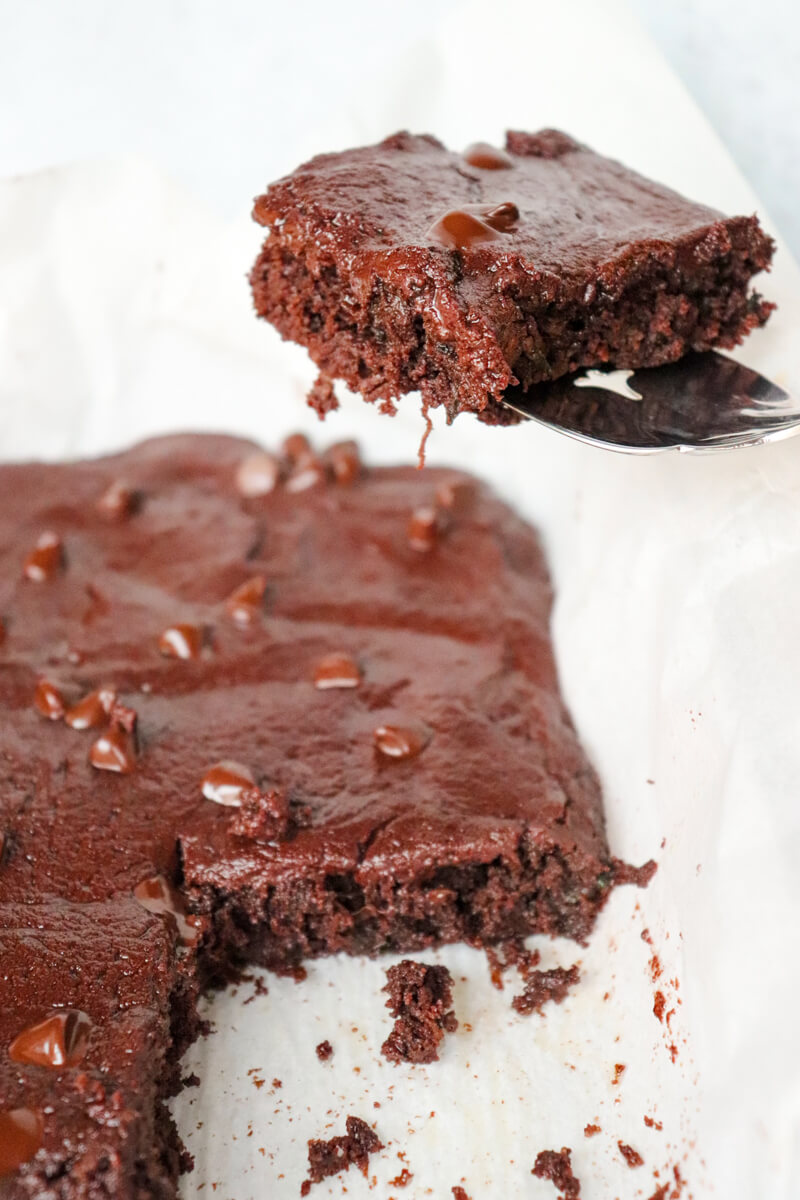
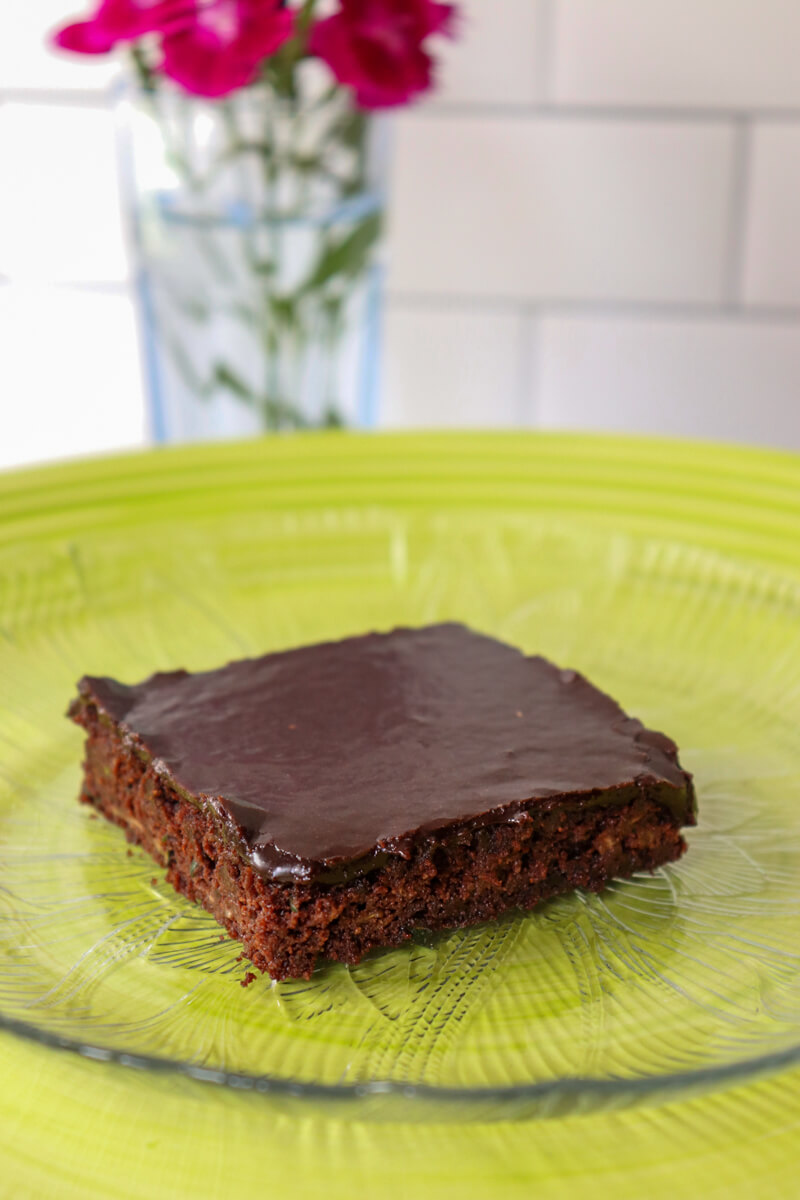
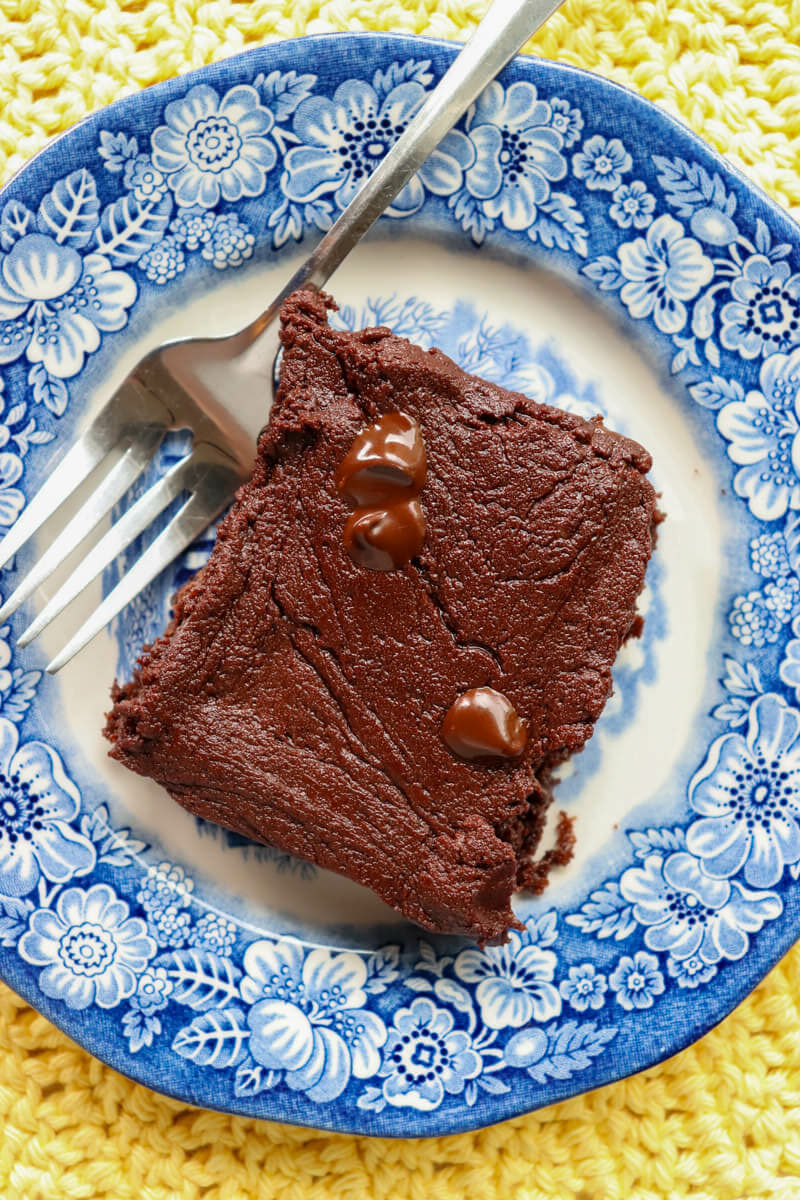
Keto Chocolate Bark
Chocolate bark is one of my favorite keto snacks because it feels like candy but stays low carb. Simply melt sugar-free chocolate (or unsweetened chocolate and add your preferred sweetener) and top with:
- chopped nuts
- coconut flakes (no sugar)
- sea salt
- crushed freeze-dried berries
Let it cool and break into pieces.
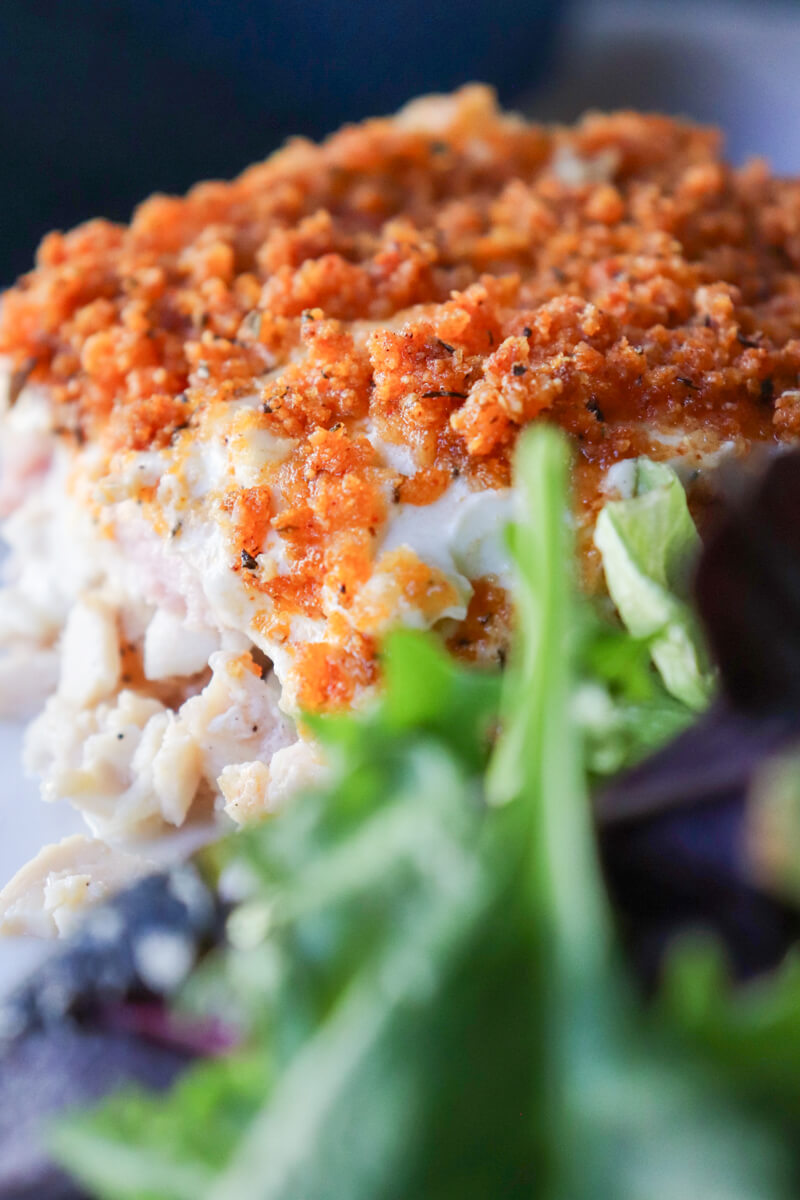
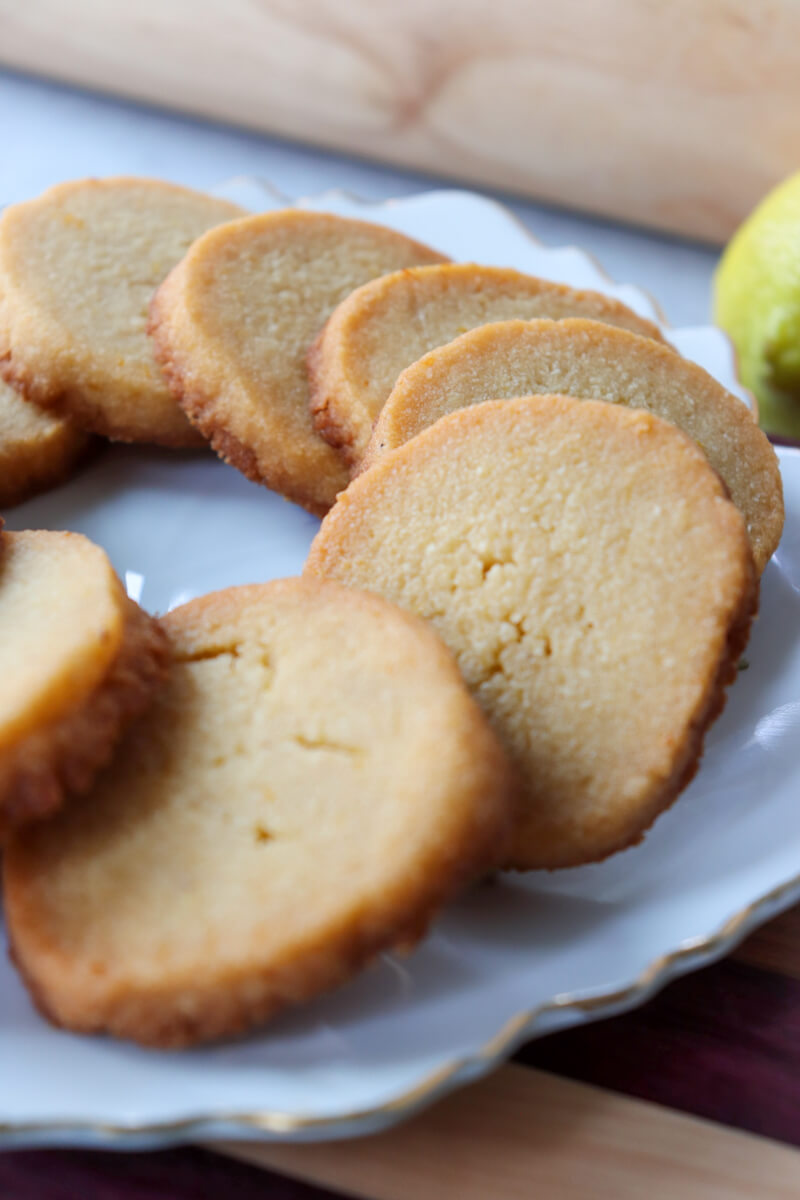
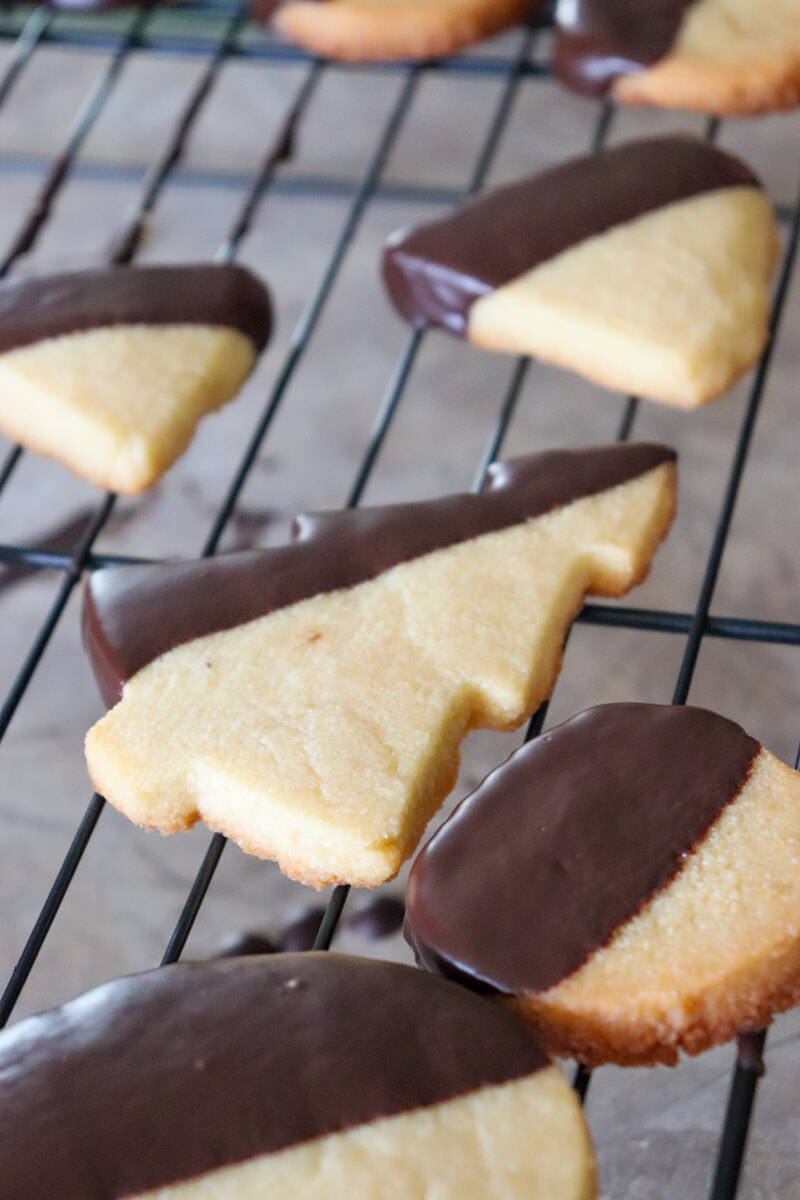
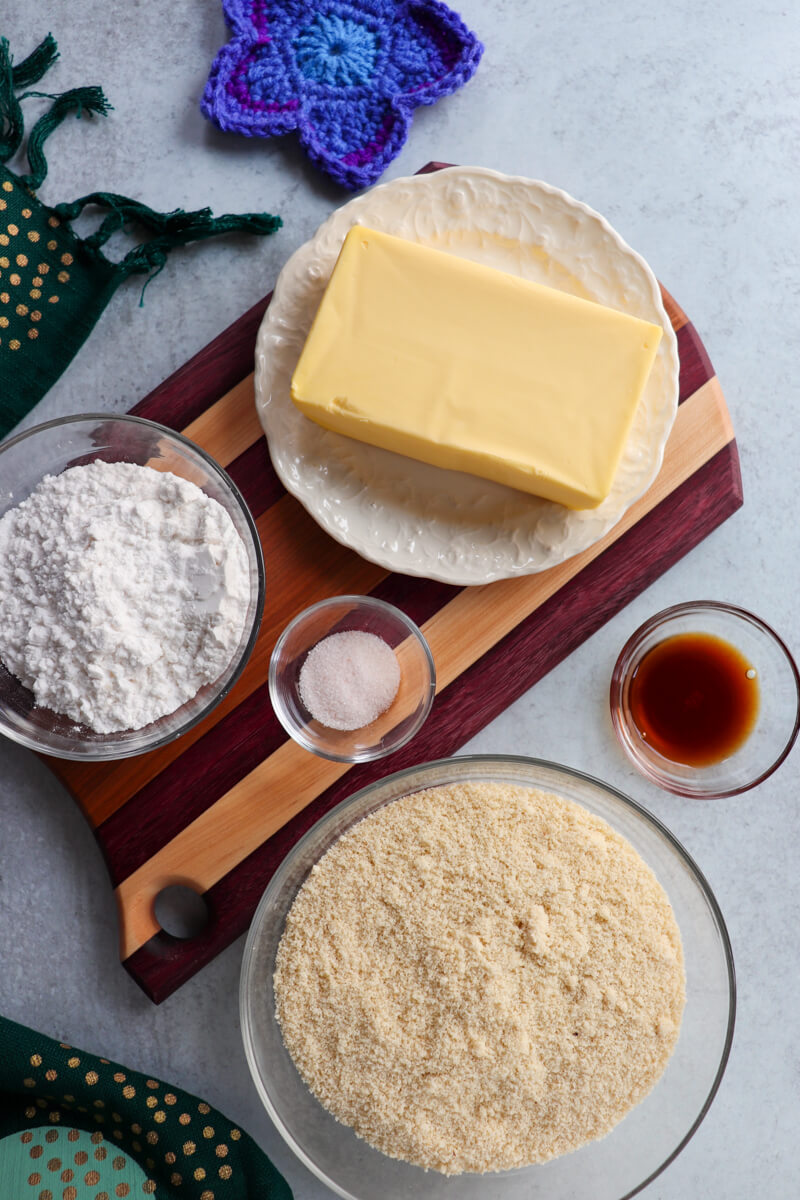
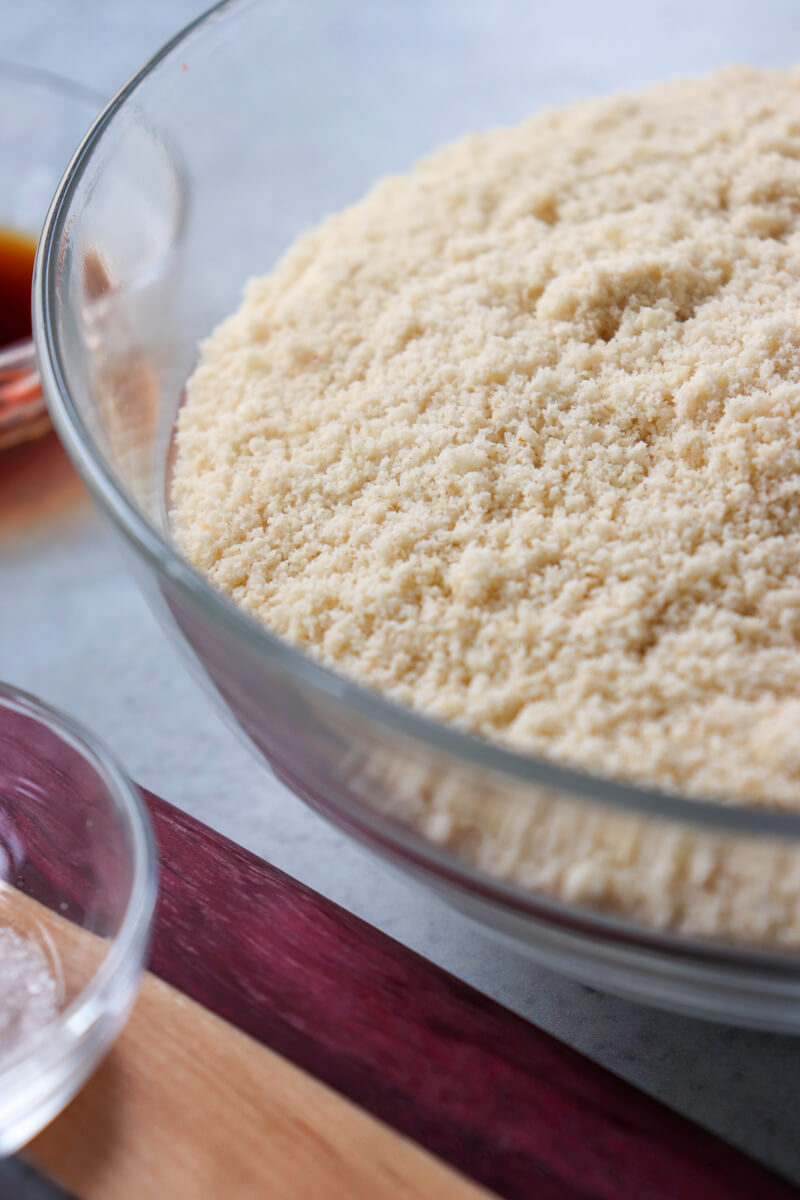
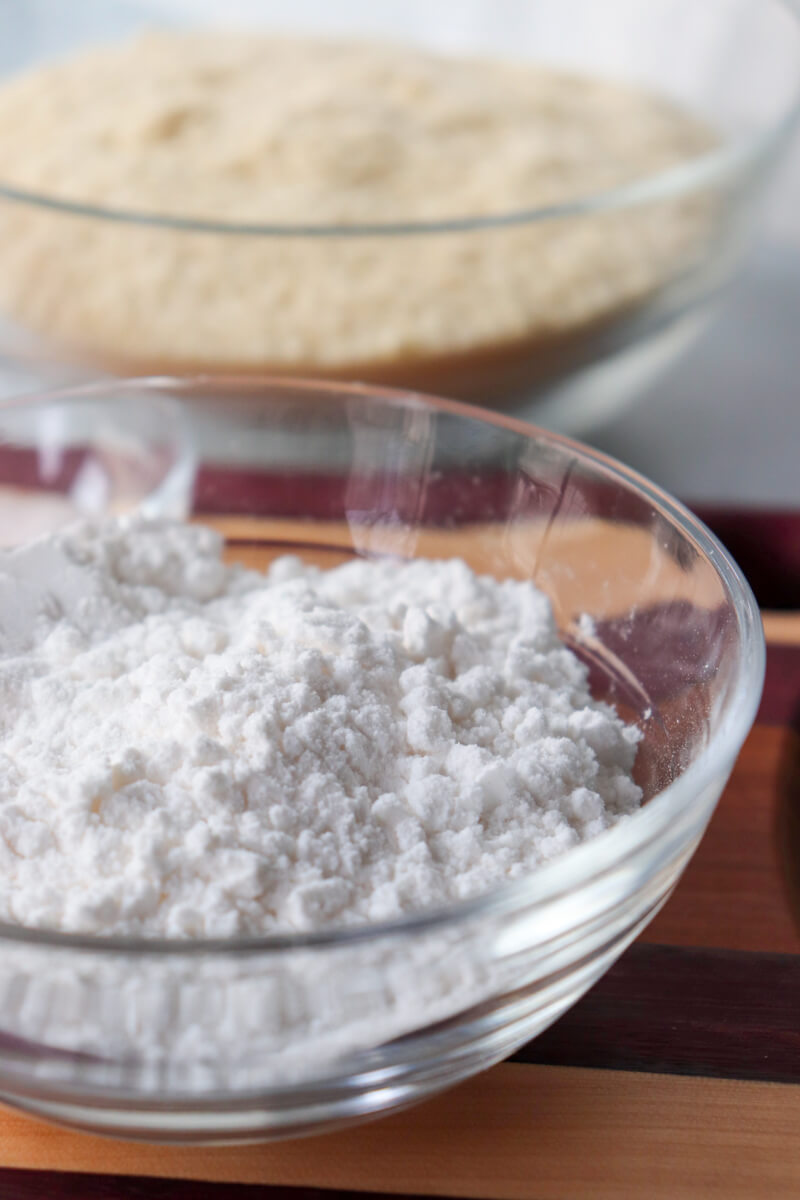
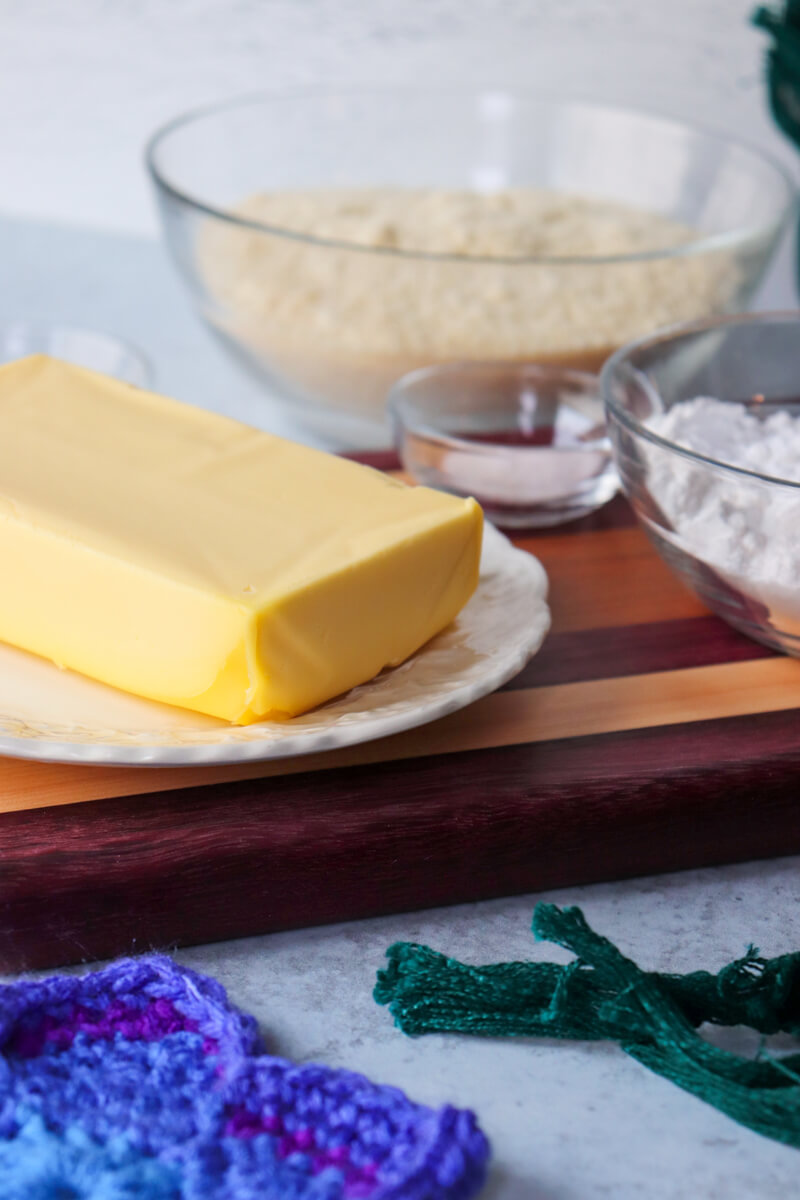
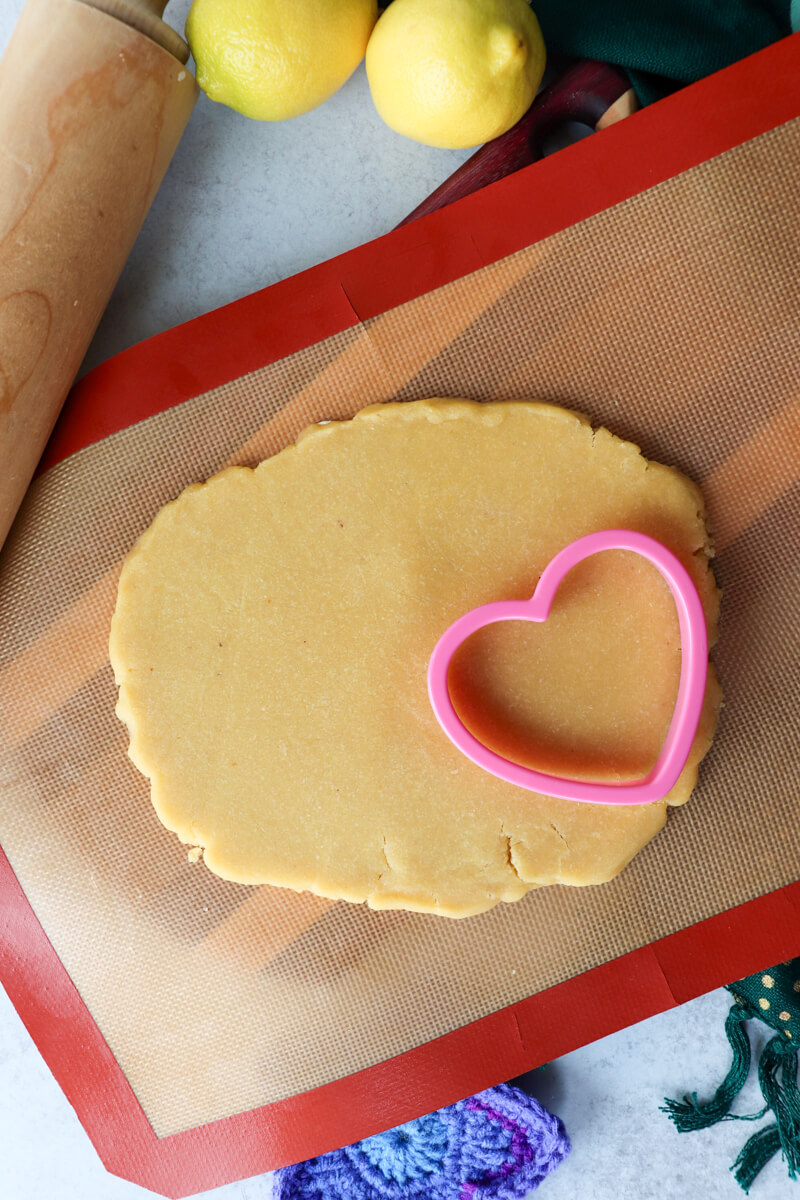
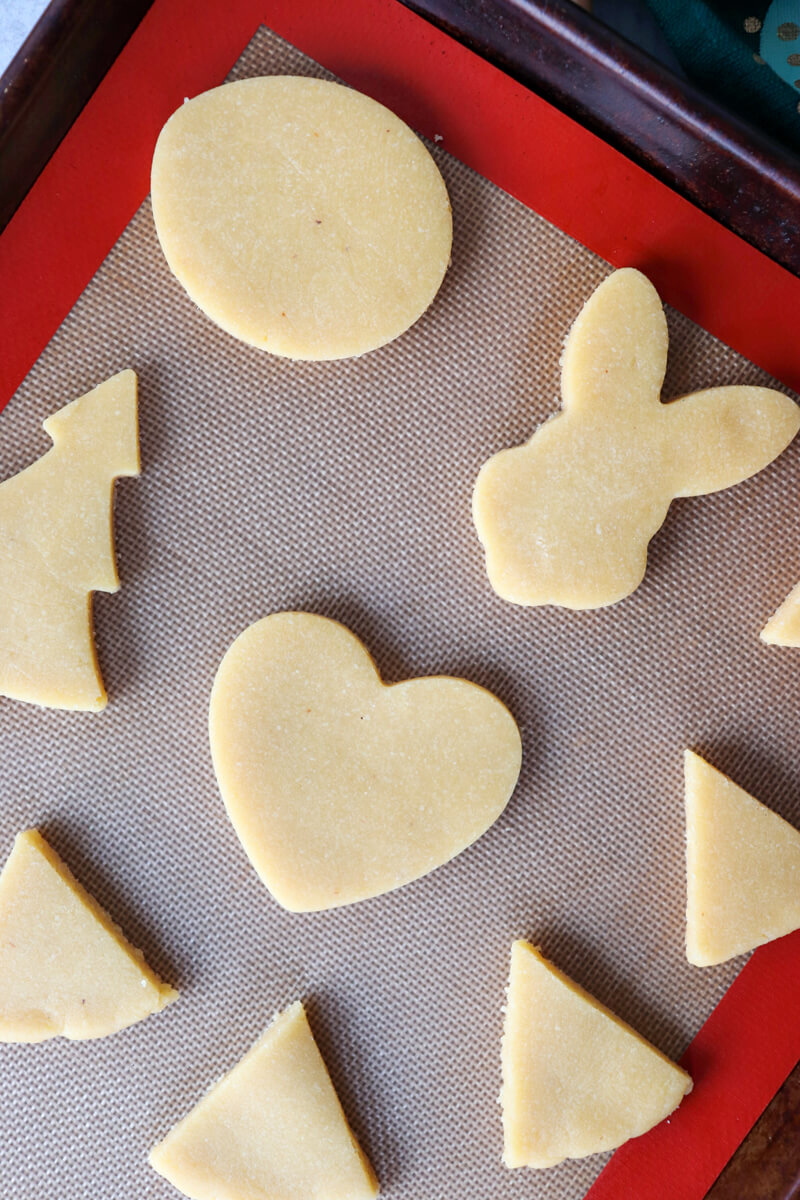
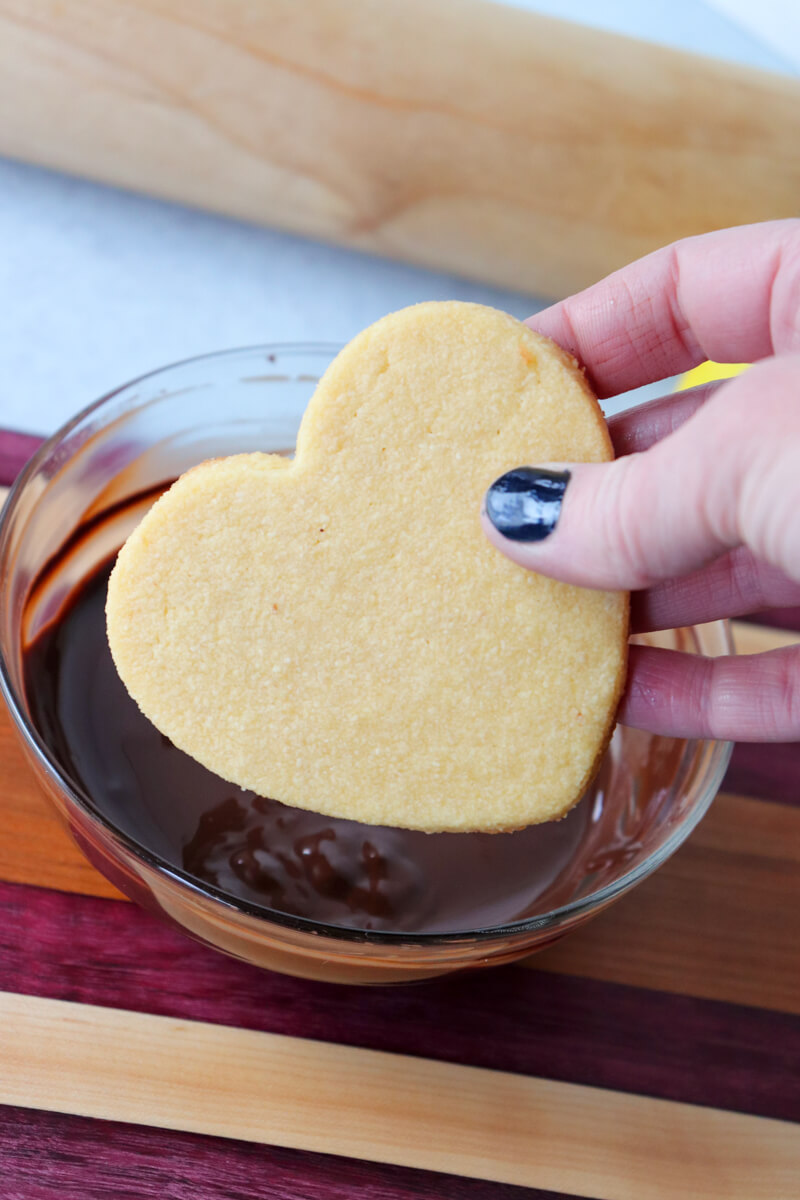
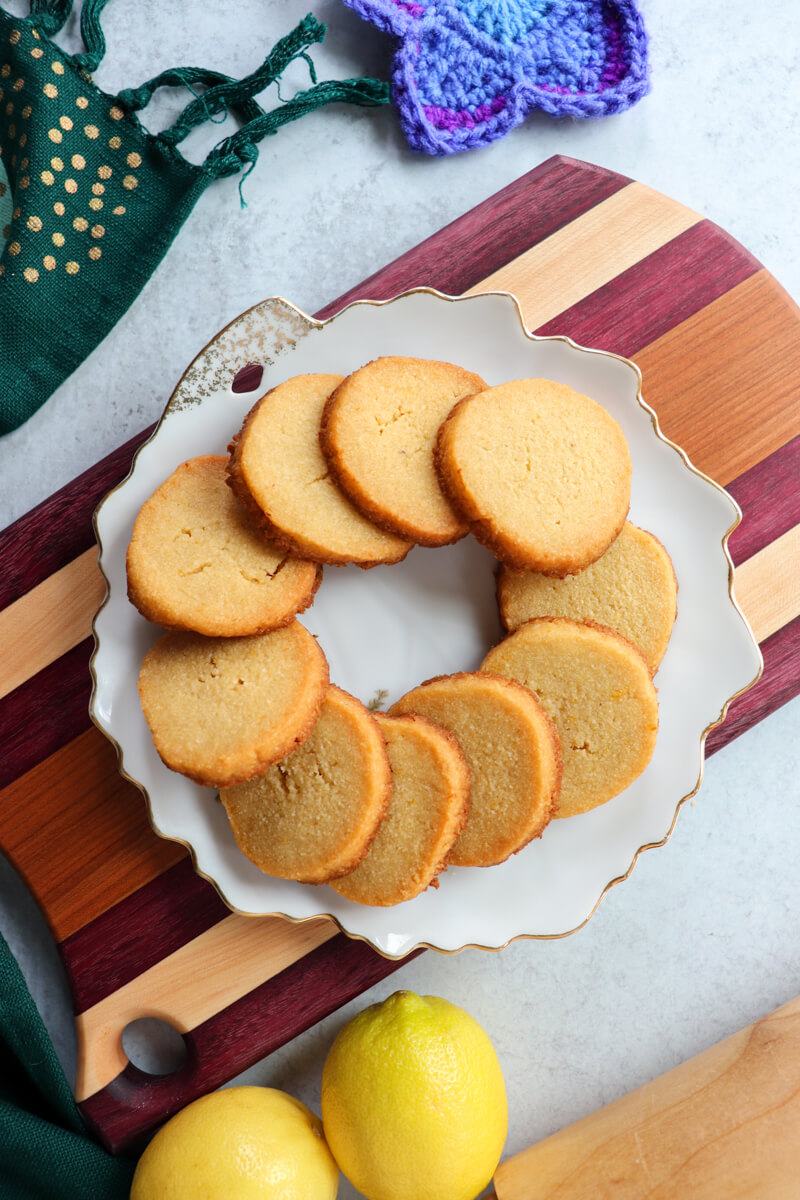
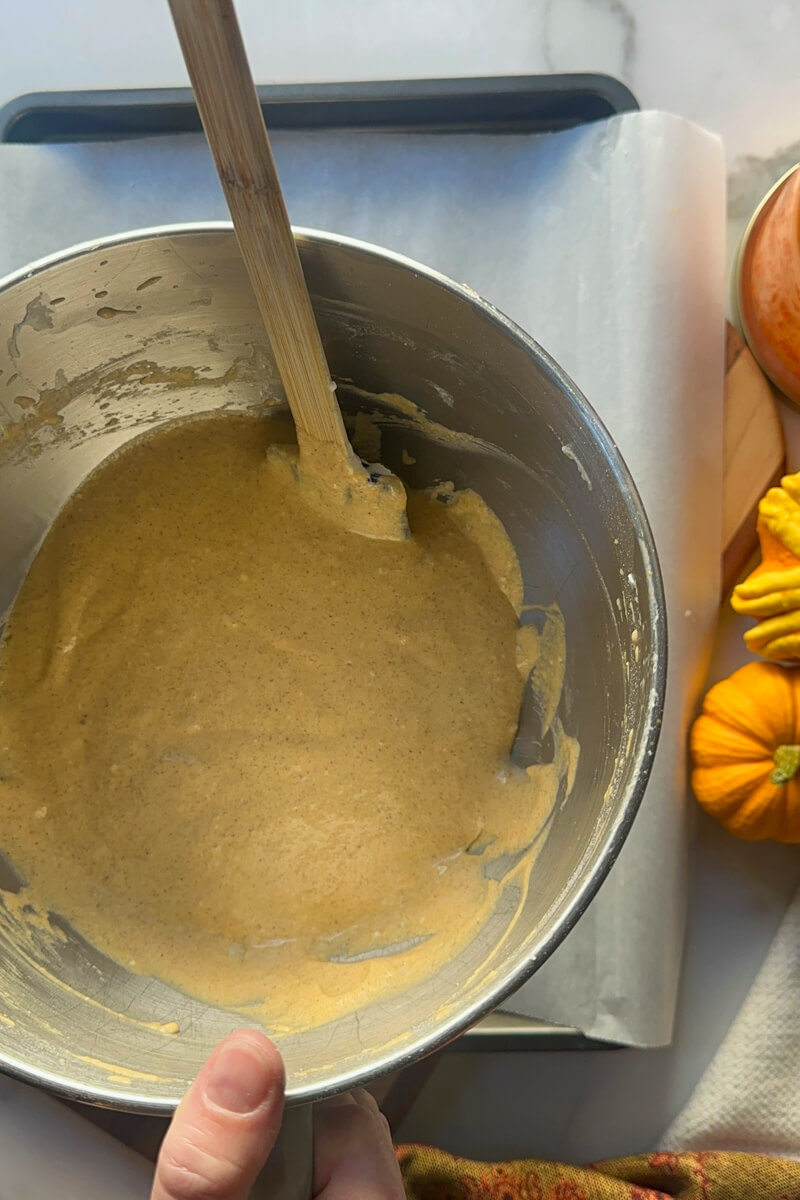
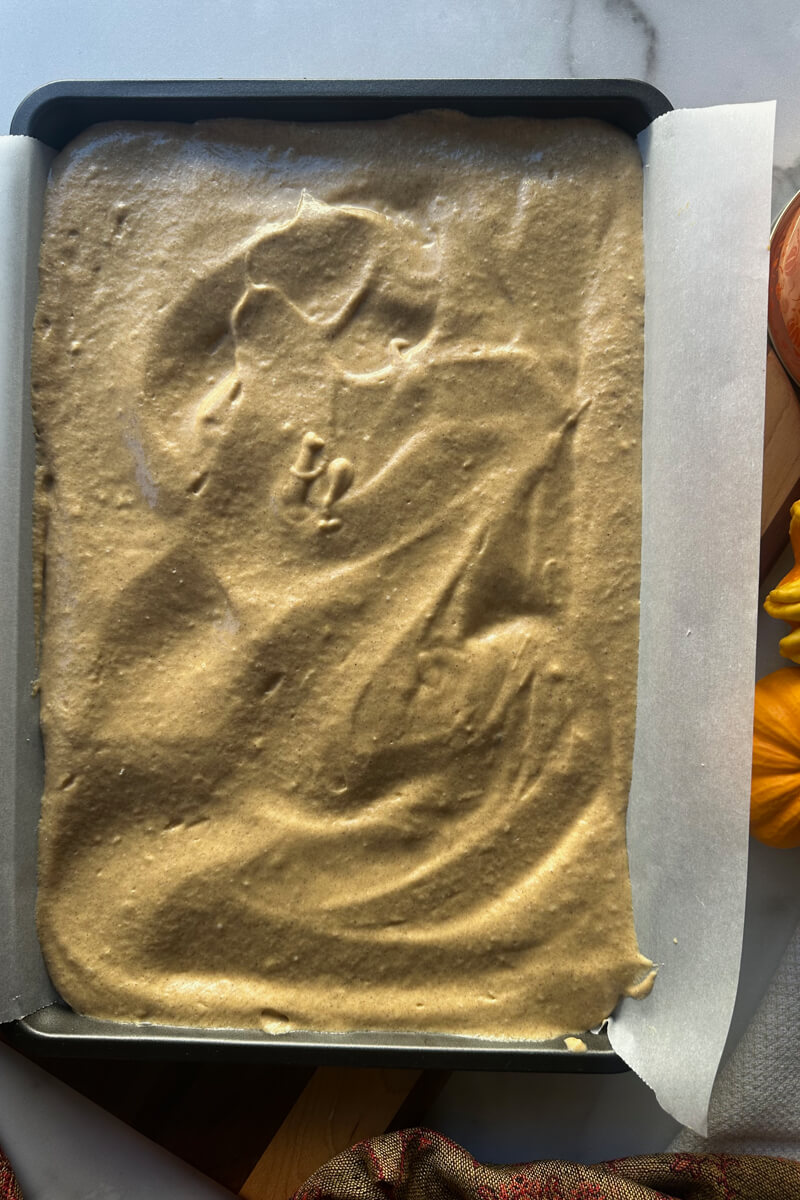
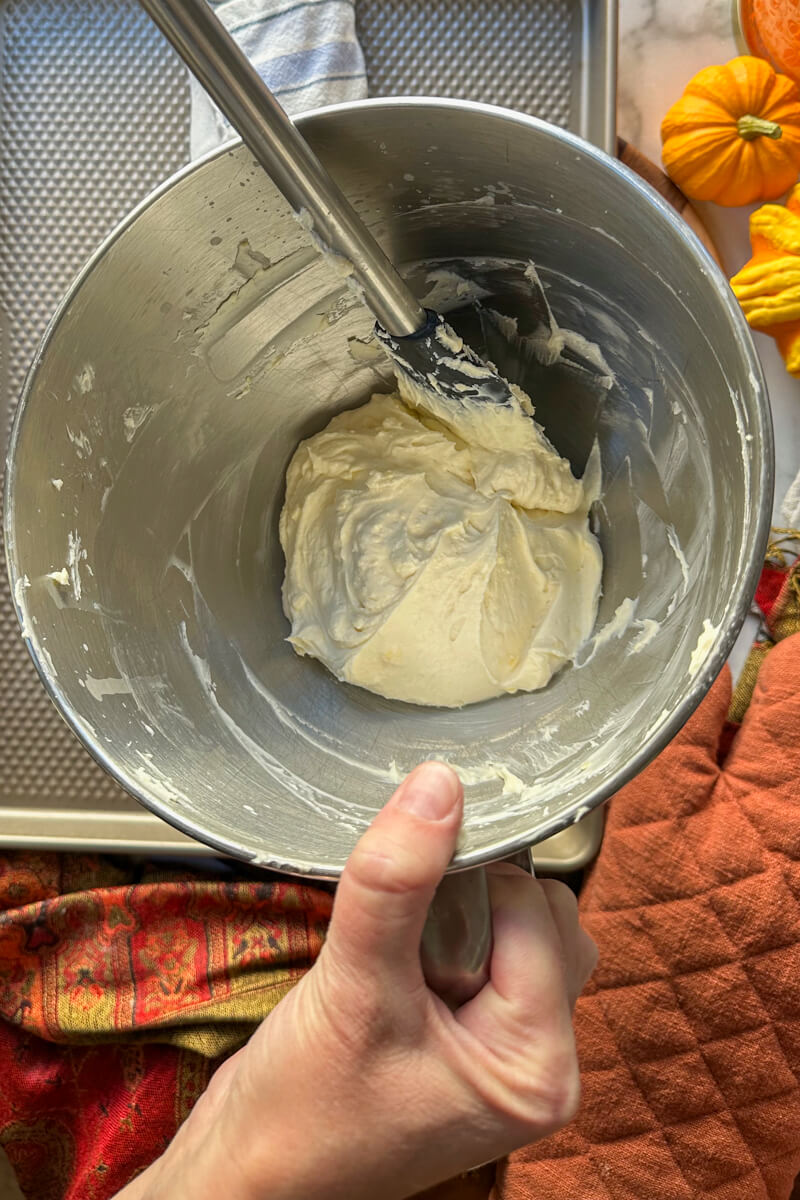
Keto Shortbread Cookies
If your evening calls for a dessert-style snack, keto shortbread cookies are perfect. They're buttery, simple, and pair beautifully with coffee or tea during a cozy evening film.
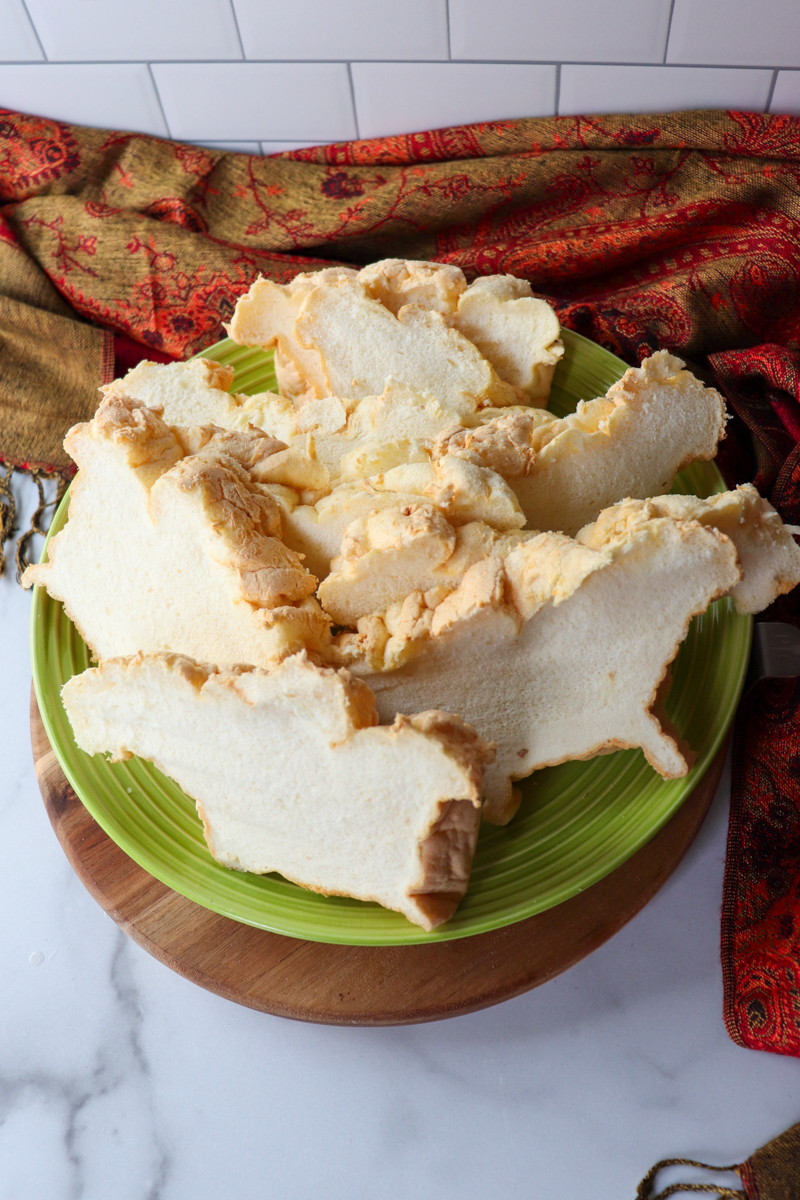
🍿 Keto "Popcorn" Alternatives
This is one of the hardest snacks to replace during movie night. But thankfully, there are several keto alternatives that give you a similar experience. Here are some favorites.
Pork Rinds with Seasoning
Believe it or not, seasoned pork rinds can come surprisingly close to the snackable crunch of popcorn.
Try dusting them with:
- nutritional yeast
- ranch seasoning
- taco seasoning

Cheese Popcorn
Cut cheese into small cubes and bake until slightly crispy on the outside. These bite-sized snacks are fun to eat and surprisingly popcorn-like. (Or buy yourself some Moon Cheese)
Roasted Nuts
Roasted nuts seasoned with butter and spices are another great option.
Kale Chips
Kale chips may sound like a health food cliché, but when seasoned well, they can be delicious. Bake kale leaves with olive oil and salt until crispy. They're light, crunchy, and surprisingly addictive. I sometimes forget about this option, but I love them! I have some kale in the fridge now; I think it's time to make a batch.
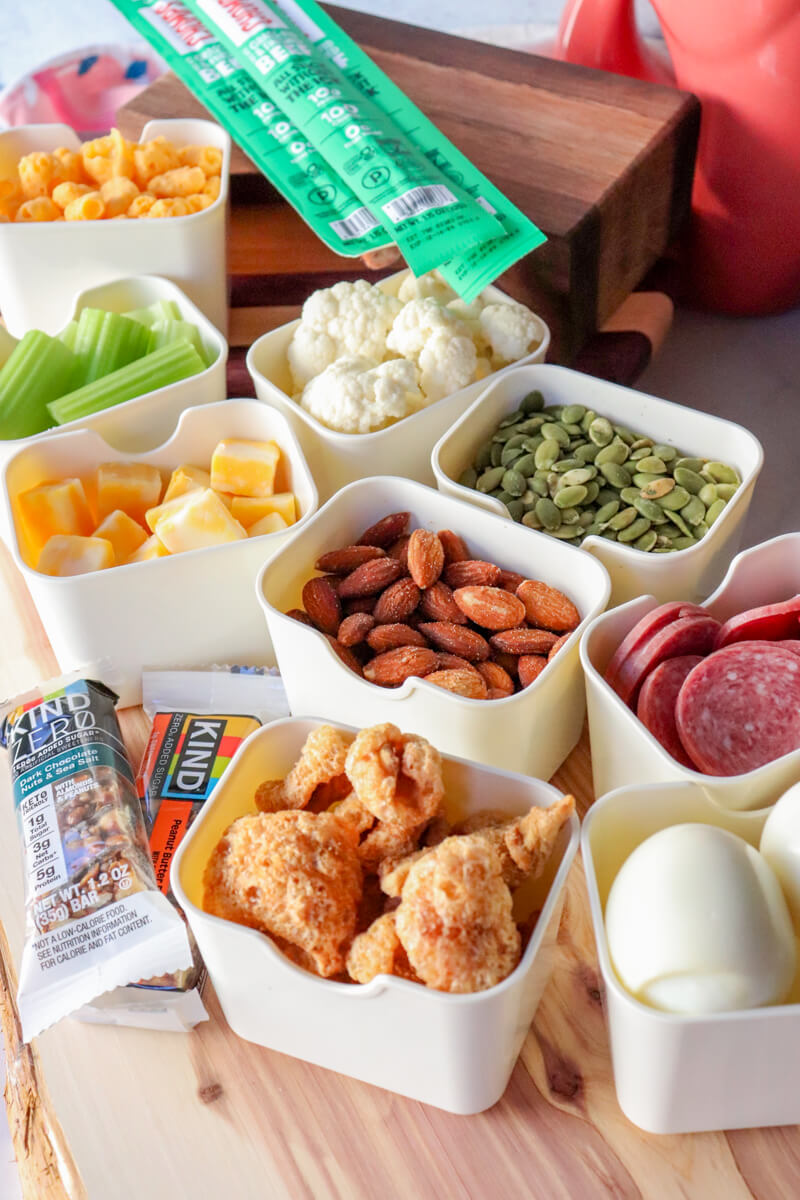
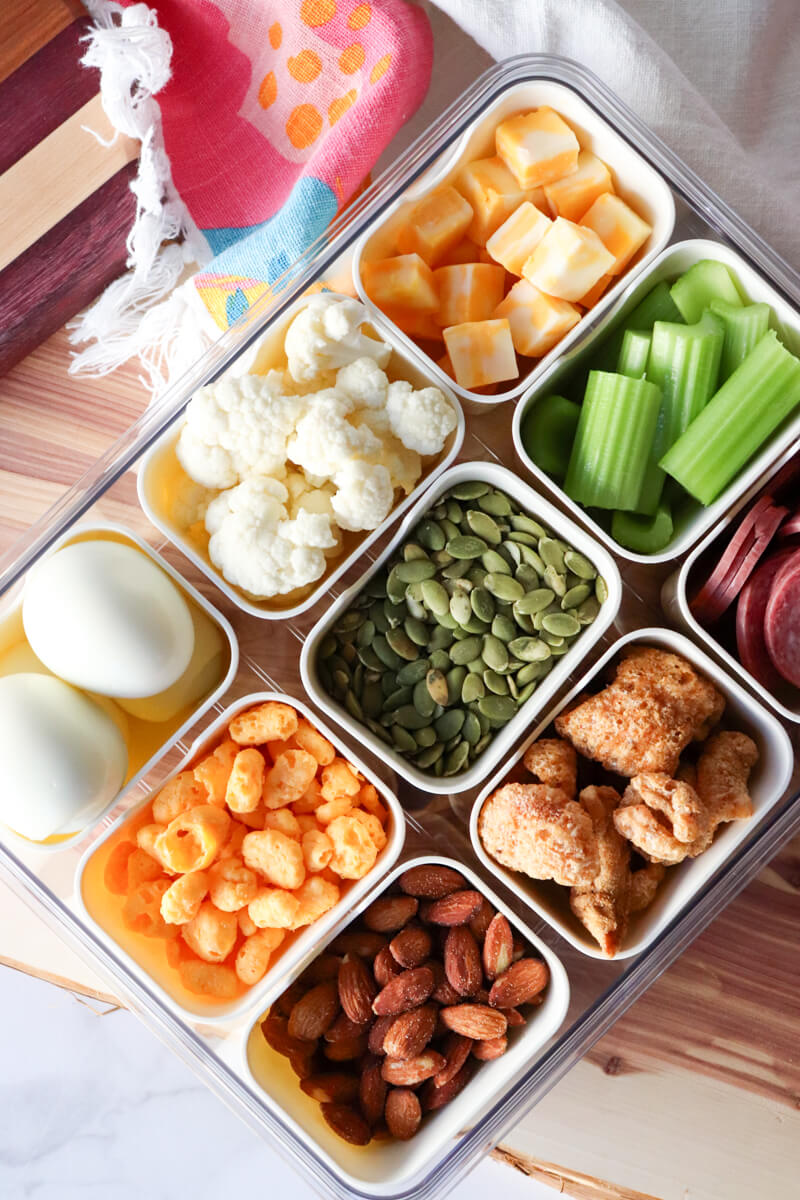
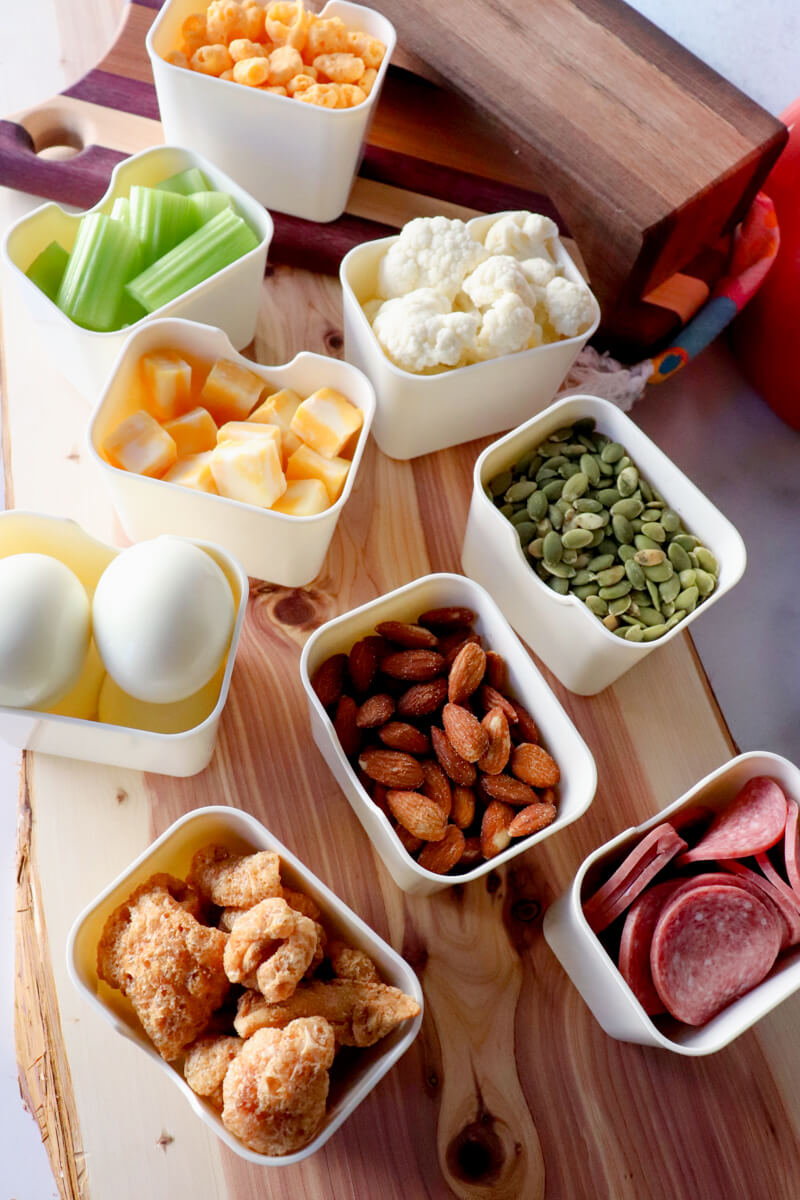
Build a Keto Movie Night Snack Board
One of my favorite ways to serve these up is to create a simple snack board.
This works especially well if you're watching a movie with family or friends because everyone can grab what they like.
Here are some ideas to balance out your board.
Add protein options like:
- sliced salami
- meat sticks
- cheese cubes
Include crunchy snacks like:
- cheese crisps
- nuts
- roasted seeds
Add something sweet like:
- dark chocolate
- keto cookies
- chocolate bark
Then include a few fresh options like:
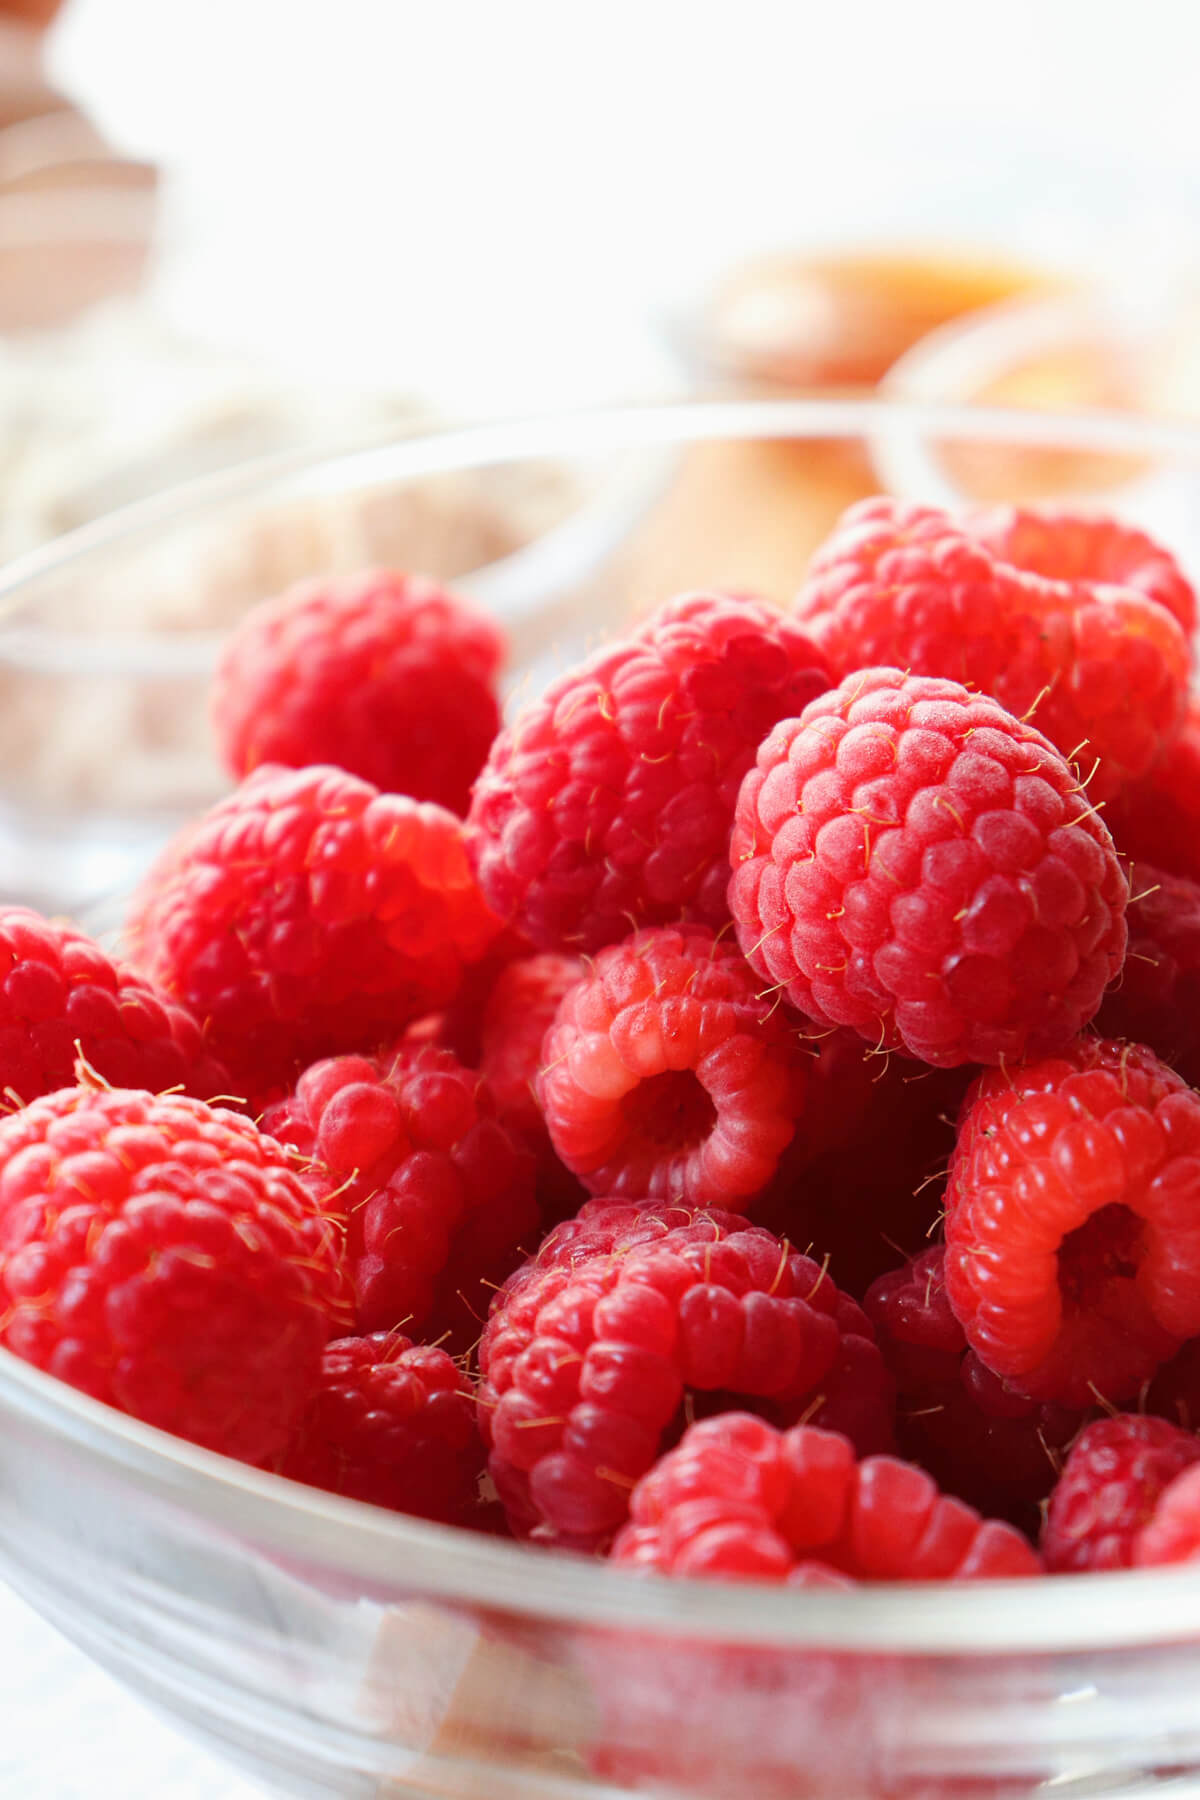
- strawberries
- raspberries
- cucumber slices
This creates a spread that feels indulgent while still staying firmly in the world of low carb and healthy.
Download My Free Printable Low Carb Snacks List
If you've ever opened the fridge wondering, "What can I actually eat on keto?" you're not alone.
That's exactly why I created a Free Low Carb Snacks Printable.
This printable includes:
- quick grab-and-go keto snacks
- easy snack ideas for home and travel
- simple options for keto movie snacks
You can print it out and stick it on the fridge, save it to your phone, or bring it along to the grocery store.
Tips for Hosting a Keto Movie Night
If you're hosting friends or family, a few small tricks can make your movie night both fun and low carb.
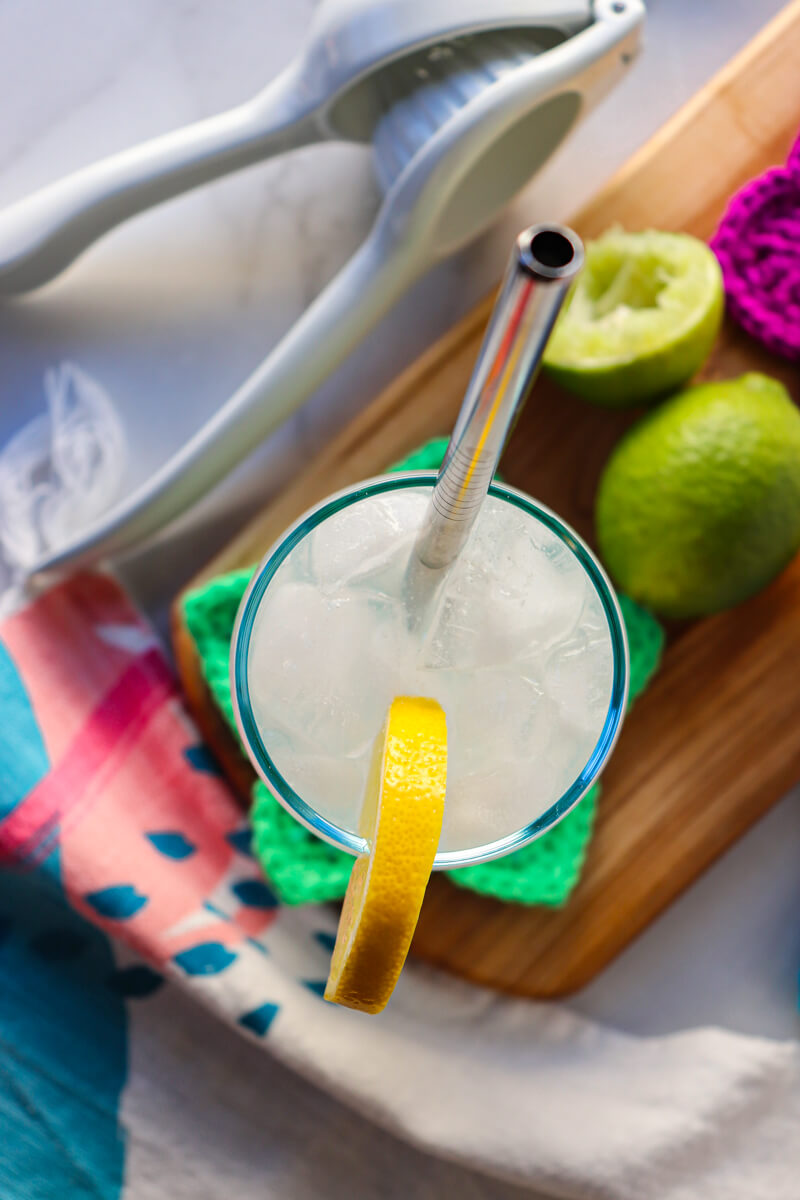
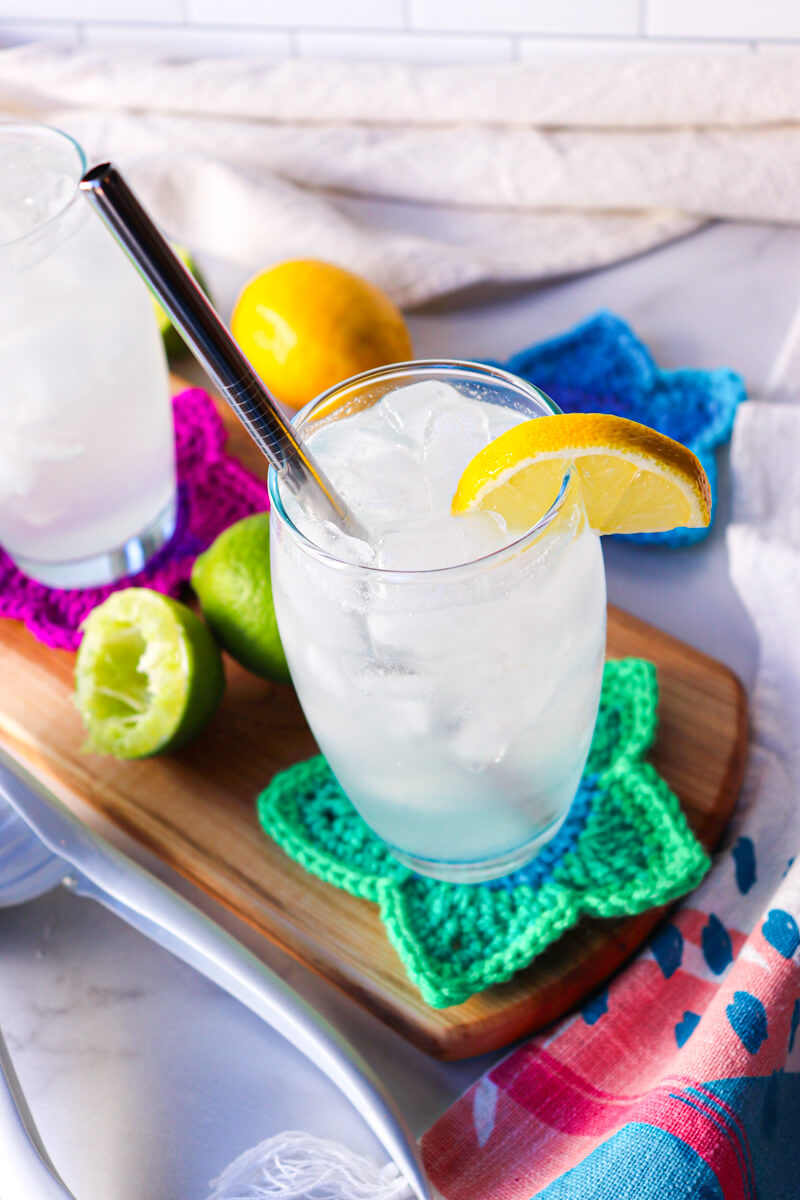
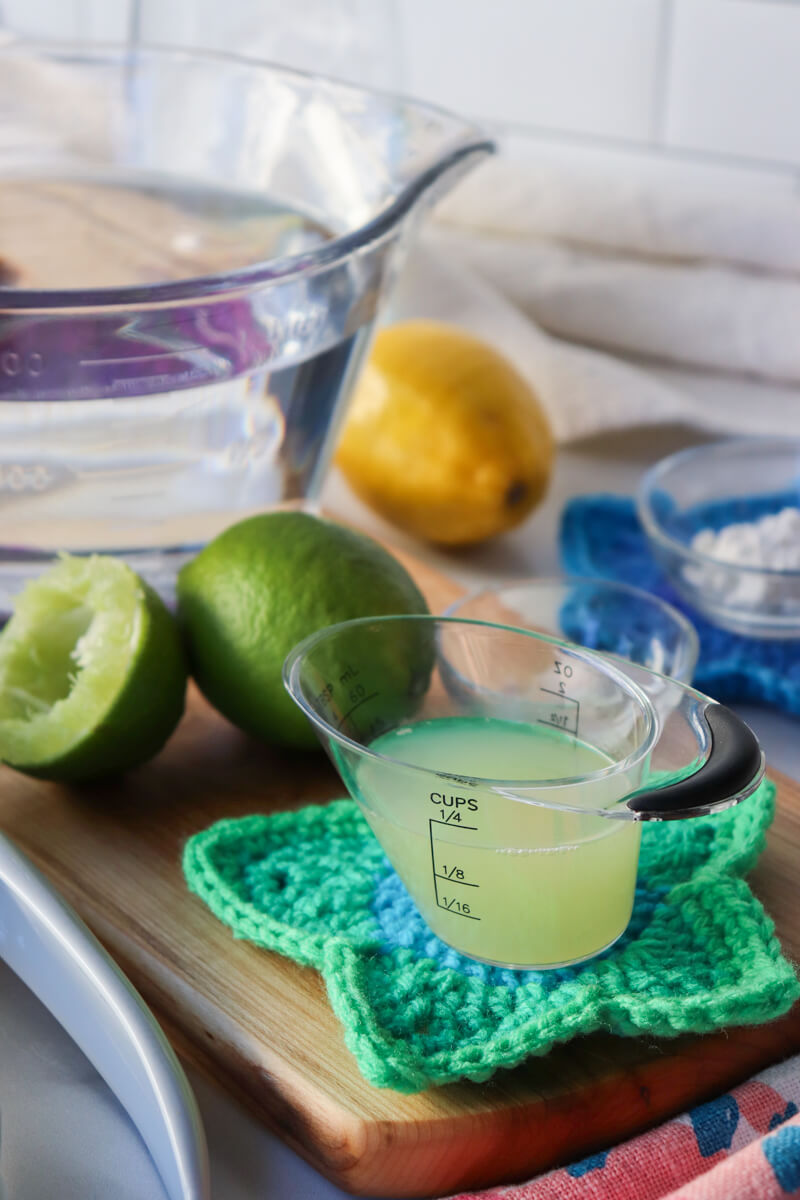
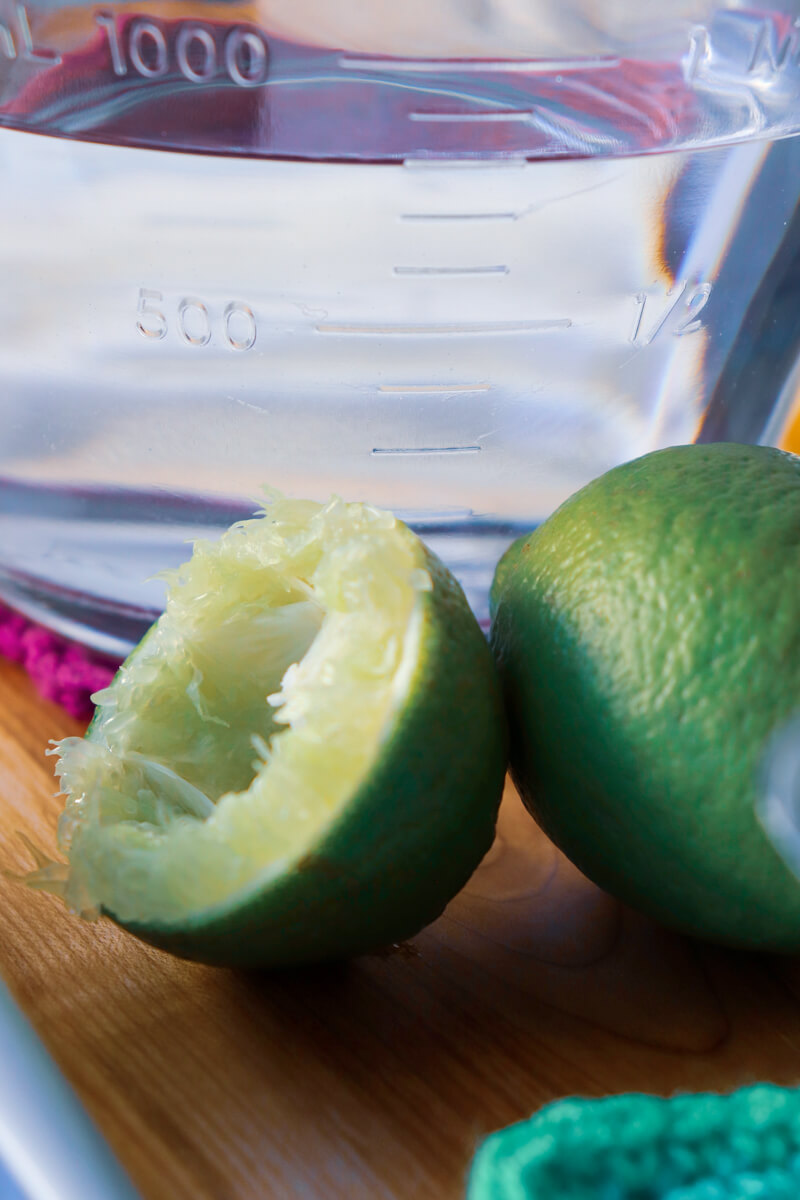
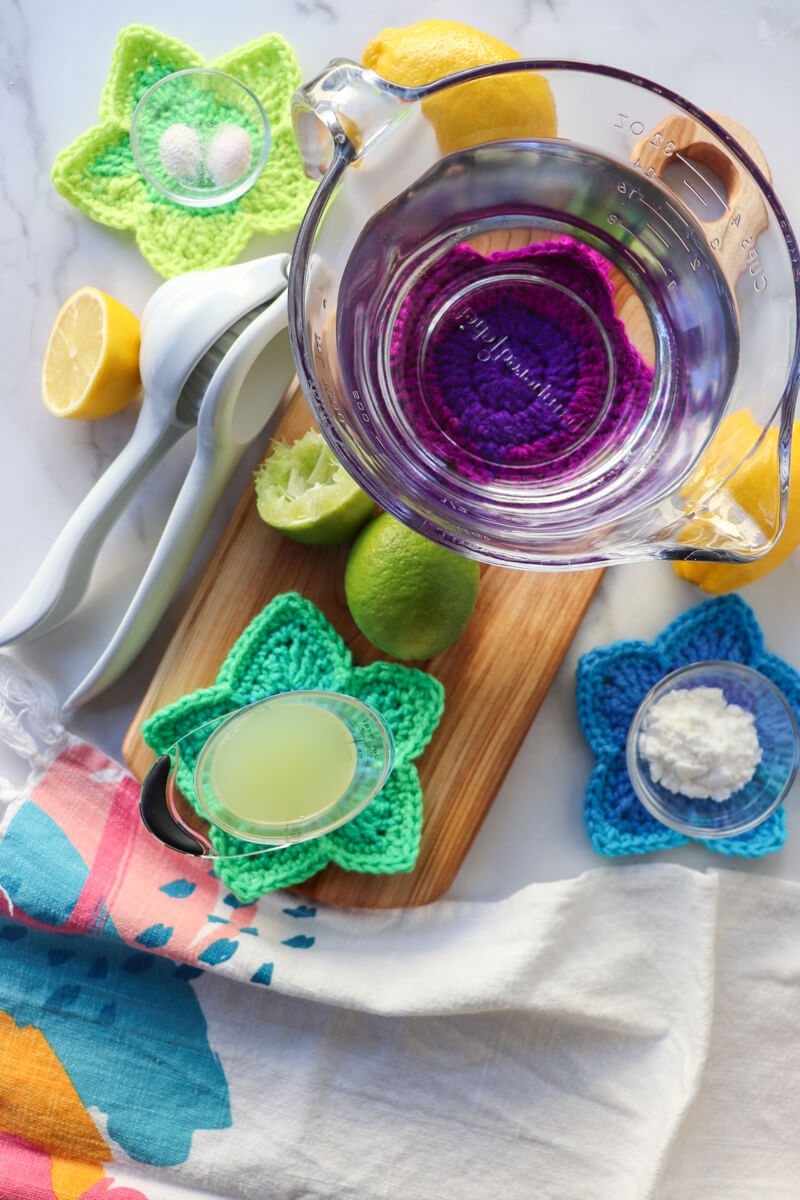
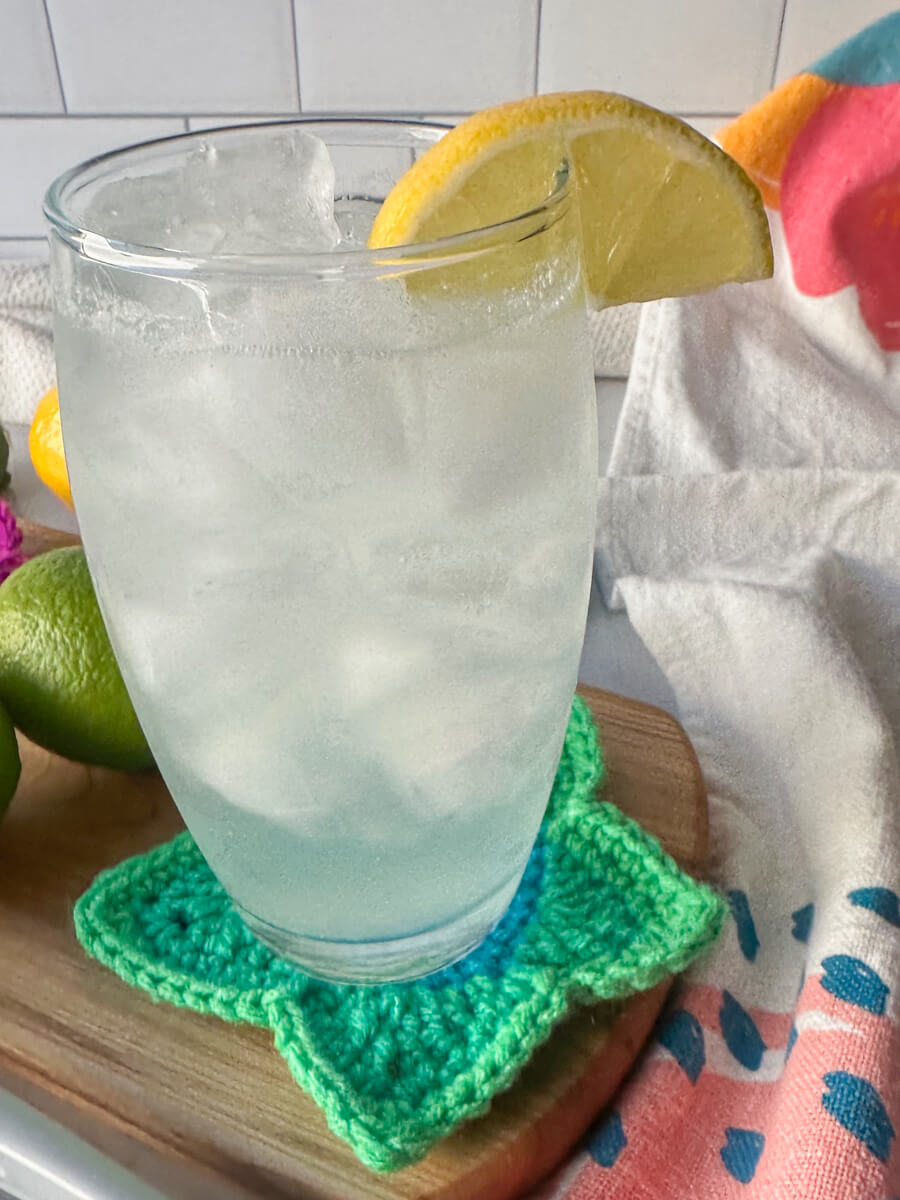
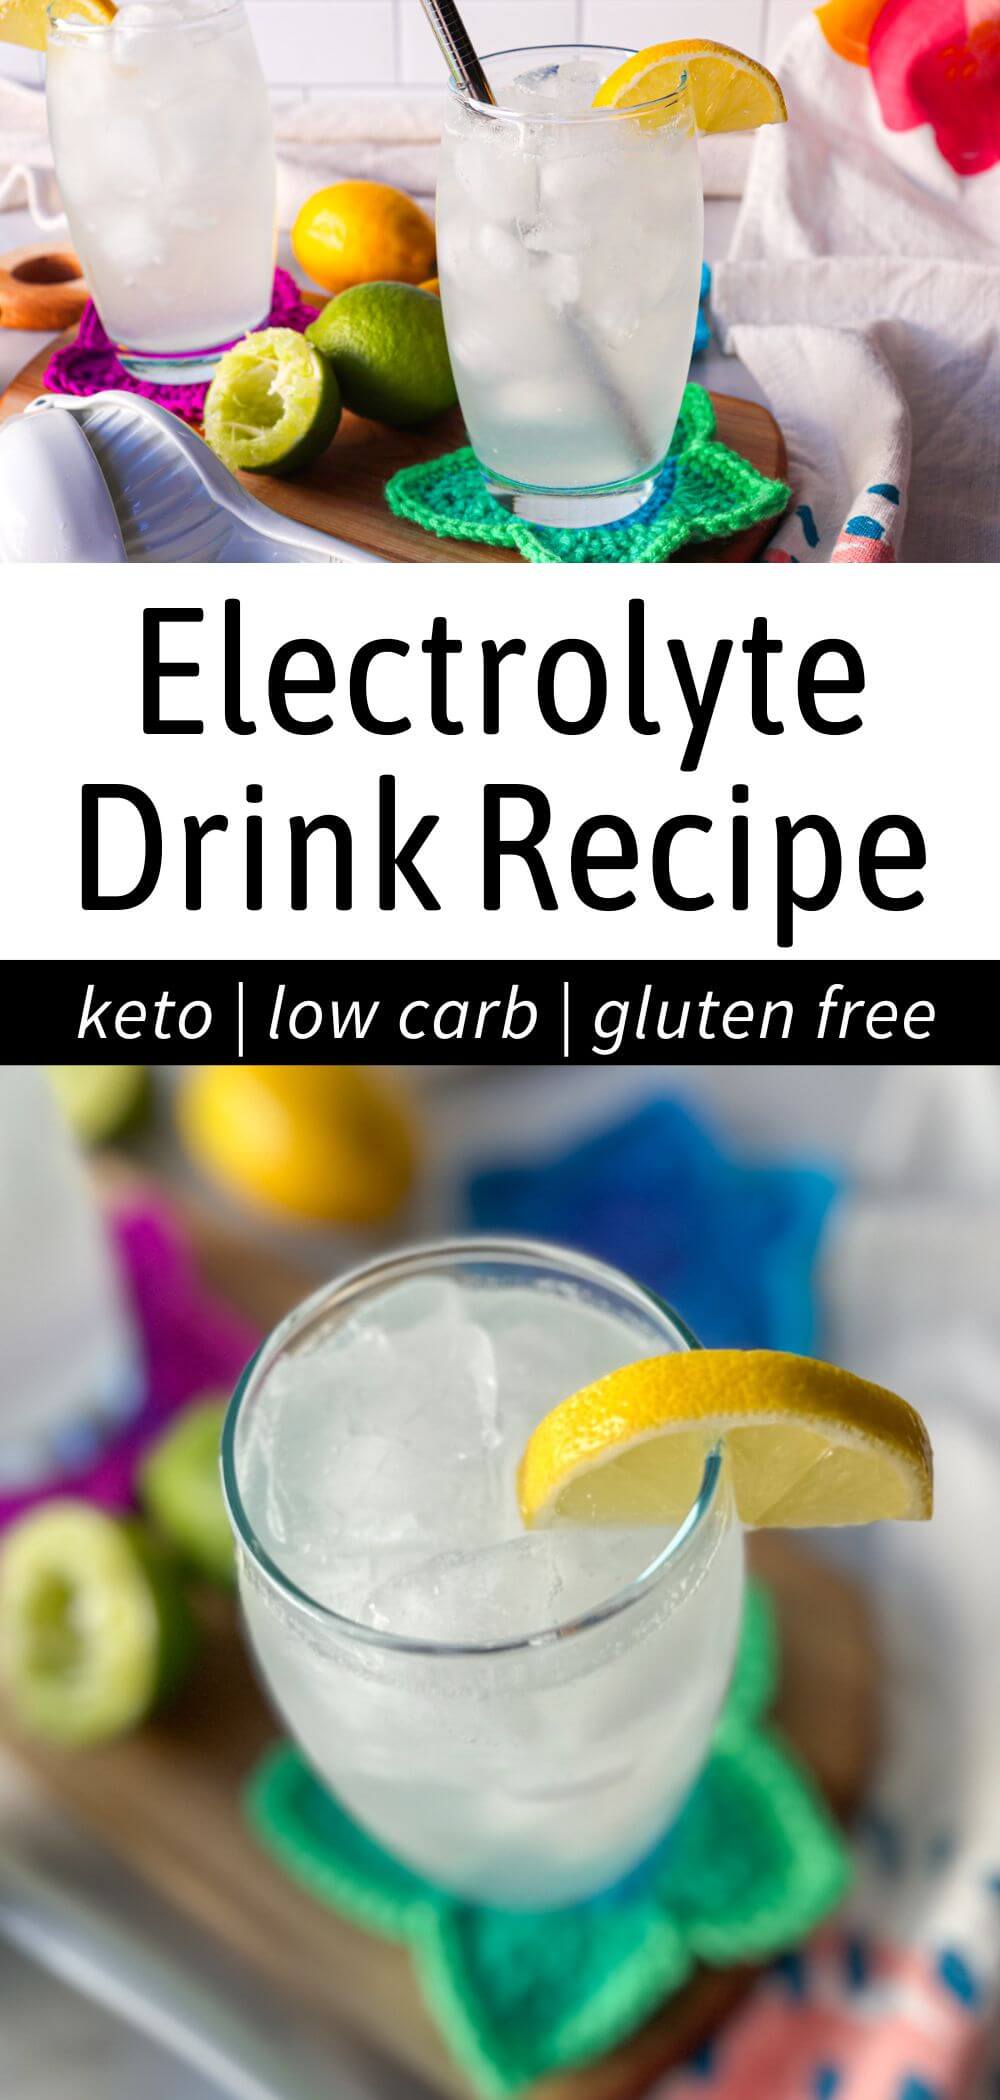
Skip Sugary Drinks
Instead of soda, try:
- sparkling water
- iced tea
- lemon or lime water
These drinks pair perfectly with the keto snacks.
Use Small Bowls
While watching a film, it's easy to overeat. Serving snacks in smaller bowls helps keep portions reasonable without feeling restrictive.
Eat Dinner First
One of the biggest mistakes people can make is starting the movie hungry. If you eat a satisfying dinner first, you're much less likely to mindlessly snack the entire time.
Set Up a DIY Snack Station
If you're hosting guests, lay out several low carb movie snacks and let everyone build their own bowl.
It feels fun and interactive while still keeping everything keto-friendly.
Frequently Asked Questions
Is popcorn keto?
Unfortunately, popcorn is not very keto-friendly.
Even a moderate serving contains enough carbs to quickly push many people out of ketosis.
That's why many people prefer keto popcorn alternatives like cheese crisps or pork rinds.
What candy can you eat on a keto diet?
Dark chocolate with 85-90% cocoa is often the best option.
There are also many sugar-free chocolate brands that use keto-friendly sweeteners.
What snacks keep you full the longest?
Those that combine protein and fat tend to be the most satisfying.
Examples include:
- nuts
- cheese
- meat sticks/beef jerky
- chocolate with nuts
These are excellent keto snacks because they keep you full without constant munching.
Final Thoughts: Enjoy Movie Night Without the Carb Crash
One of the biggest misconceptions about keto is that you have to give up all the fun foods.
But the truth is that with a little creativity, you can enjoy keto movie snacks that feel just as satisfying as the traditional versions.
Whether you prefer crunchy keto popcorn alternatives, sweet chocolate treats, or a snack board full of savory options, there are plenty of delicious low carb movie snacks to choose from.
So grab a blanket, pick a good movie, and enjoy a cozy night in, with snacks that keep you feeling great long after the credits roll.
And don't forget to grab your Free Keto Snacks Printable so you'll always have easy snack ideas ready for the next movie night, sports tournament, or other outing!
Pin it here for later!: