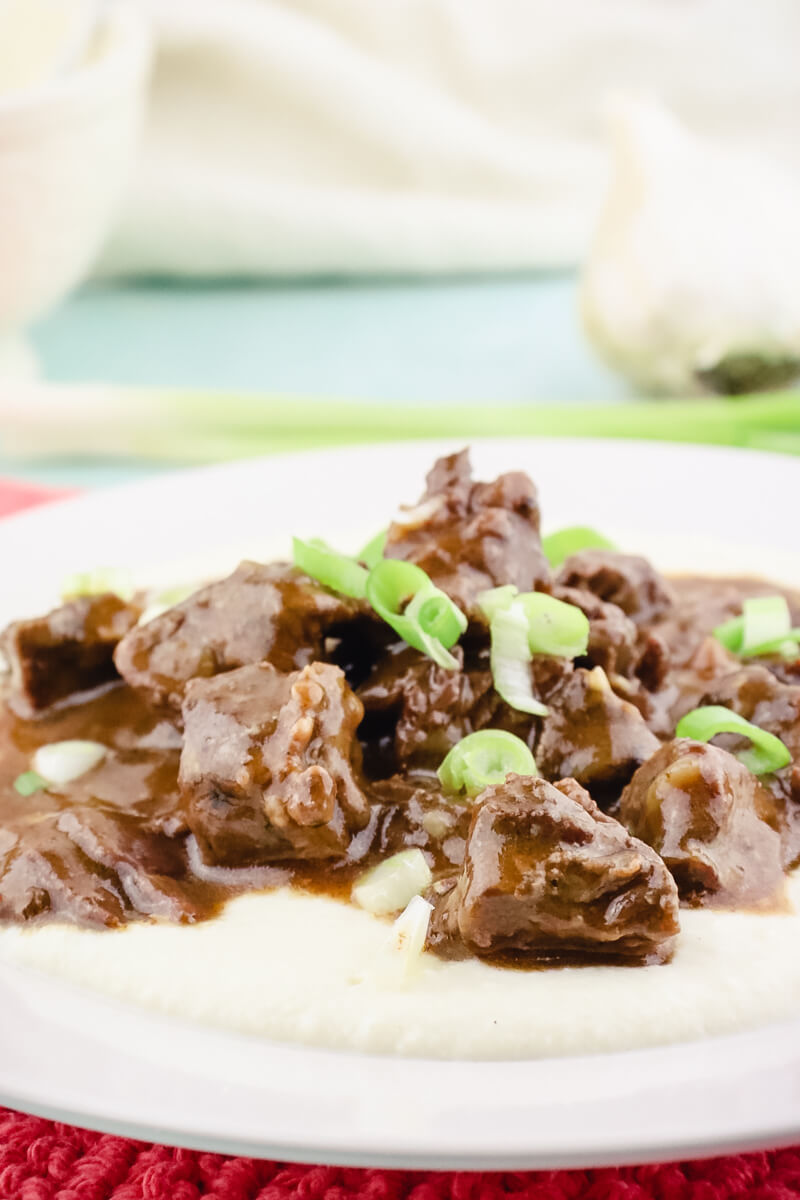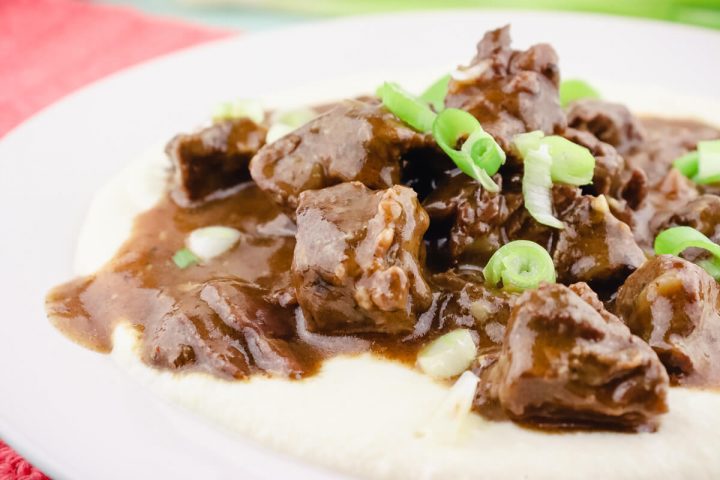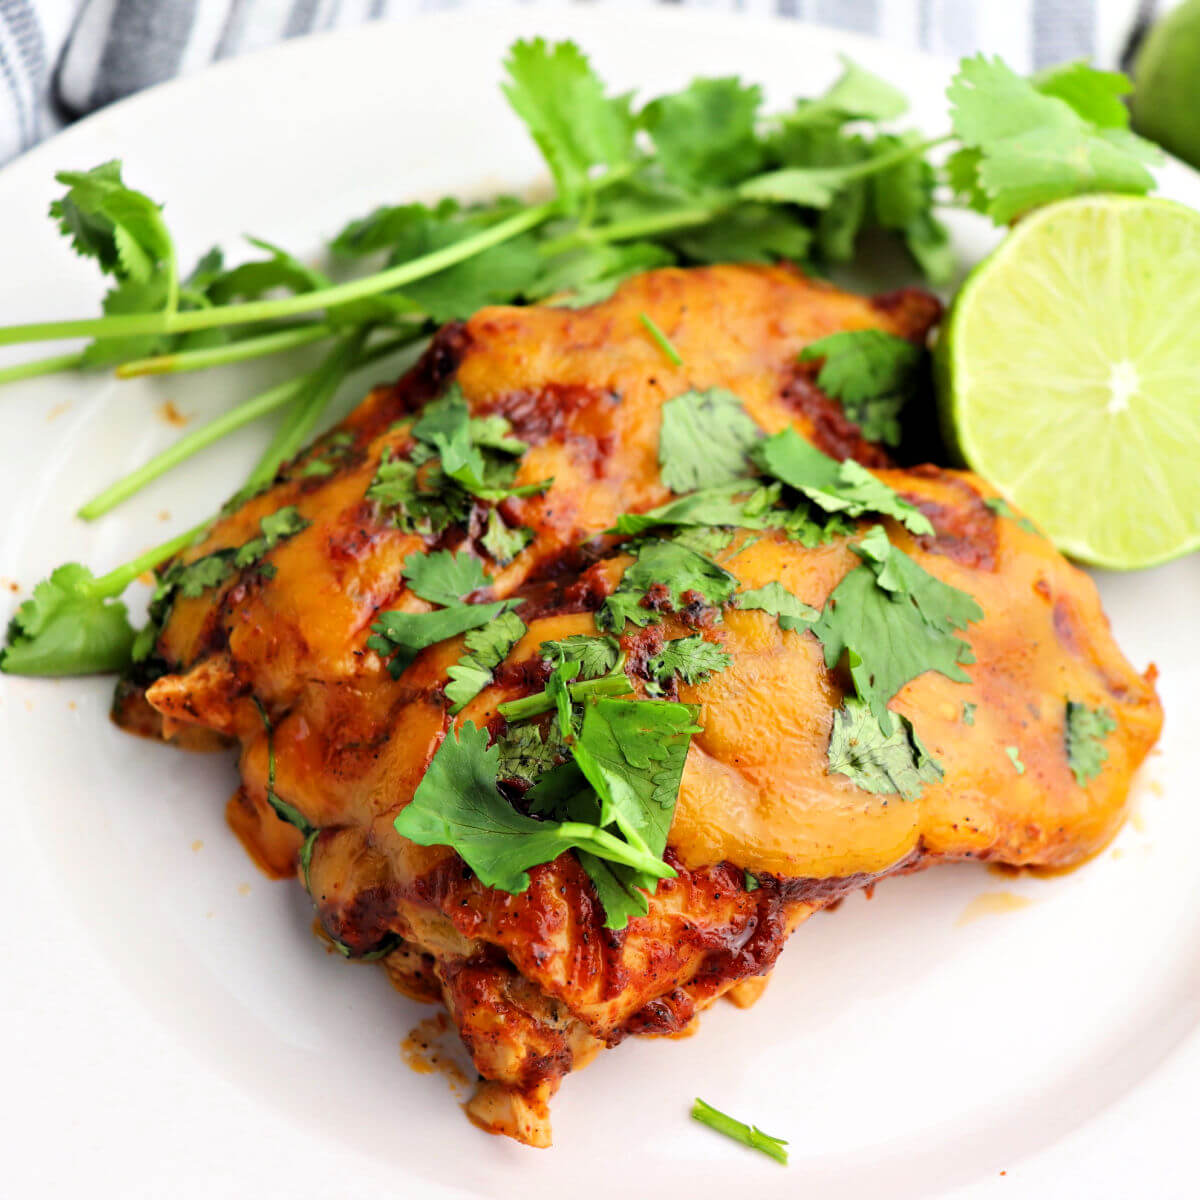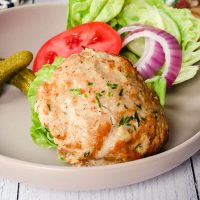
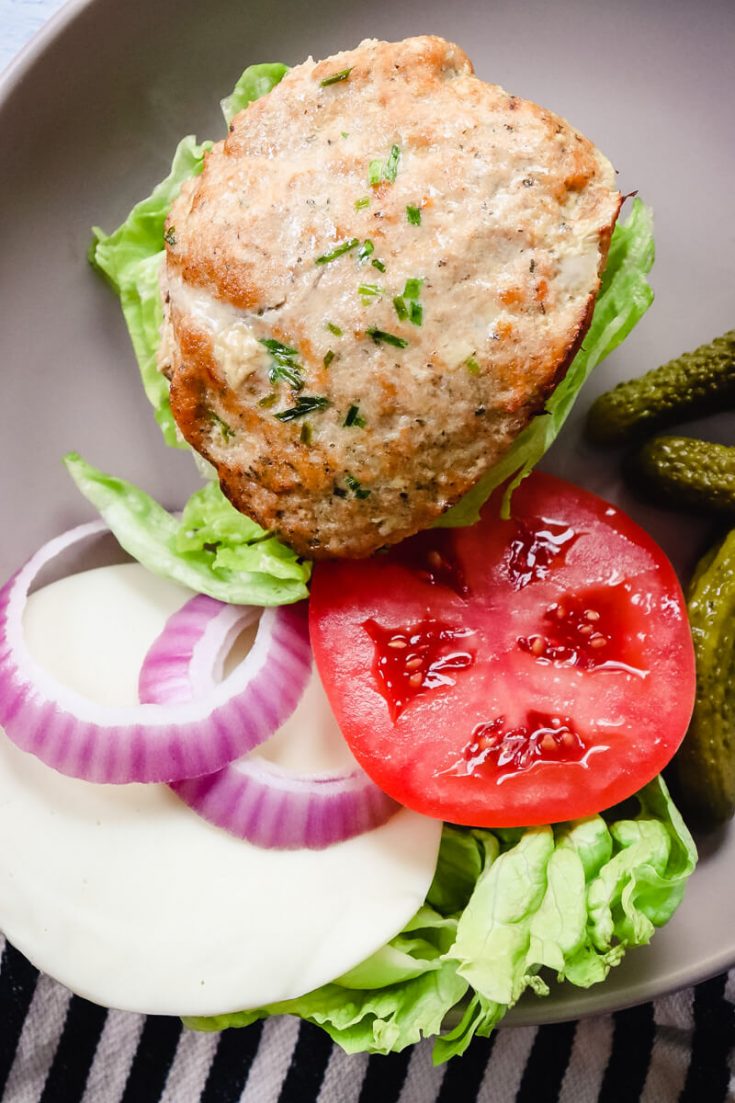
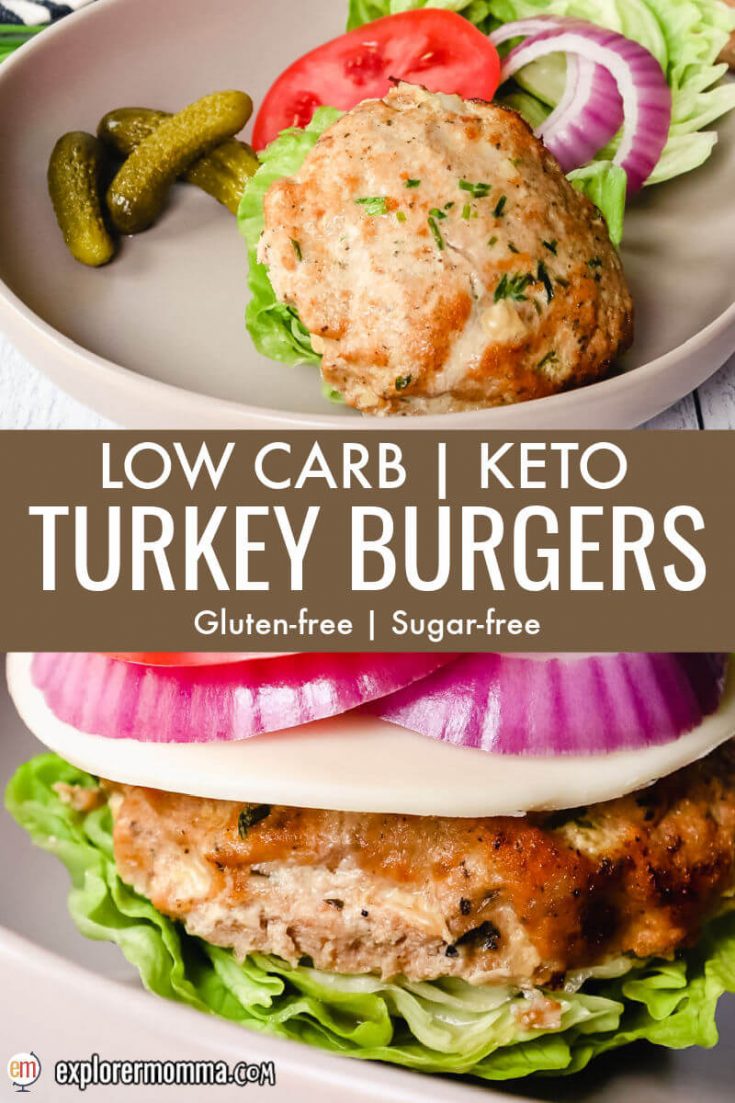
Moist and delicious Keto Turkey Burgers are the perfect family low carb dinner. Easy to make and kid-friendly, serve them up with lettuce wrap buns, provolone cheese, and your favorite sugar-free condiments.
Pin it for later here:

This post may include Amazon or other affiliate links. As an Amazon Associate, I earn from qualifying purchases.
In a hurry?
Scroll down to the bottom of the page for the recipe card with ingredient amounts and a printable recipe to make it NOW or save for later!
Ground turkey. Do you use it often? I grew up eating it in meatloaf, as burgers, and in all sorts of dishes in place of ground beef.
Today, I still enjoy the convenience and taste of ground turkey, and it's super popular with my kids. My daughter tells me often she prefers turkey burgers to beef, and we love this Keto Turkey Meatloaf.
Yes, turkey is great high protein meat with lower fat than others. Its mild taste when ground makes it a good choice for all sorts of recipes. While I love Smash Burgers or a good bacon and cheese beef burger, turkey burgers are a great way to mix things up!
So why not try it out in turkey burgers keto style with a lettuce bun and all your favorite condiments?
First of all, what do you need to make low carb turkey burgers?
🍽 Equipment needed for a keto turkey burger recipe
The first thing I do when it's time to make dinner is to get out all the kitchen gadgets and equipment I'll need. I like it when things are close at hand and ready to go.
- small to medium-sized bowls
- whisk and/or spoon
- a spatula
- measuring cups and spoons
- knife
- cutting board
- grill, air fryer, or frying pan
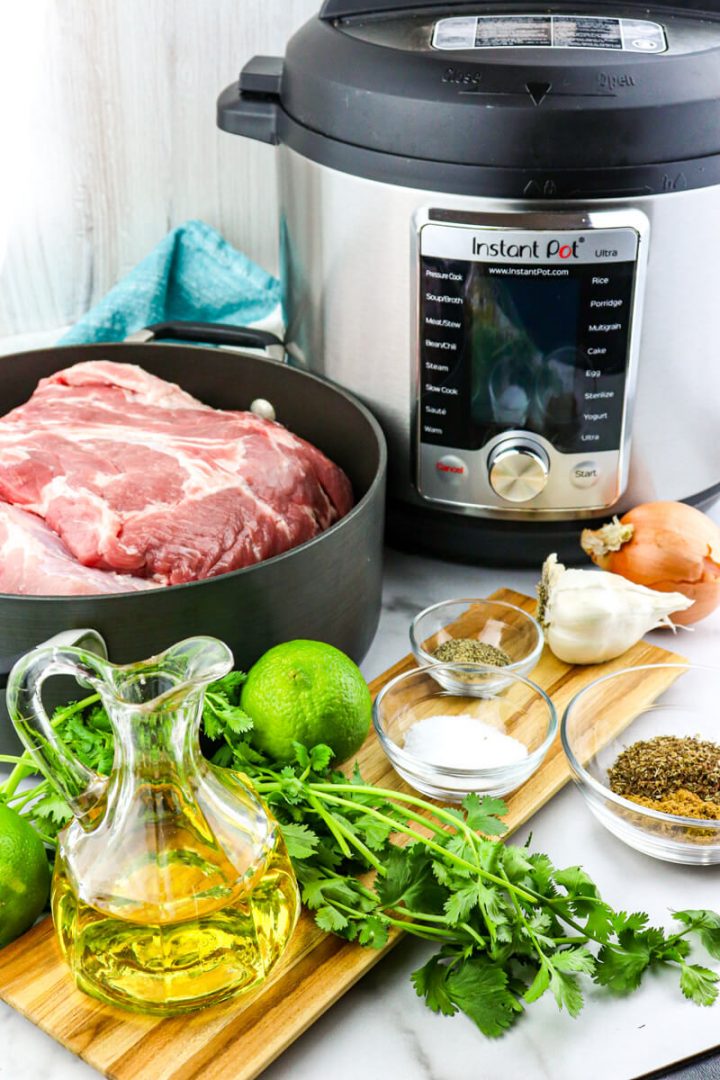
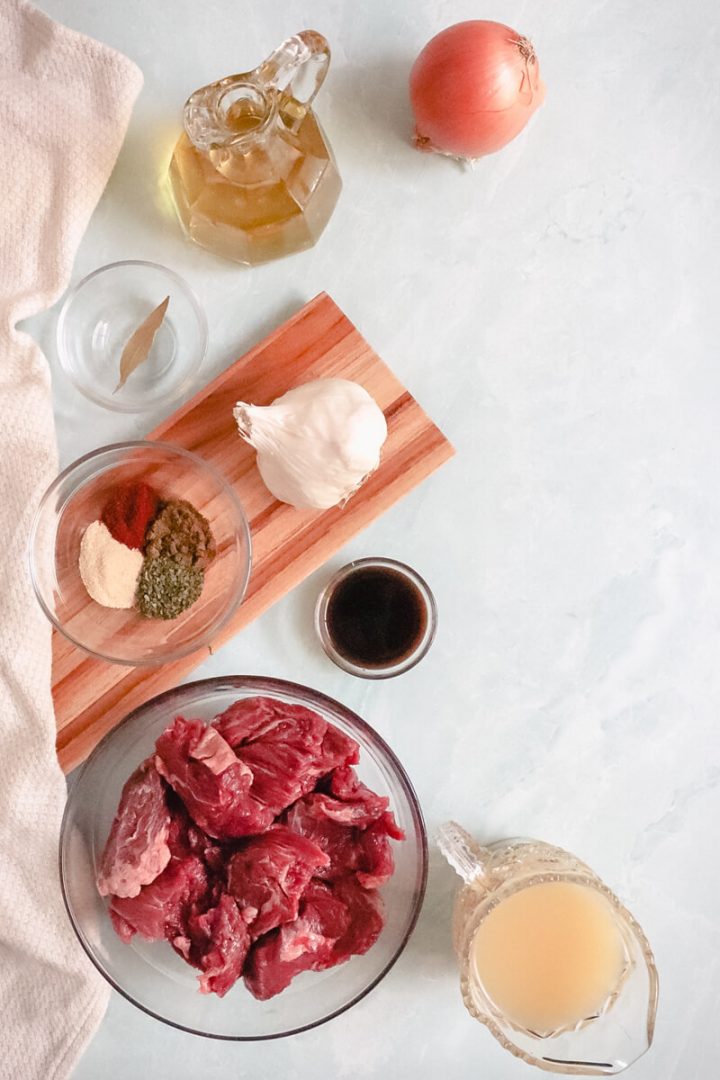
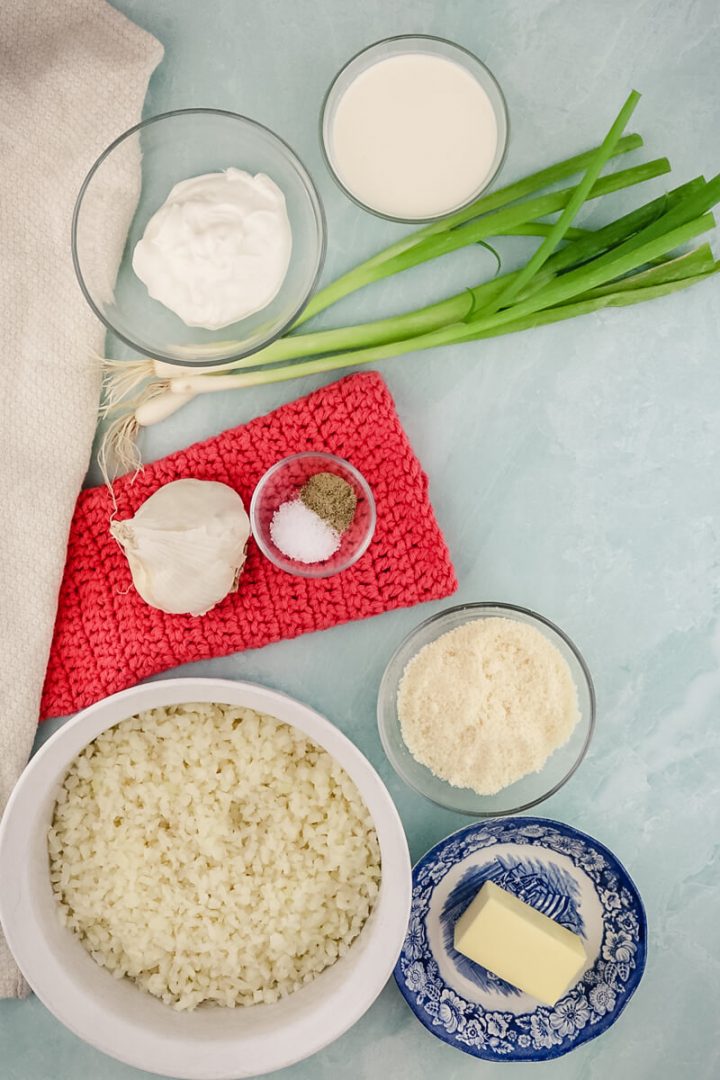
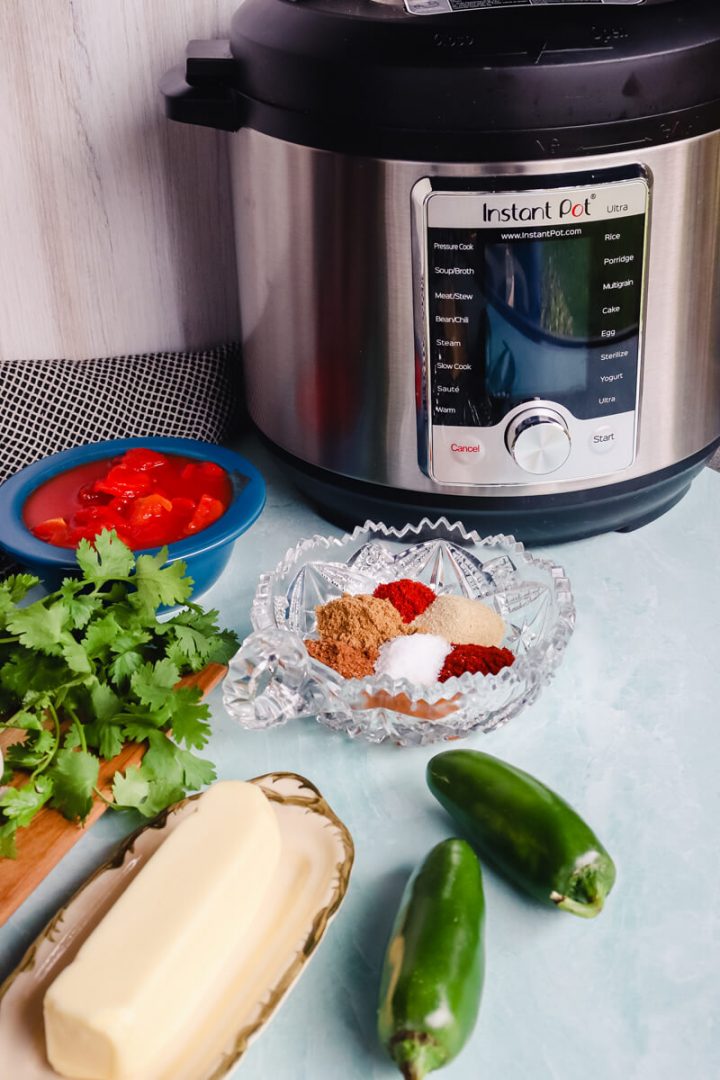
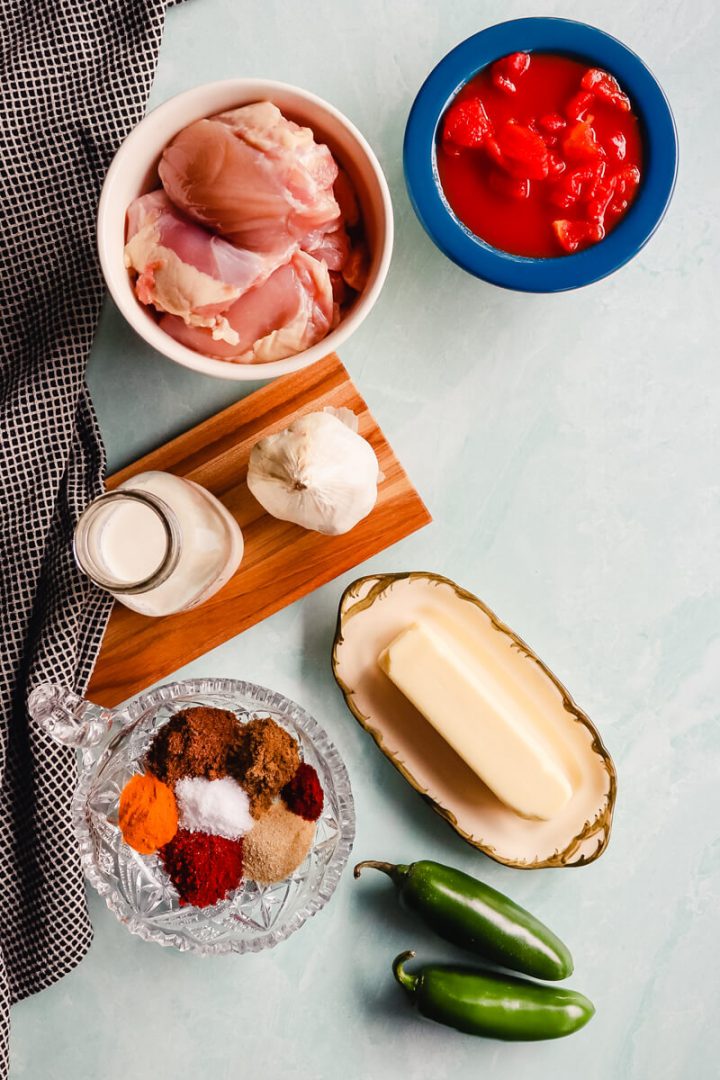
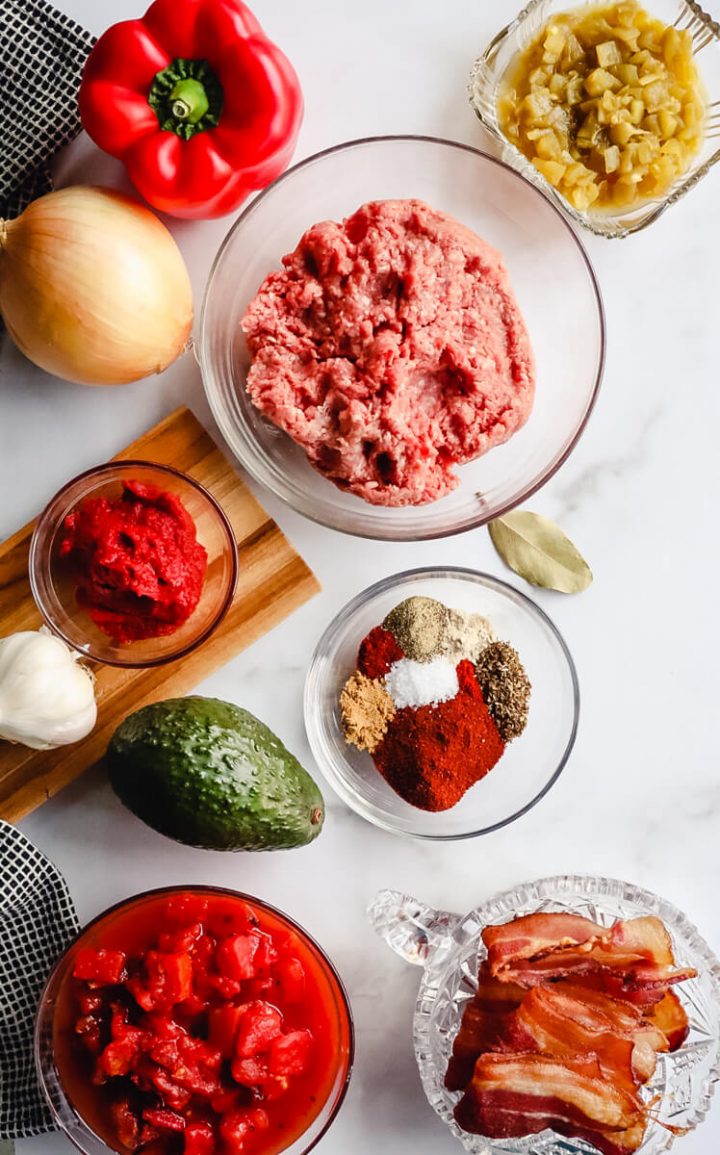
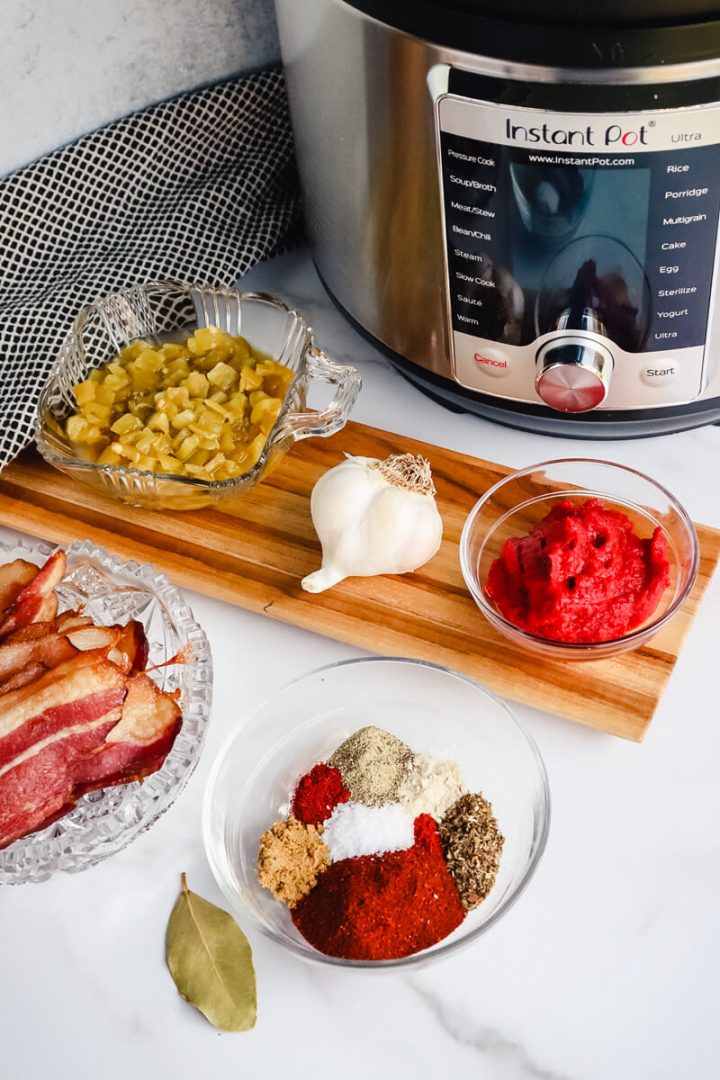
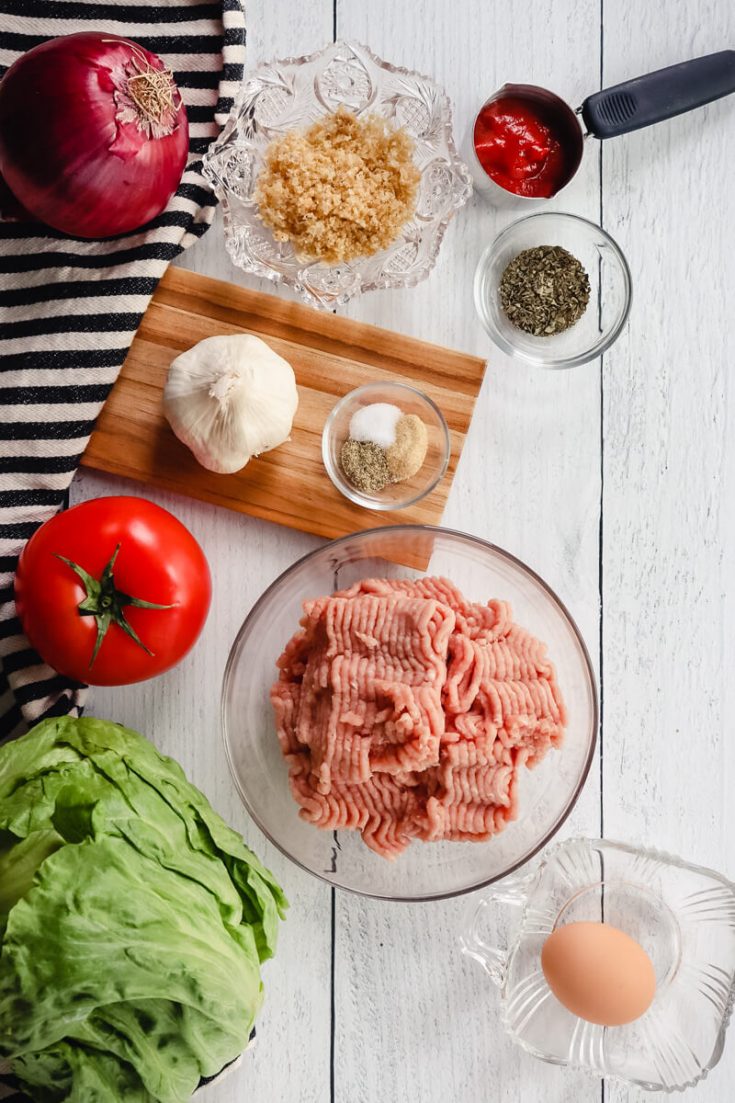
🥘 Ingredients in low carb turkey burgers
- 1 pound ground turkey
- ¼ cup powdered pork rinds (or finely ground almond flour)
- ¼ teaspoon onion granules or powder
- 1 egg
- ¼ cup chopped fresh basil or 1 teaspoon dried basil
- 1 clove garlic, minced
- ¼ teaspoon salt
- ¼ teaspoon black pepper
- 2 tablespoon no sugar added ketchup
- chives or green onions, sliced to garnish (optional)
It's so important when selecting any ingredients, to buy as fresh as you can, and organic if possible. For meat, I usually order from ButcherBox for good quality I can trust. Just be sure to read labels and sources in the grocery store when purchasing there.
Pork rind "bread" crumbs
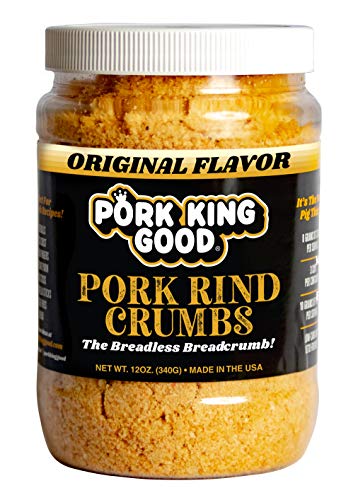
Also, in meatloaves, meatballs, and burgers I often use powdered pork rinds instead of the traditional breadcrumbs. While you can purchase already powdered pork rinds, they're not always available.
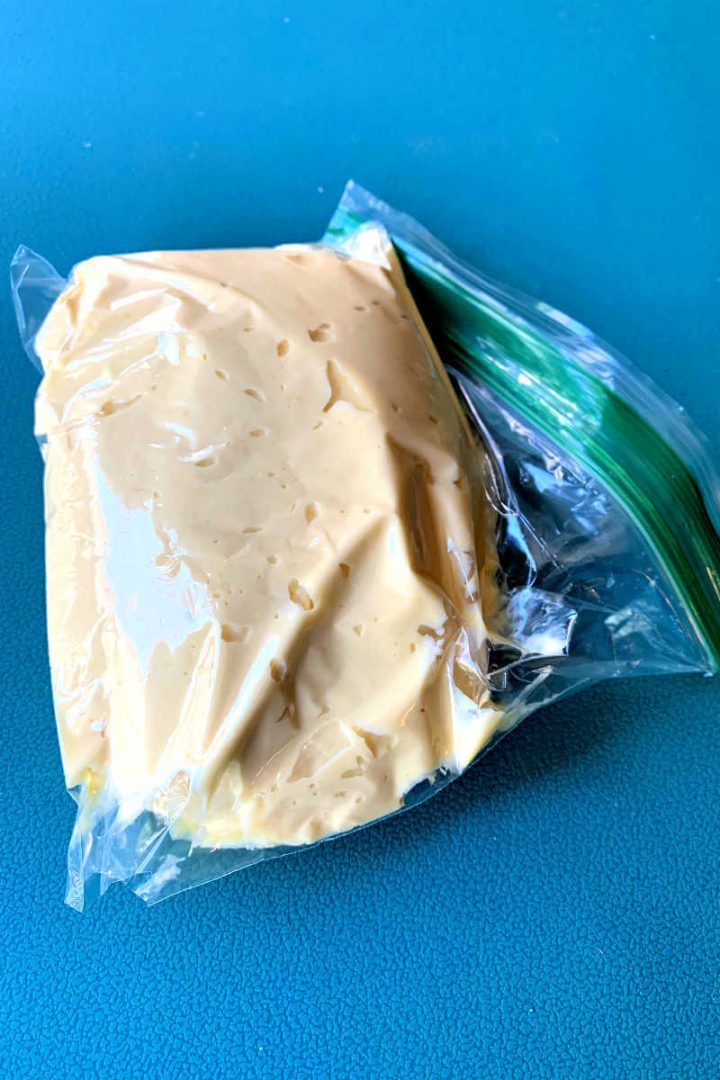
To be honest, I have a large tub of pork rinds in my pantry and powder my own. It's easy to do in a zipper bag with a little arm strength and a rolling pin. Or, if you're not into pounding (it's good to get frustrations out!), a food processor works well too. If you'd like, here more complete instructions for Pork Rind Bread Crumbs.
However, I know there are those who don't care for pork rinds. A good substitute is to use almond flour for the pork rind powder, and yes, it will work too. Now, let's make some keto turkey burgers.
🔪 Instructions
First of all, pull out all the needed equipment and ingredients. Everything should be close at hand where you can get to the items easily.
How to make keto turkey burgers
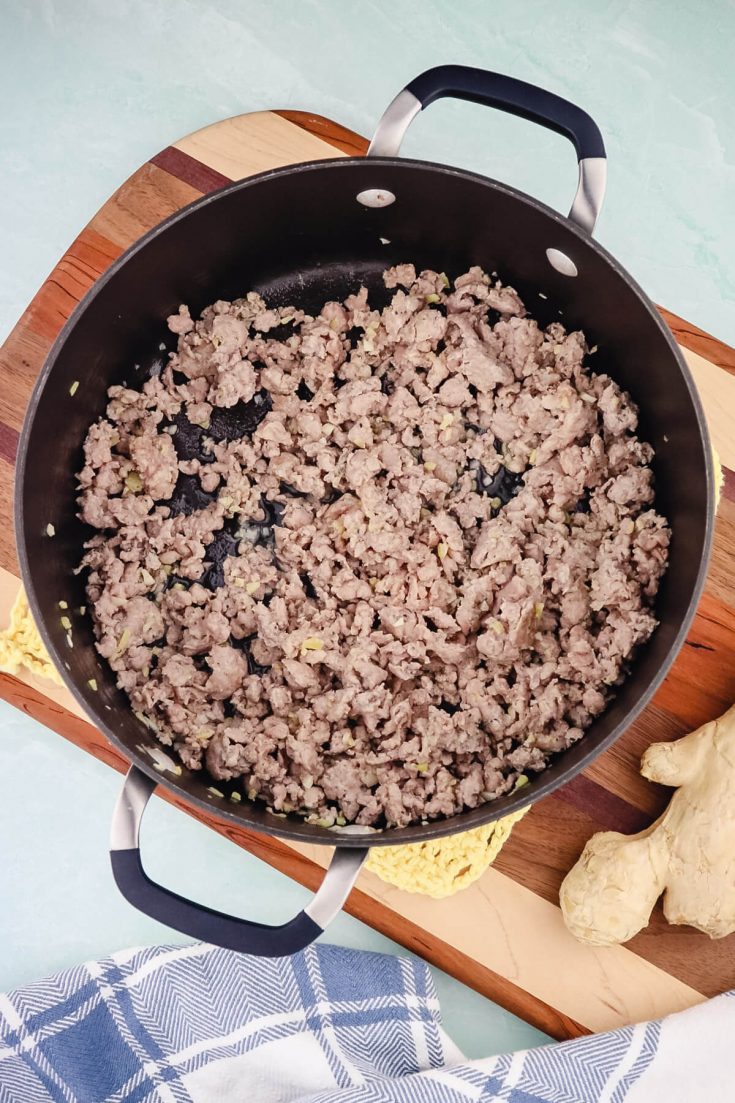
I love this recipe because it's quick and simple to come together. The turkey can be a bit sticky, but that's not a terrible drawback.
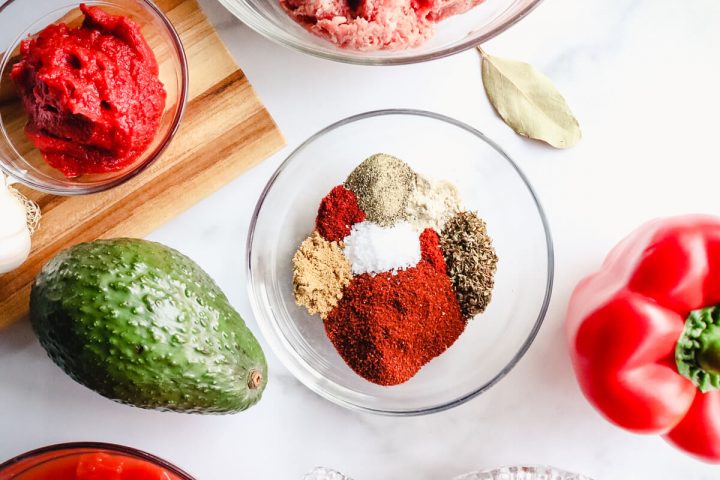
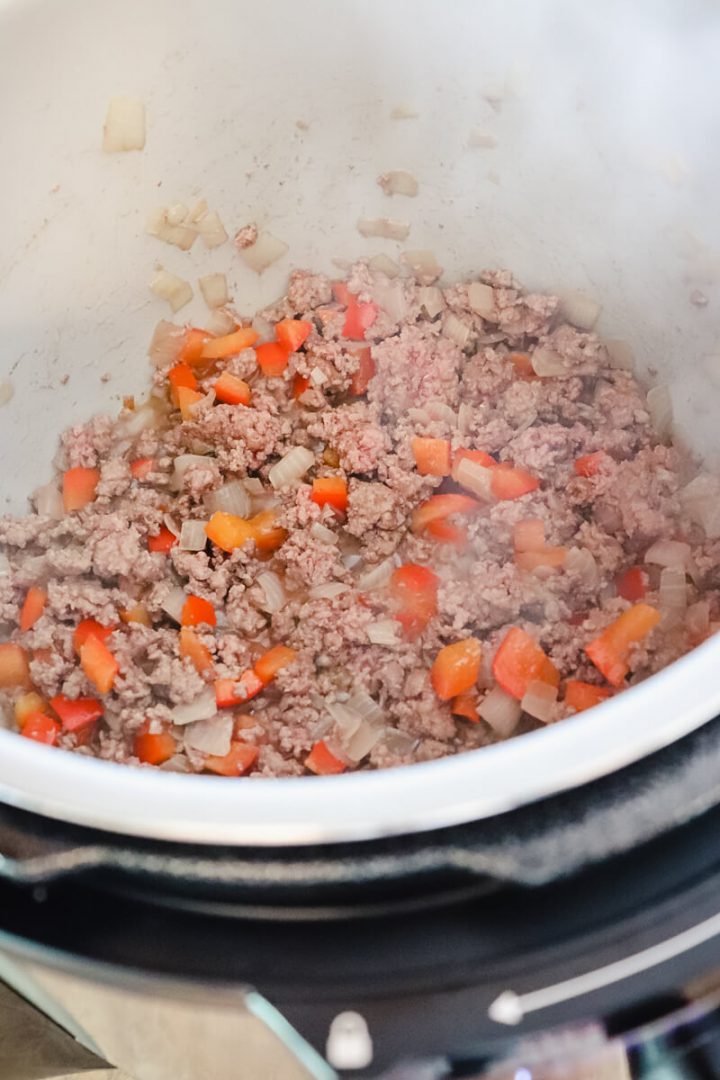
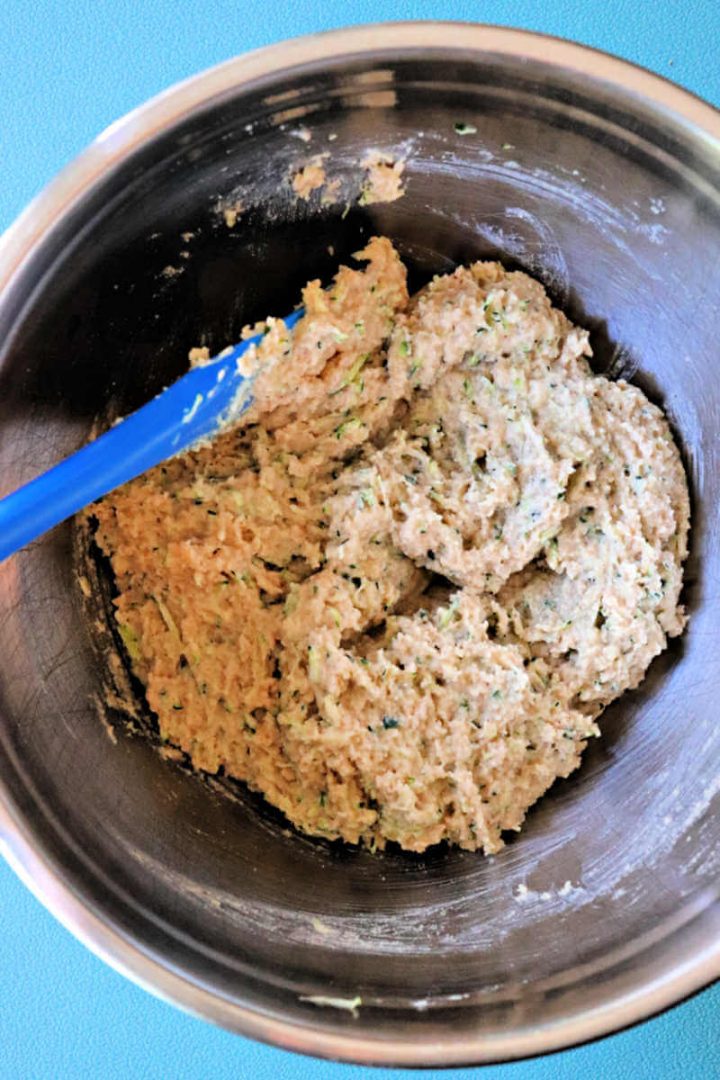
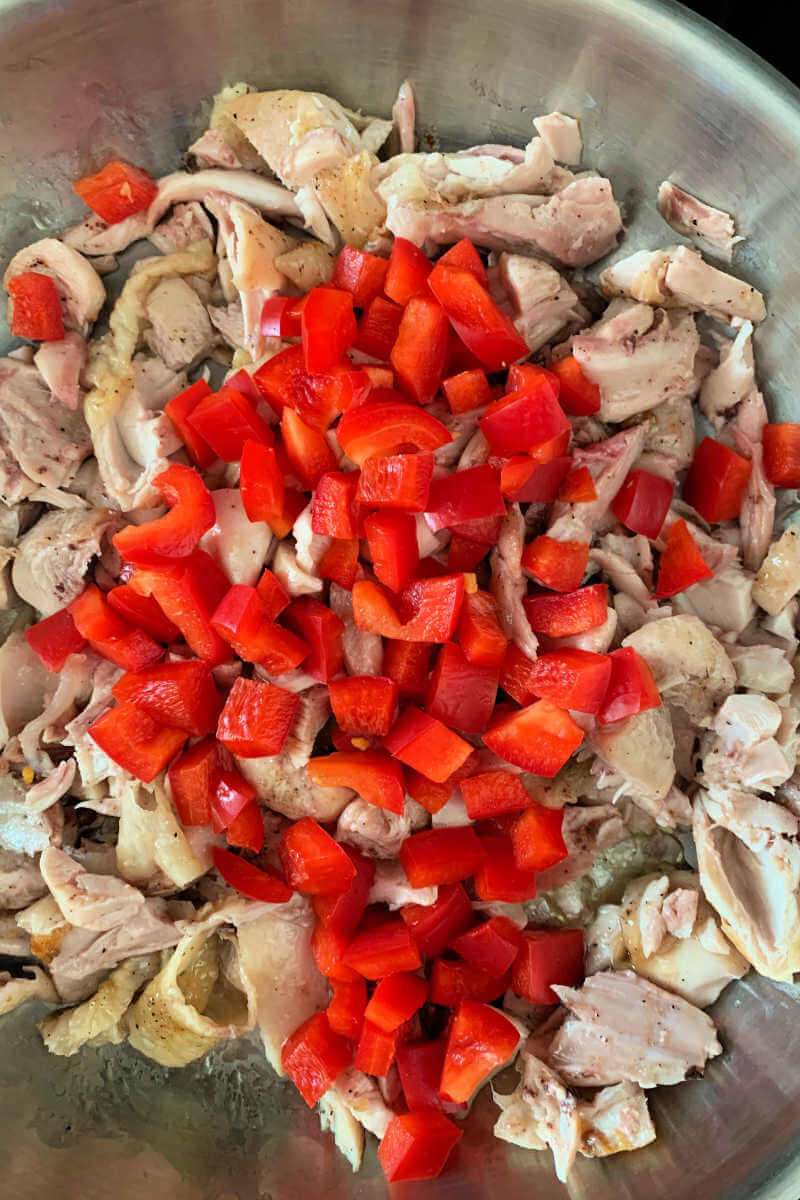
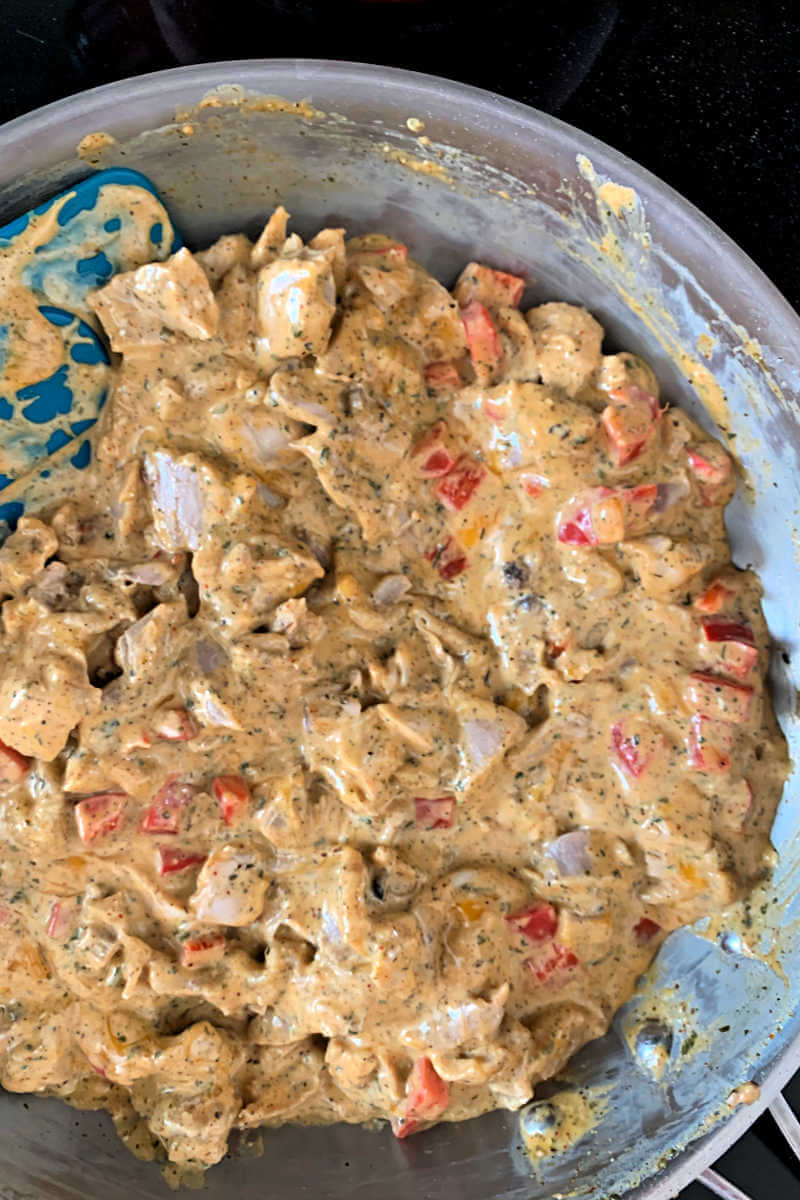
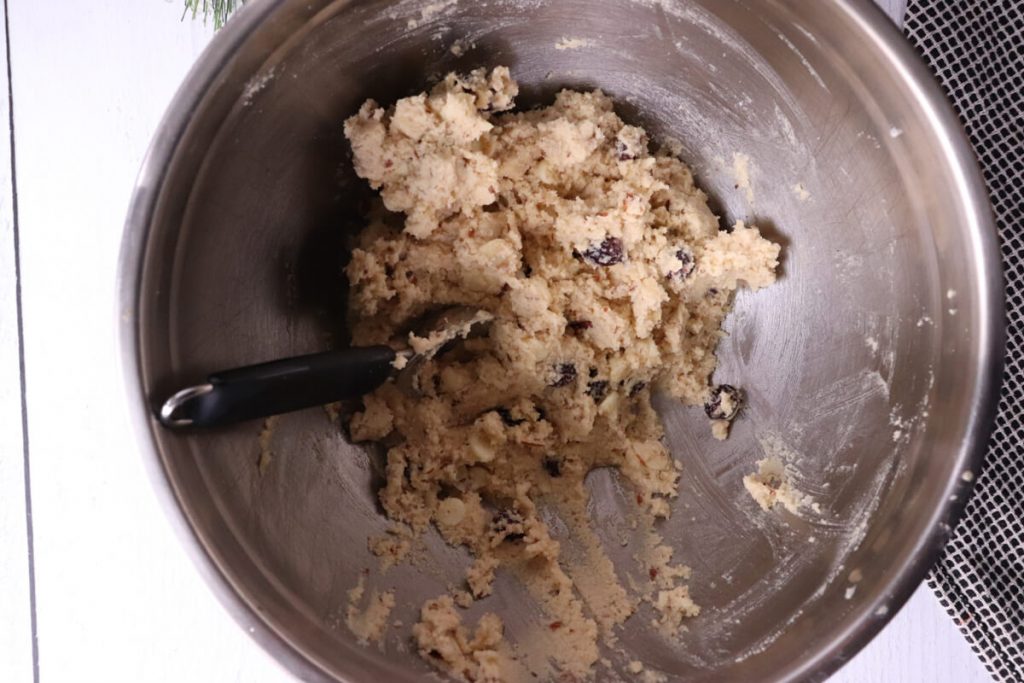
First, use a spatula or your hands to mix all ingredients together in a medium bowl. Continue to stir it well until everything is evenly dispersed.

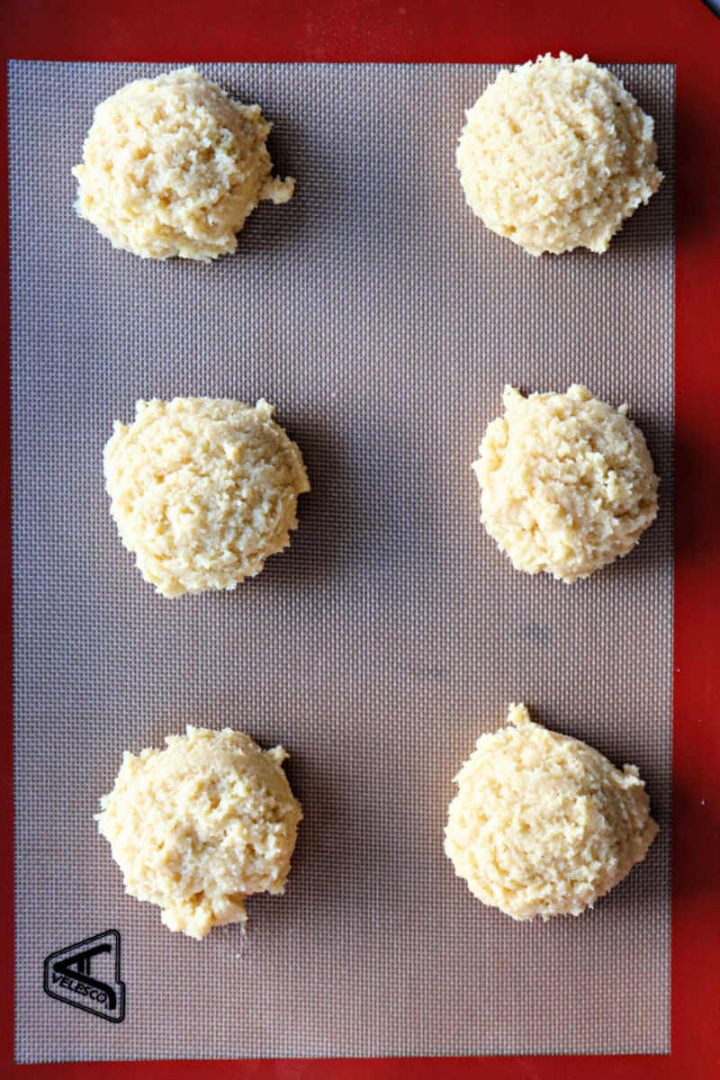
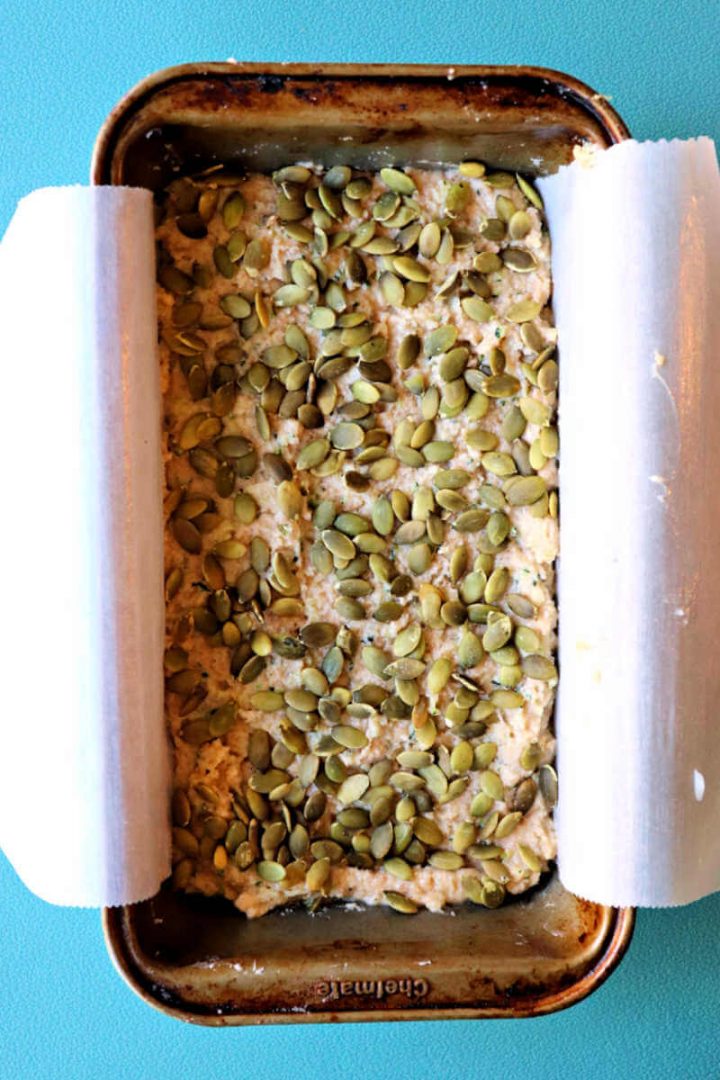
Next, form the mixture into four equal patties. This is where things can get sticky! Don't worry, just form the patties and place them on a plate ready to cook.
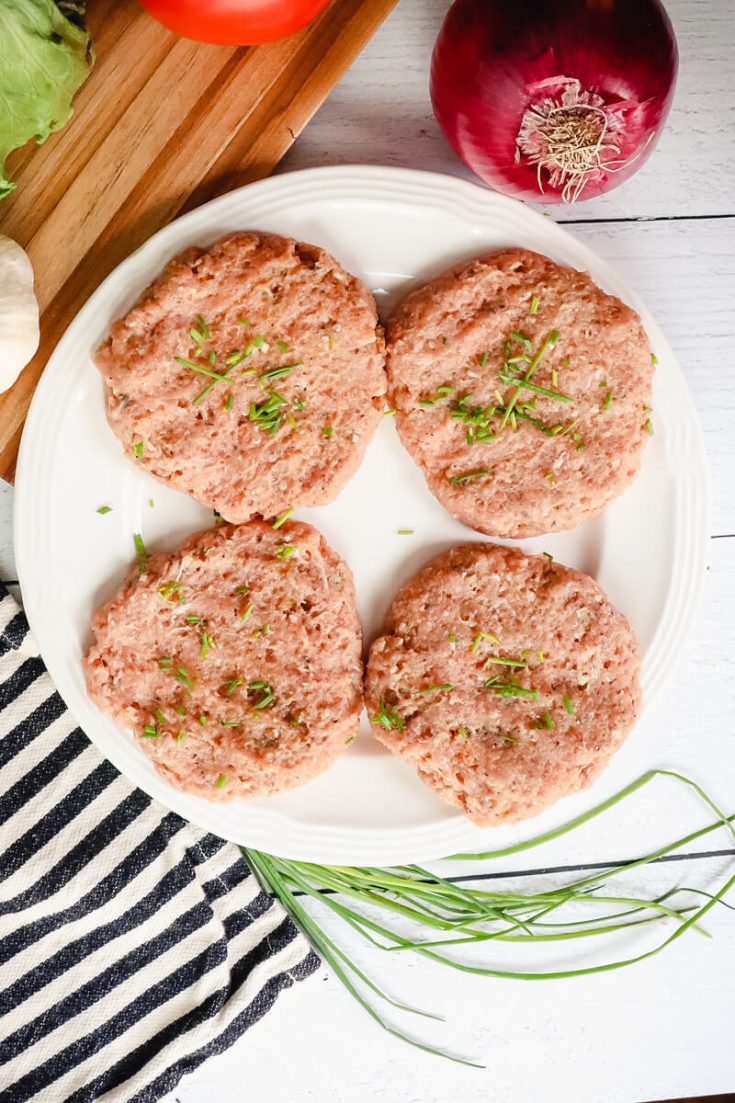
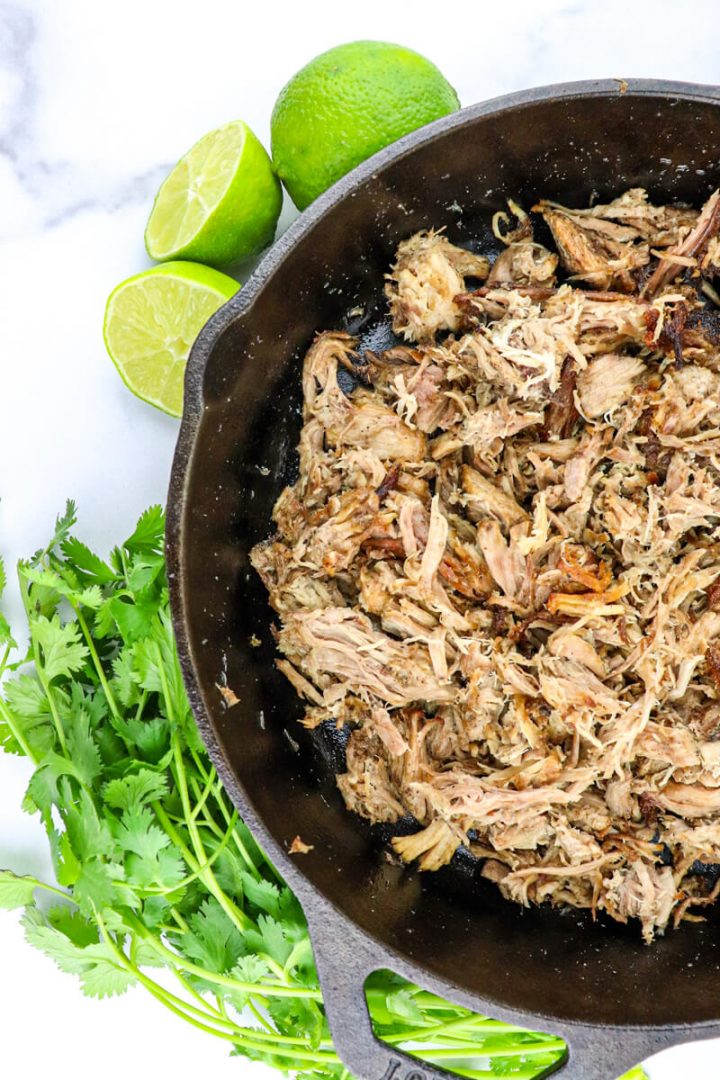
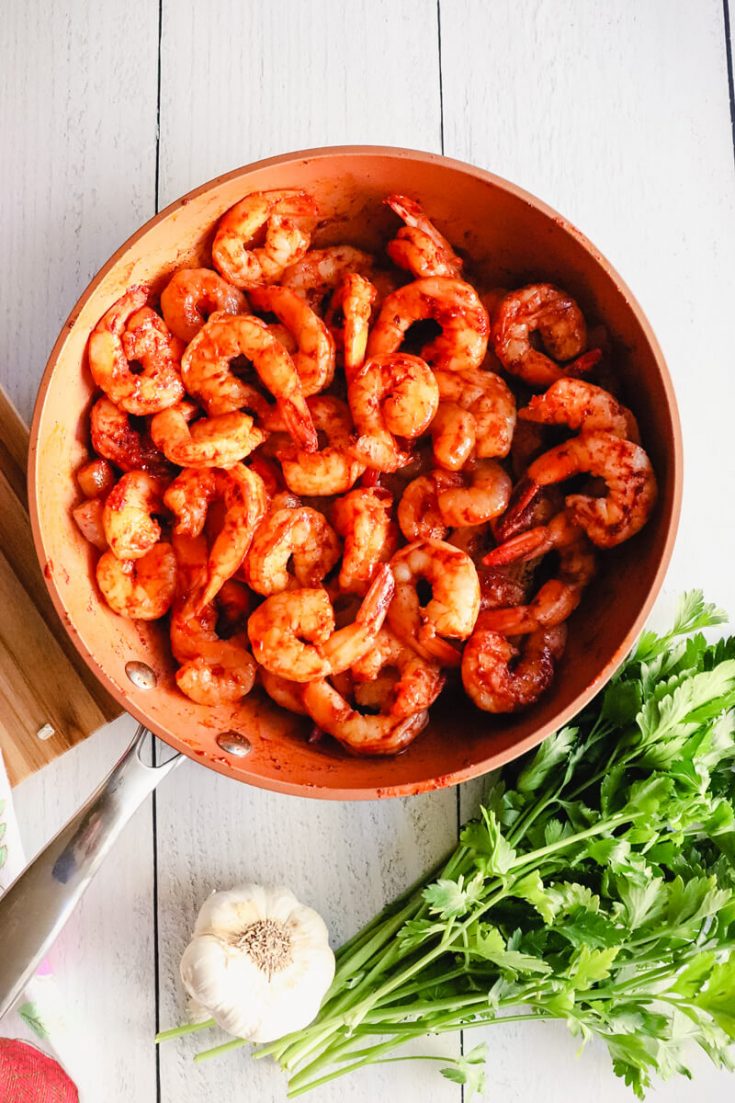
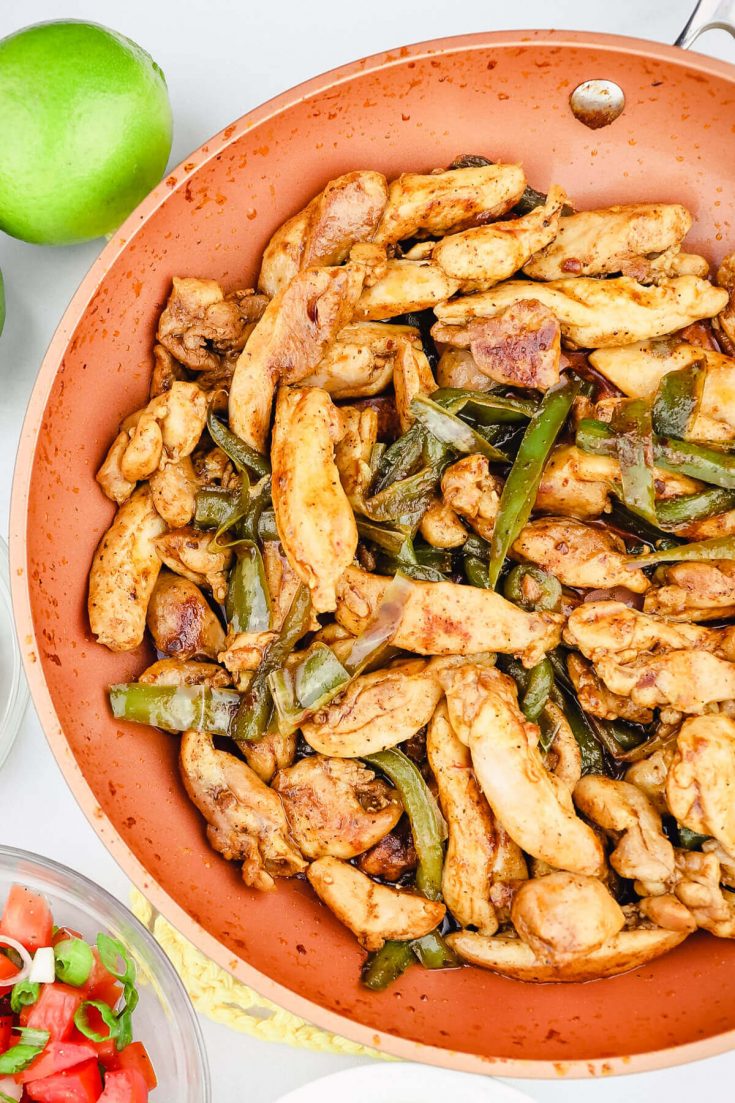
Then, grill the turkey burgers keto style over medium heat. Usually, about 4-6 minutes on each side is best, or until the internal temperature reaches 165 degrees F.
💭 Top tip - air fryer turkey burgers
Now, I don't know if it means I'm completely lazy or just exceptionally smart that I cook pretty much everything in my Ninja Foodi (air crisper or pressure cook settings) lately.
It's pretty fabulous how easy it is to cook meat, and burgers are no exception. For this keto turkey burger recipe, set air fryer or crisper to 375 degrees F. To prep the air fryer basket, I spray it with extra-virgin olive oil or avocado oil.
Then carefully place the turkey patties in and air fry for 9 minutes. Machines do vary so you can also go by the internal temperature when it reaches 165 degrees F.
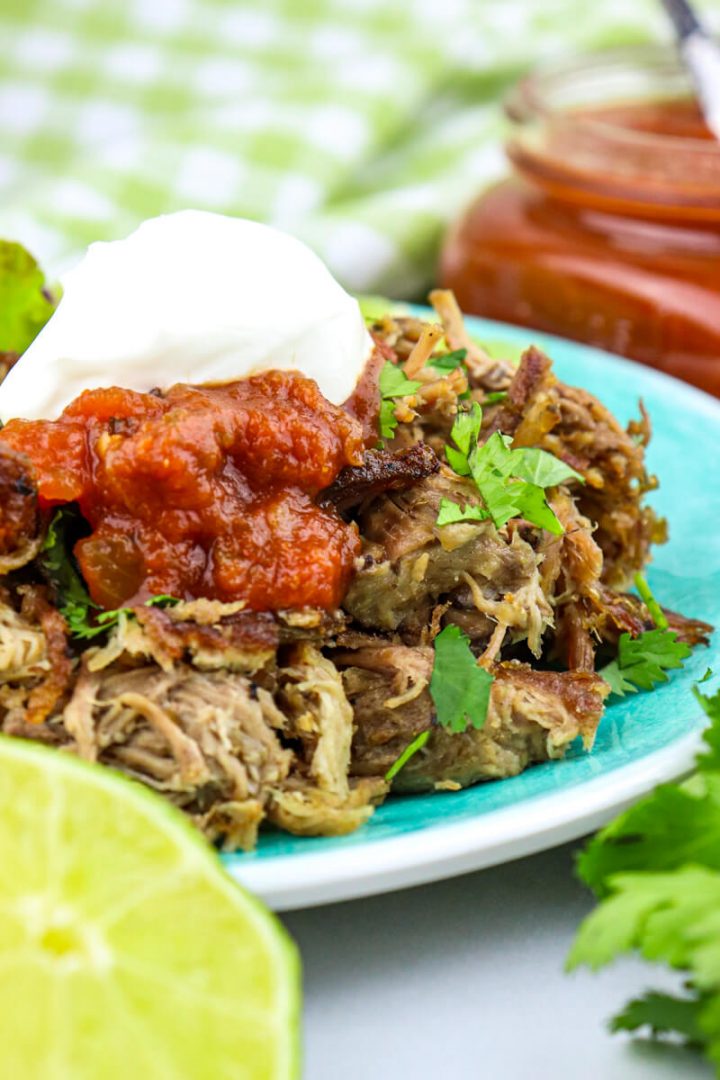
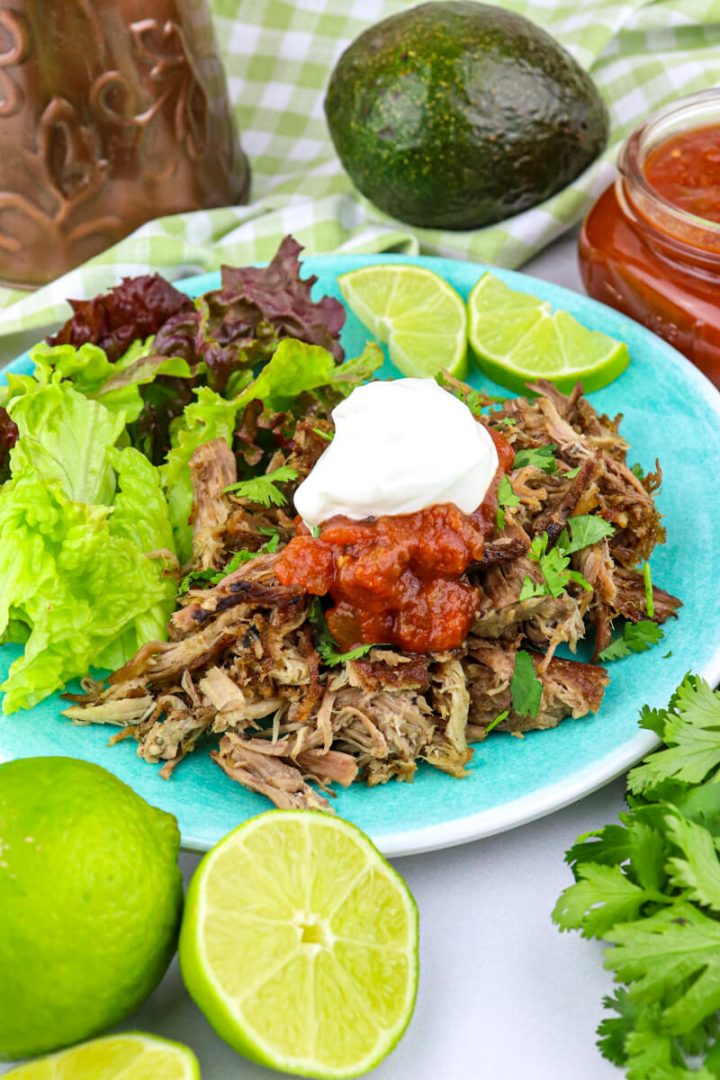
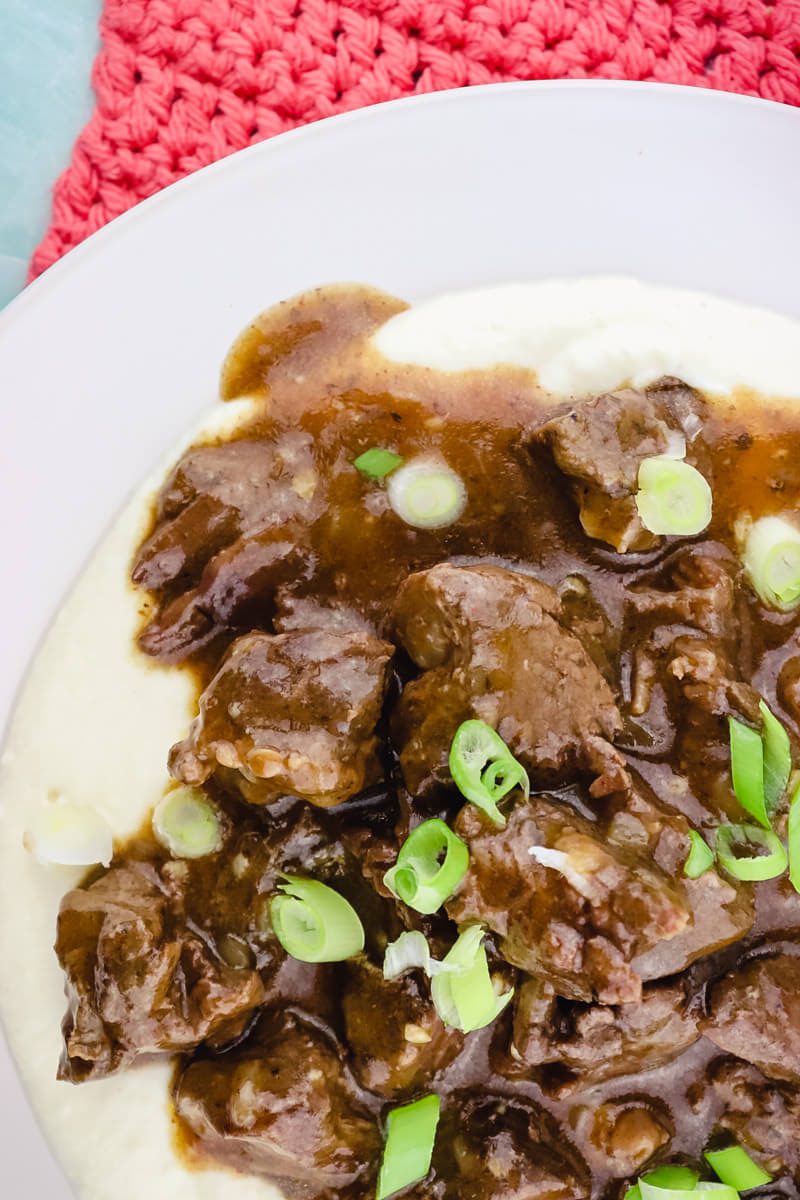
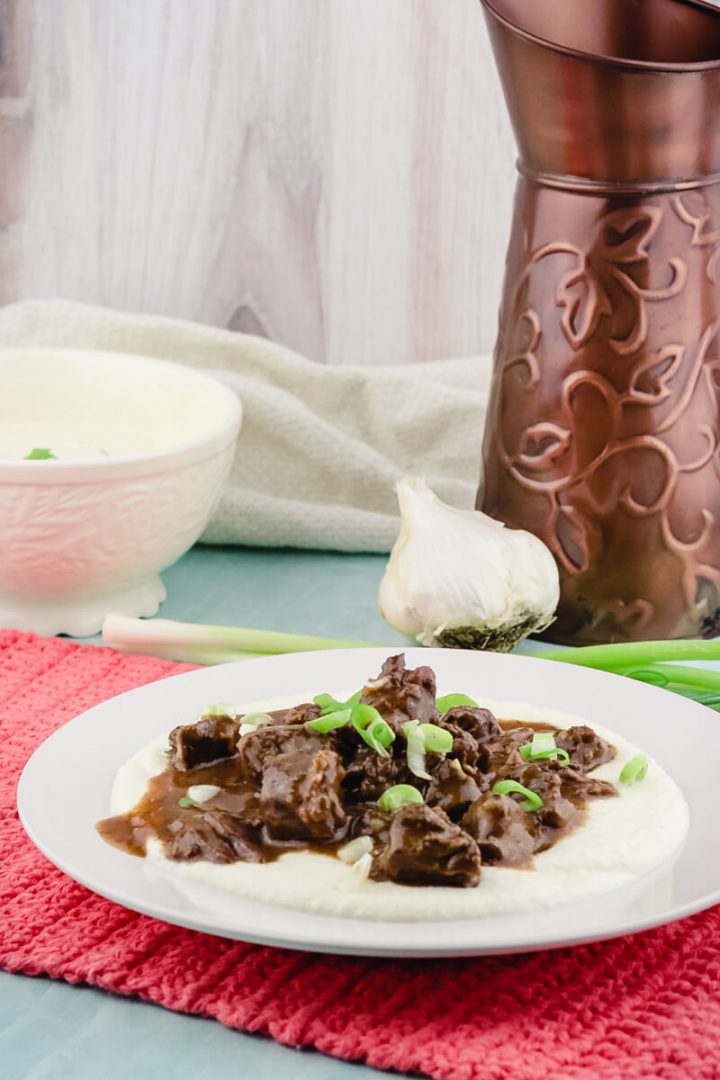
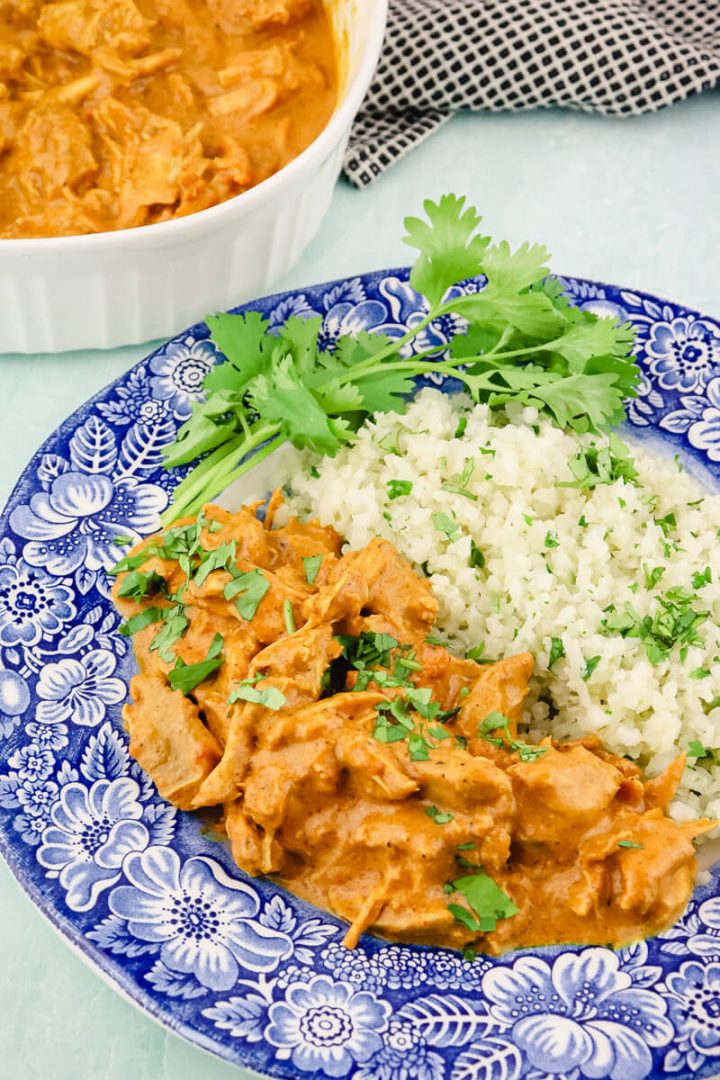
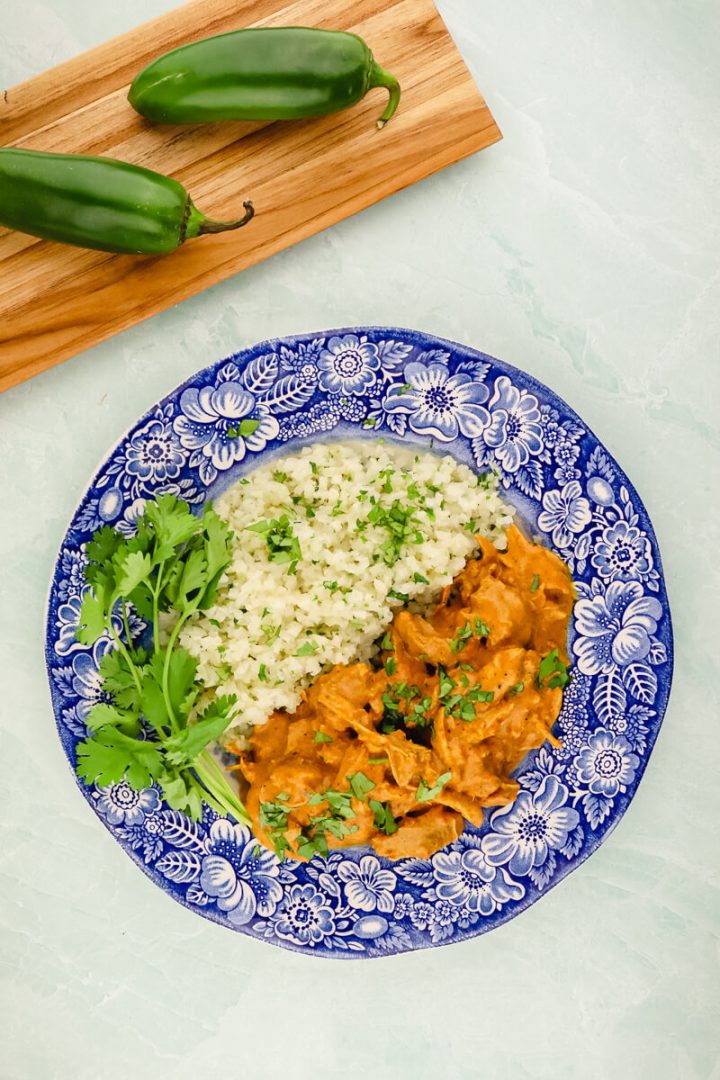
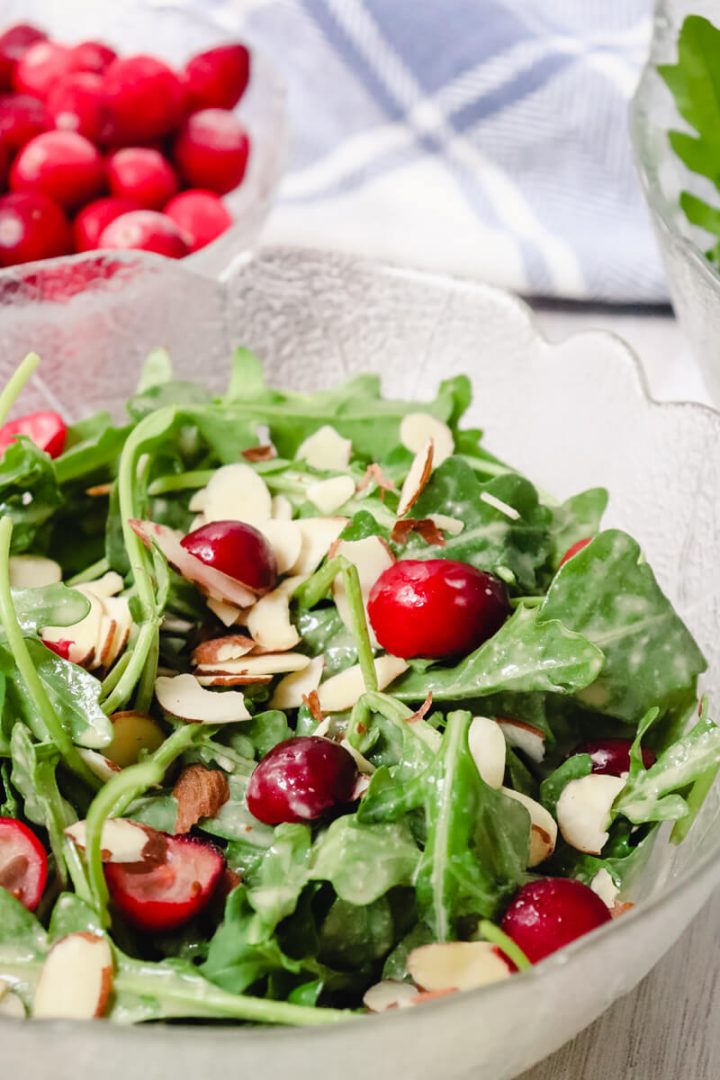
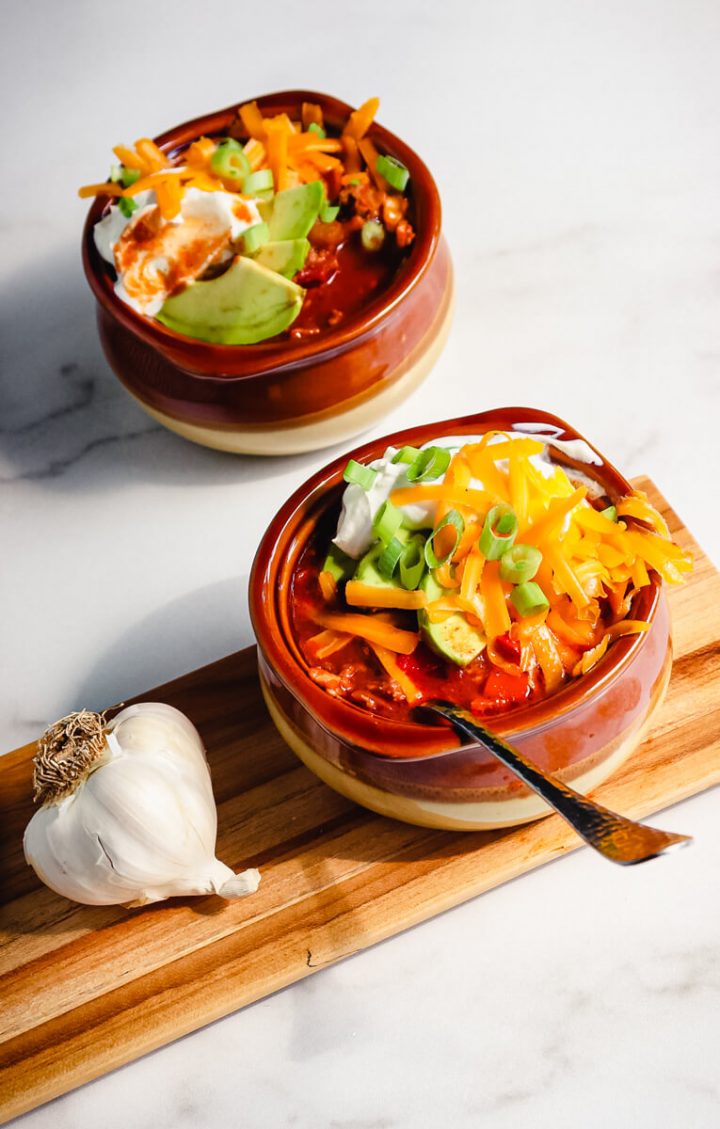
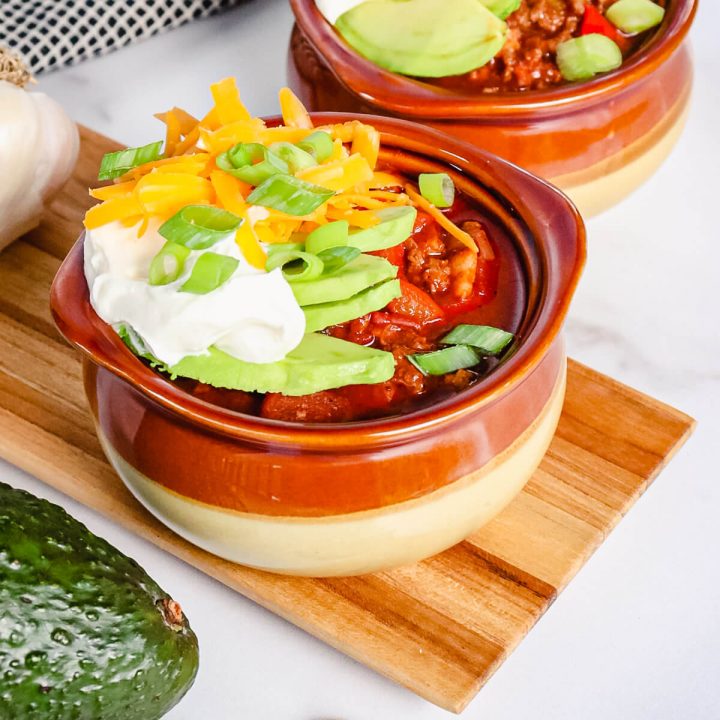
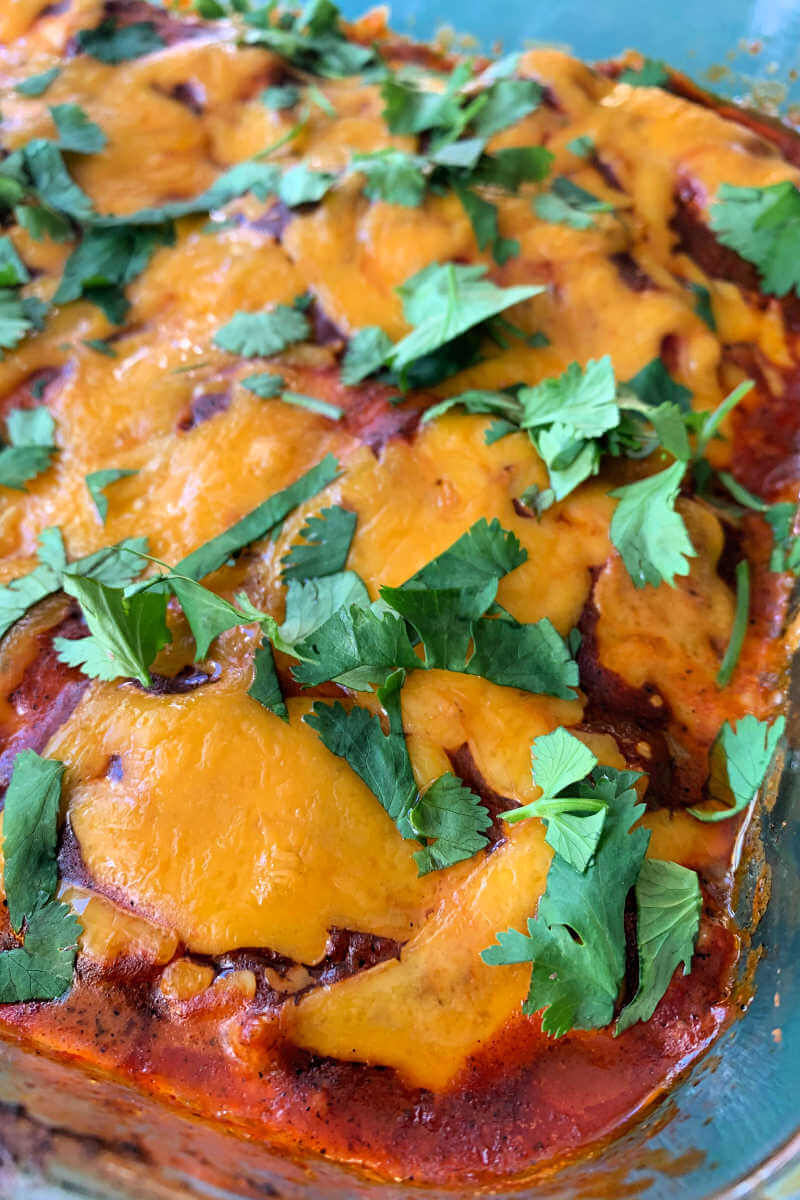
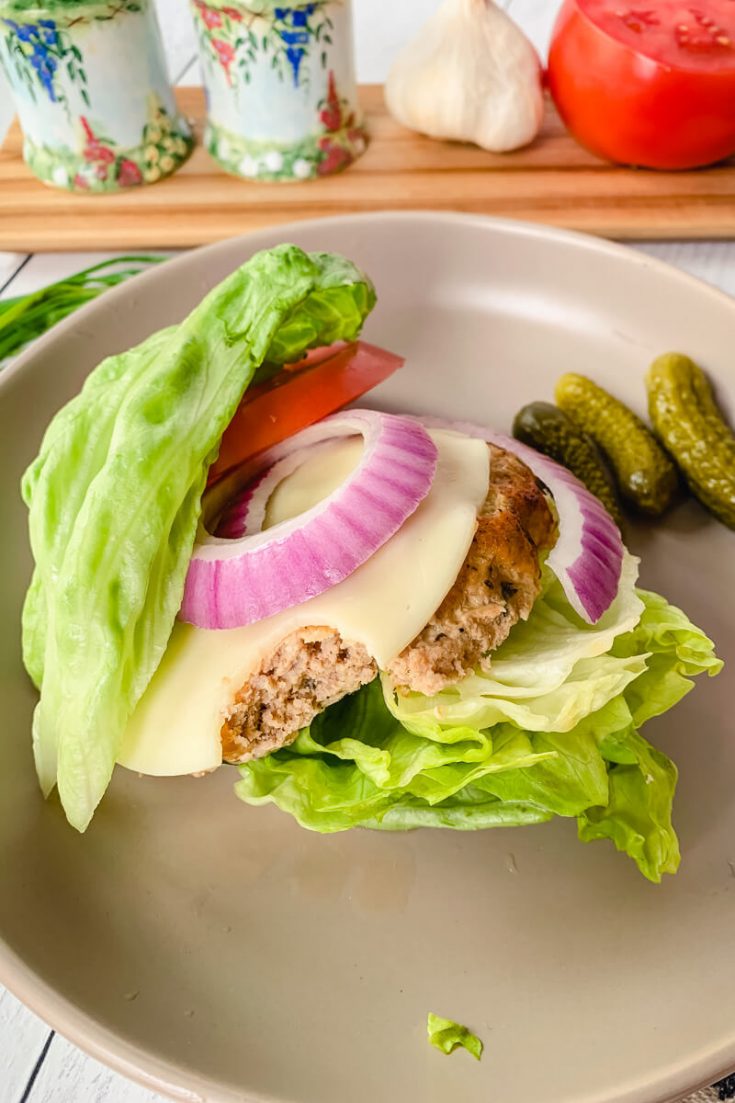
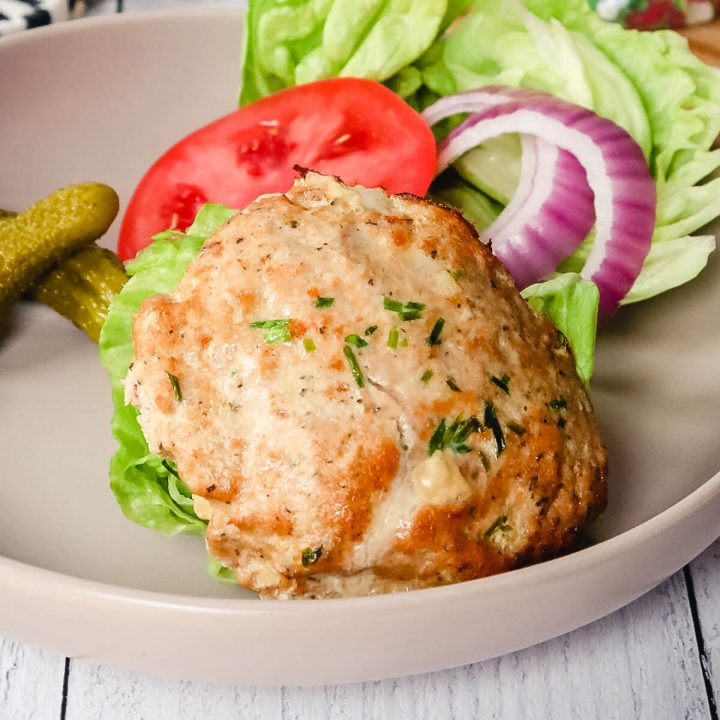
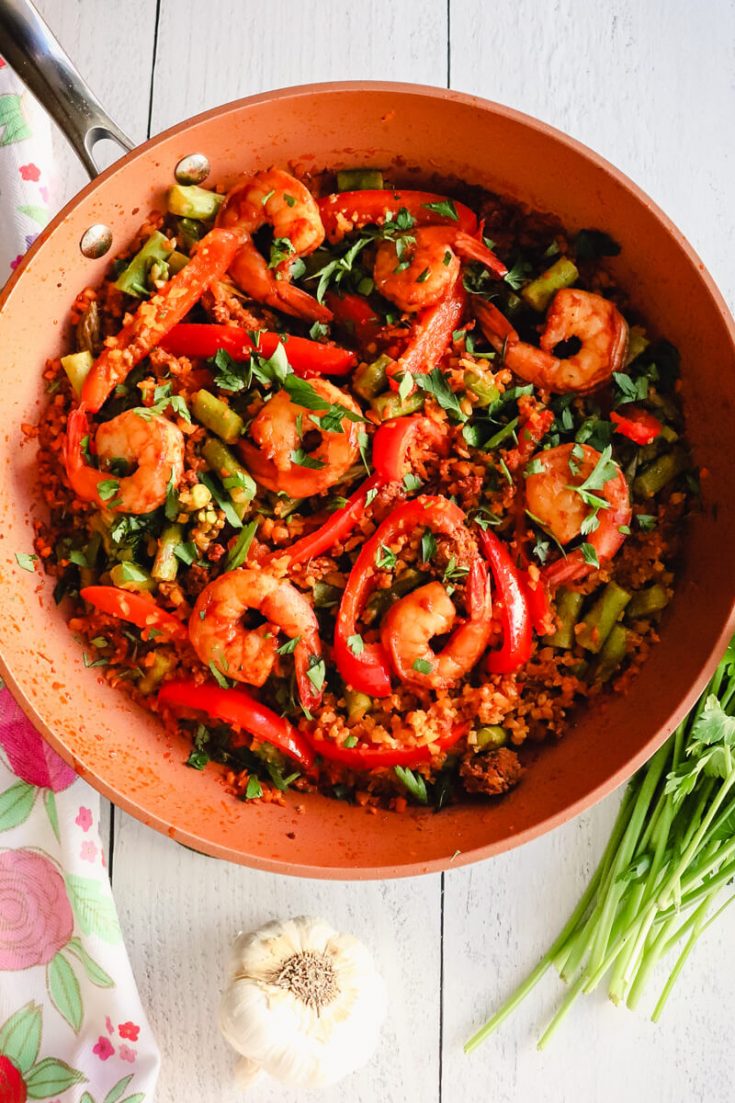
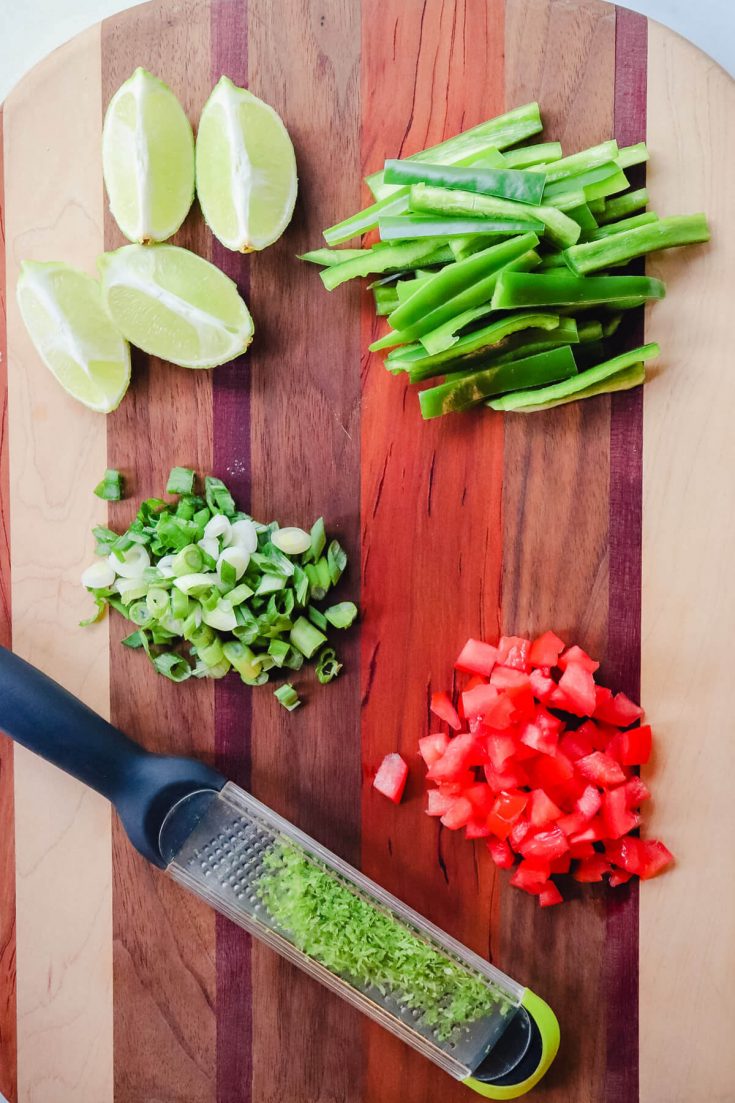
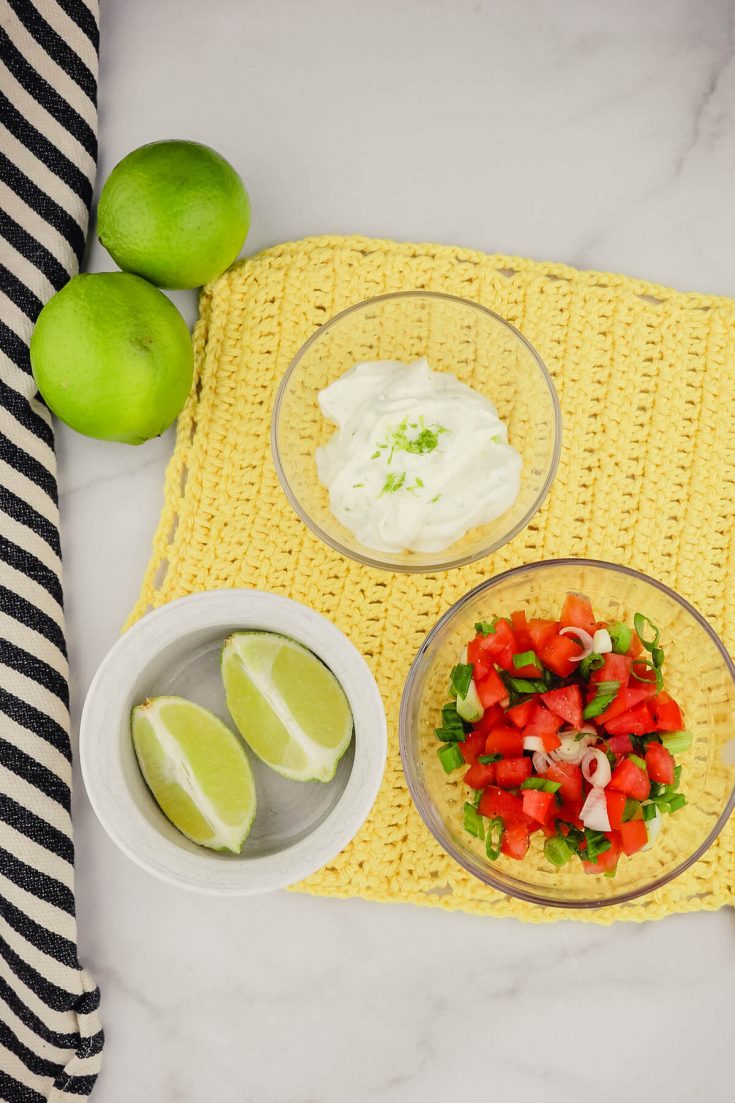
Next, serve the keto turkey burgers up plain or on lettuce wraps/buns. They're good to top with sliced red onion, provolone cheese, tomato, and other of your favorite sugar-free condiments.

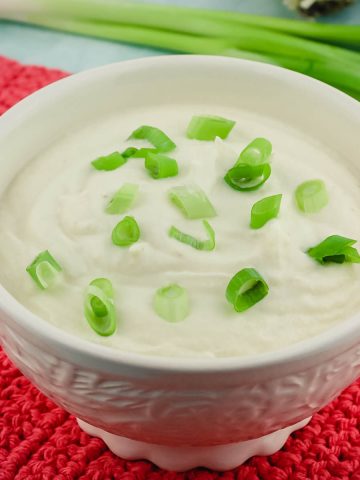
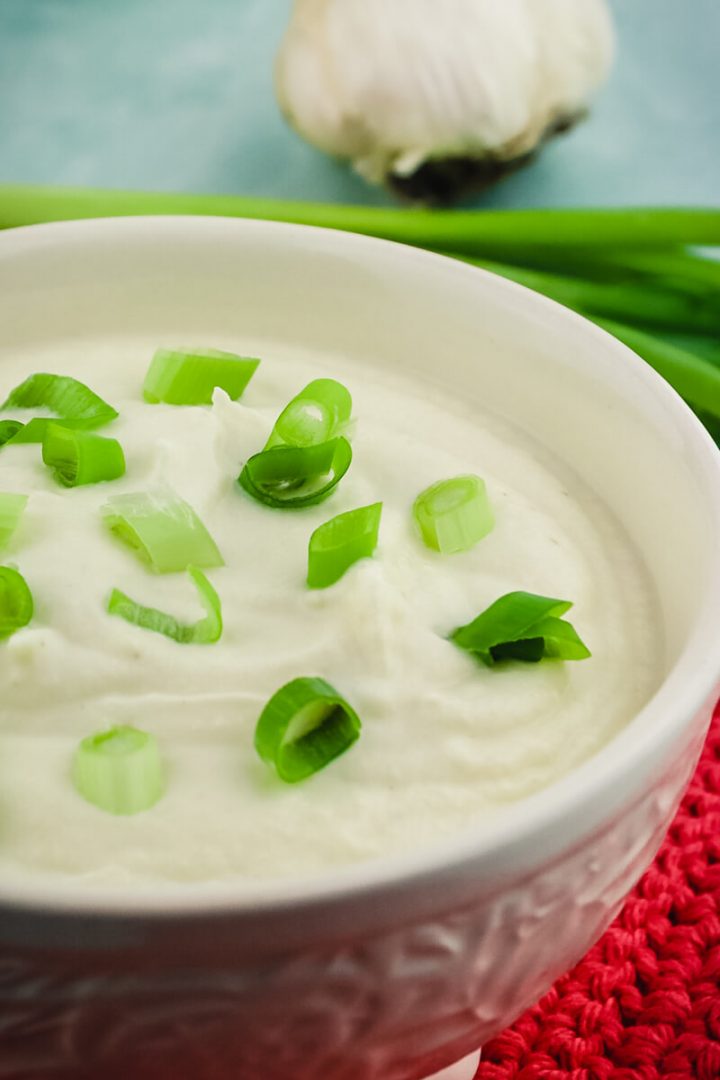
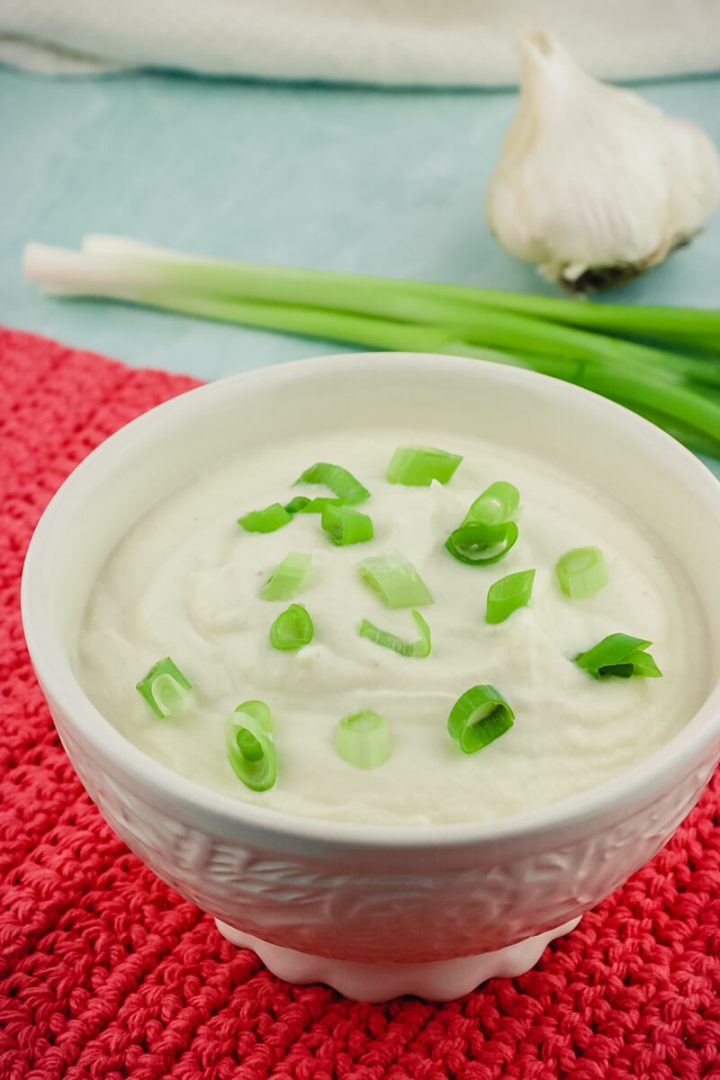
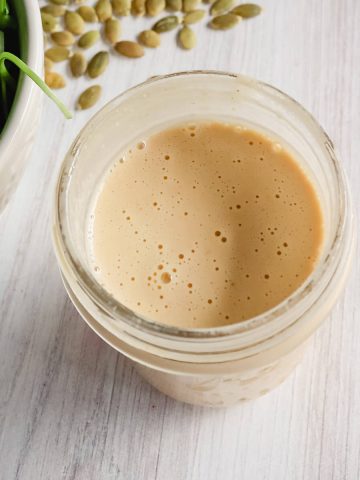
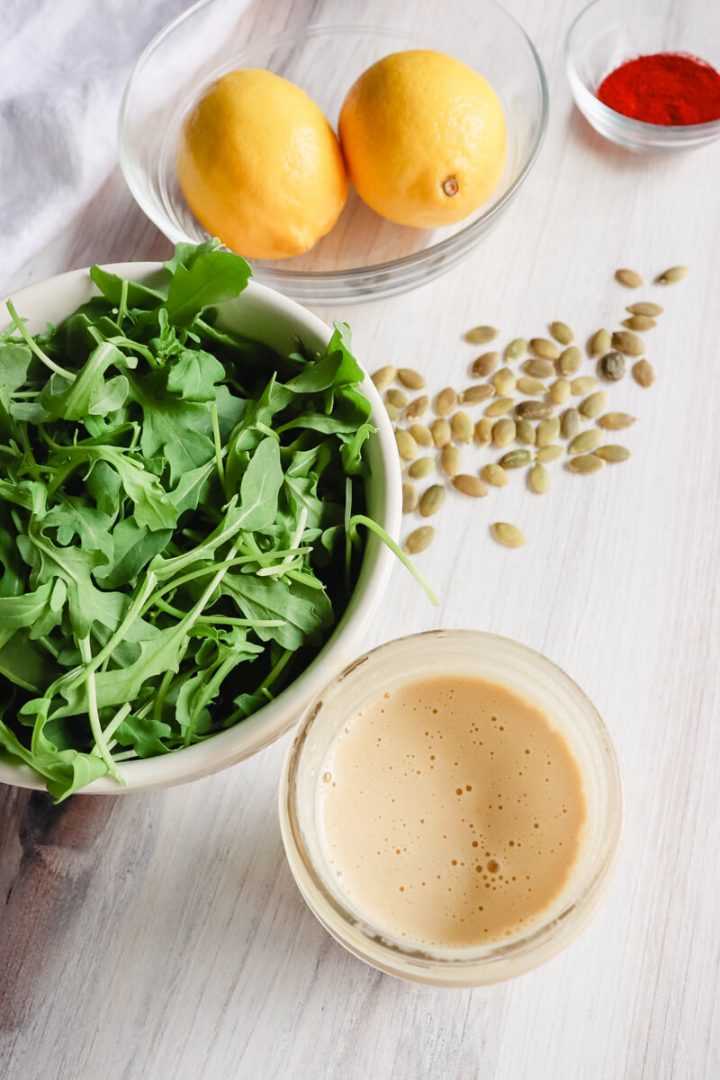
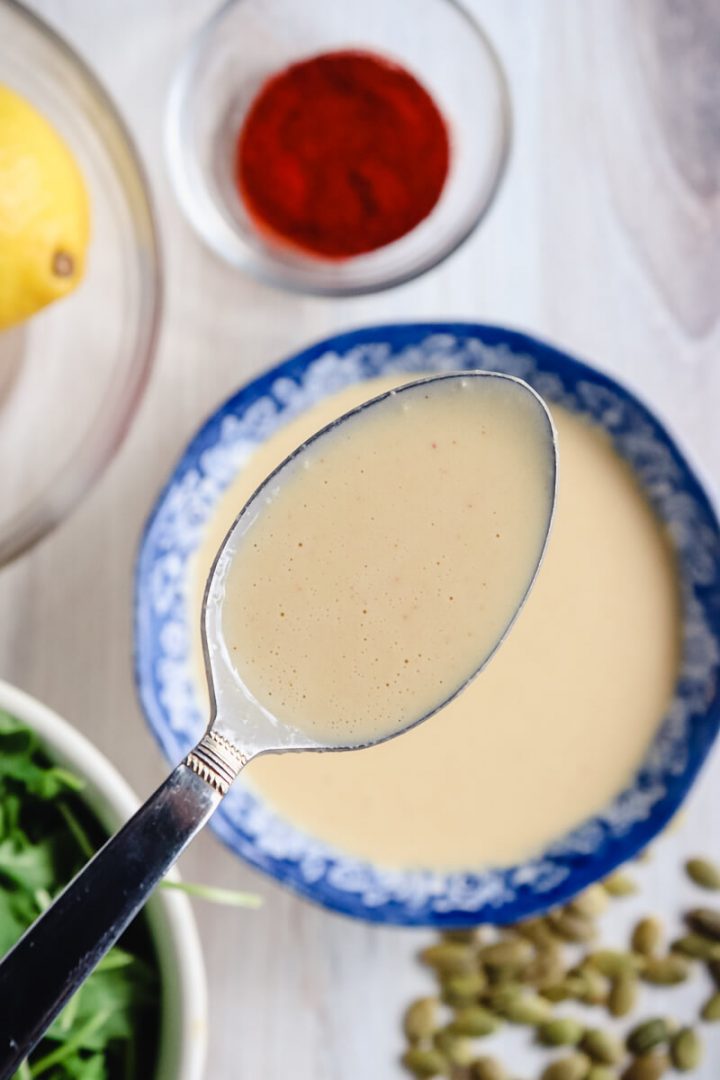
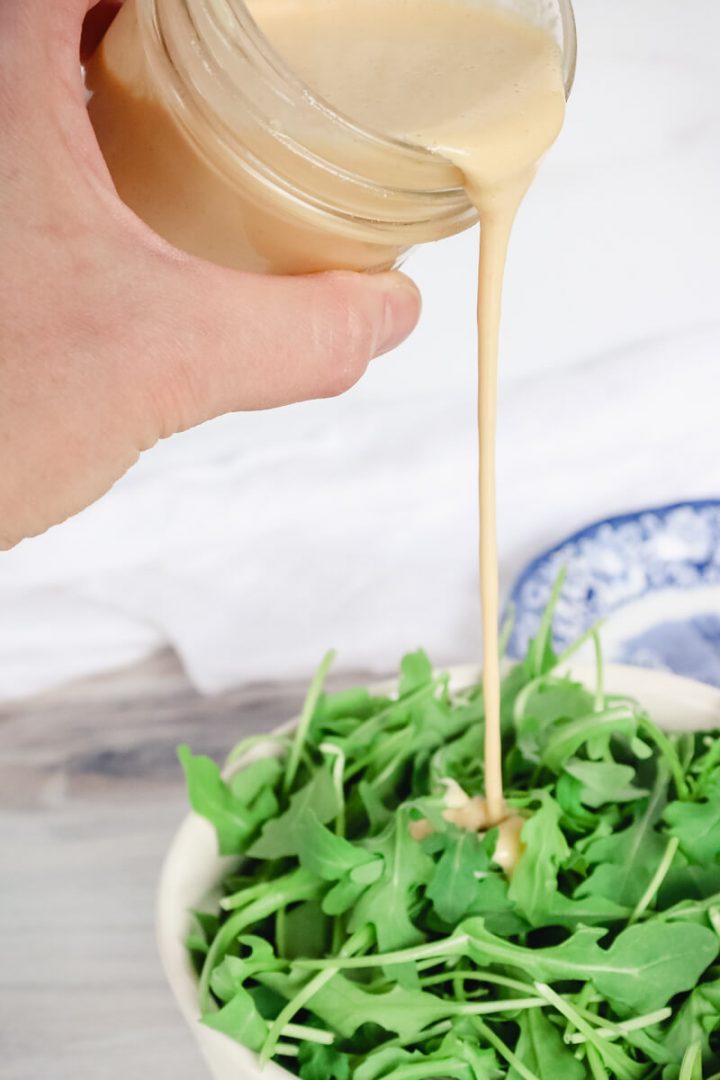
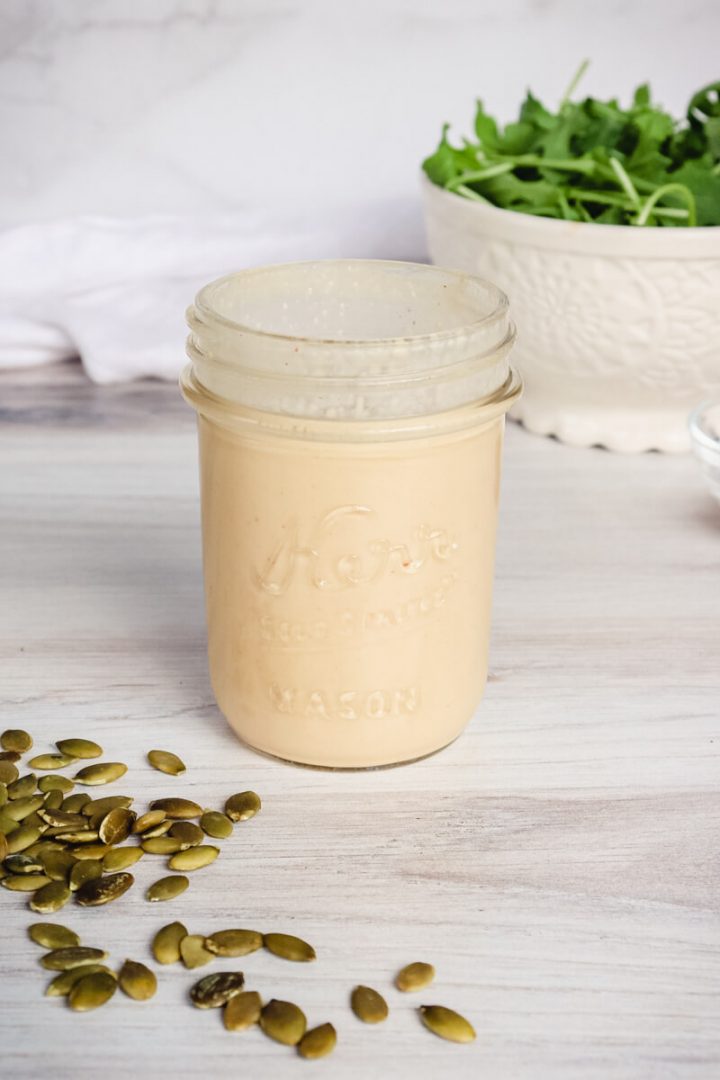
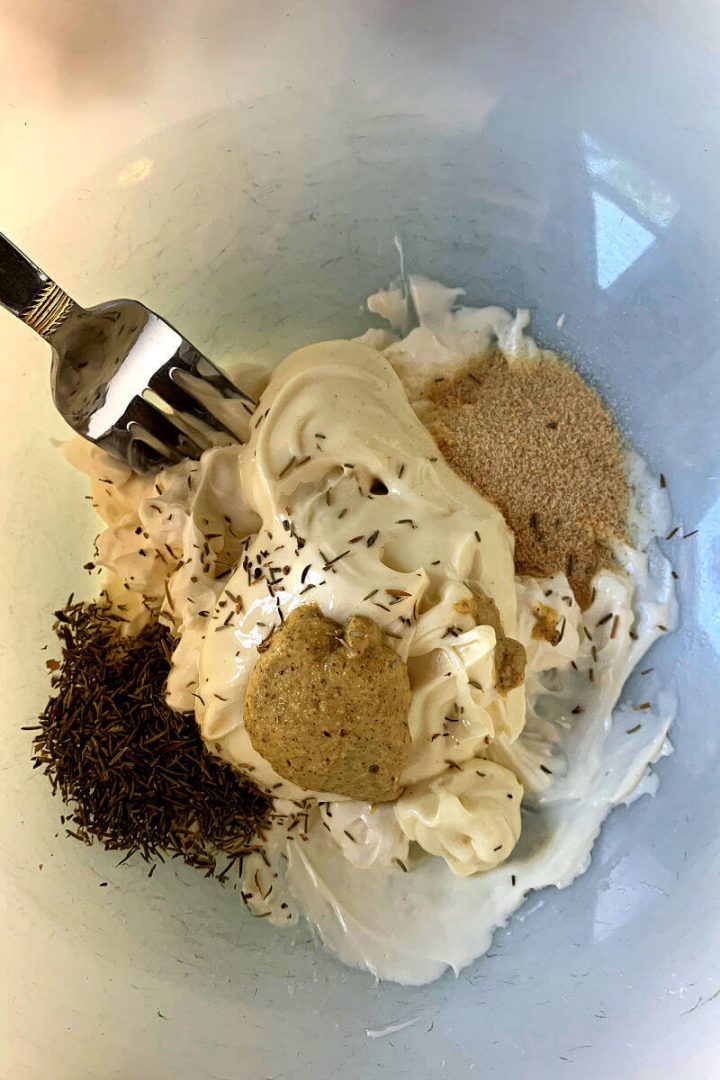
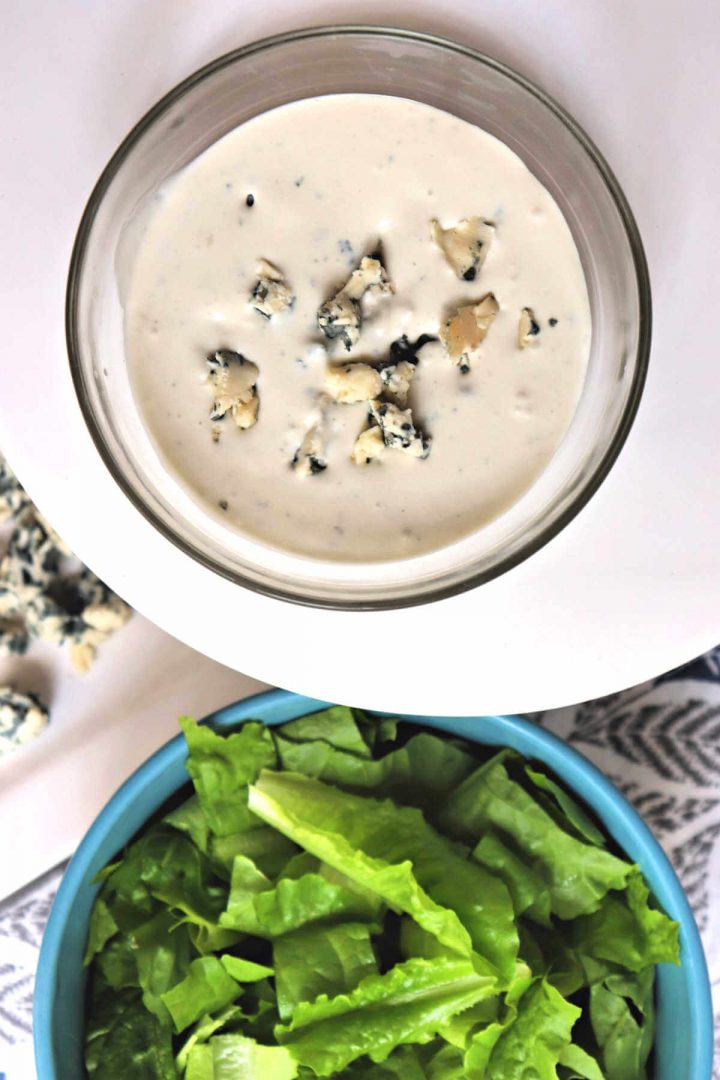
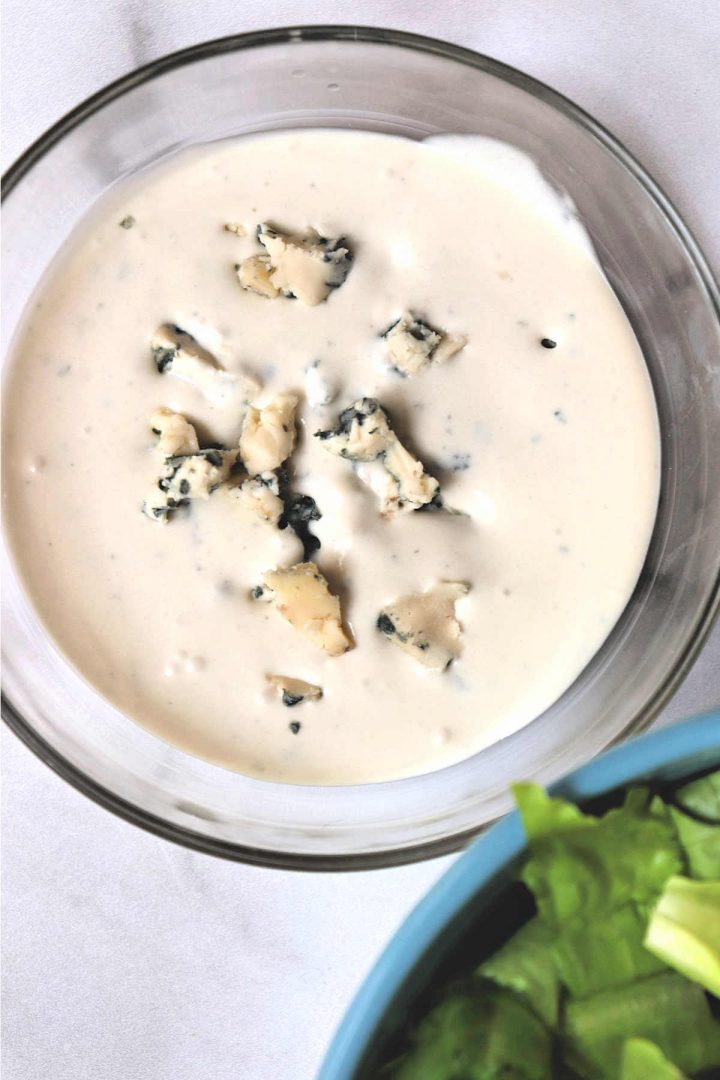
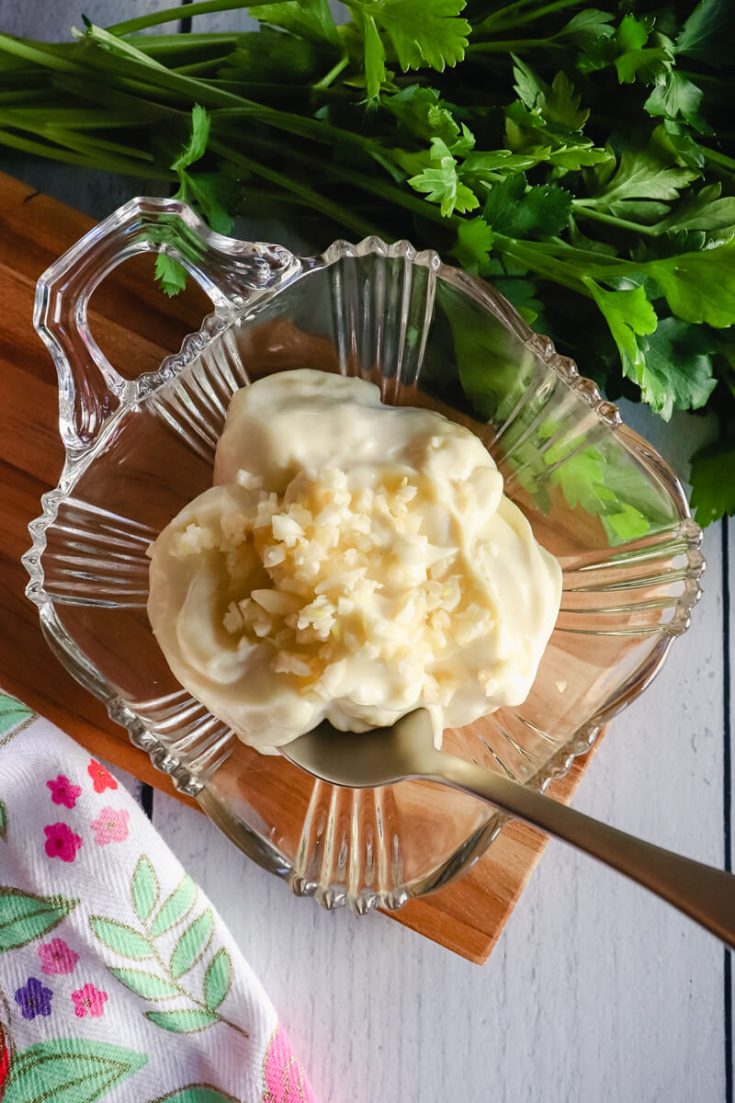
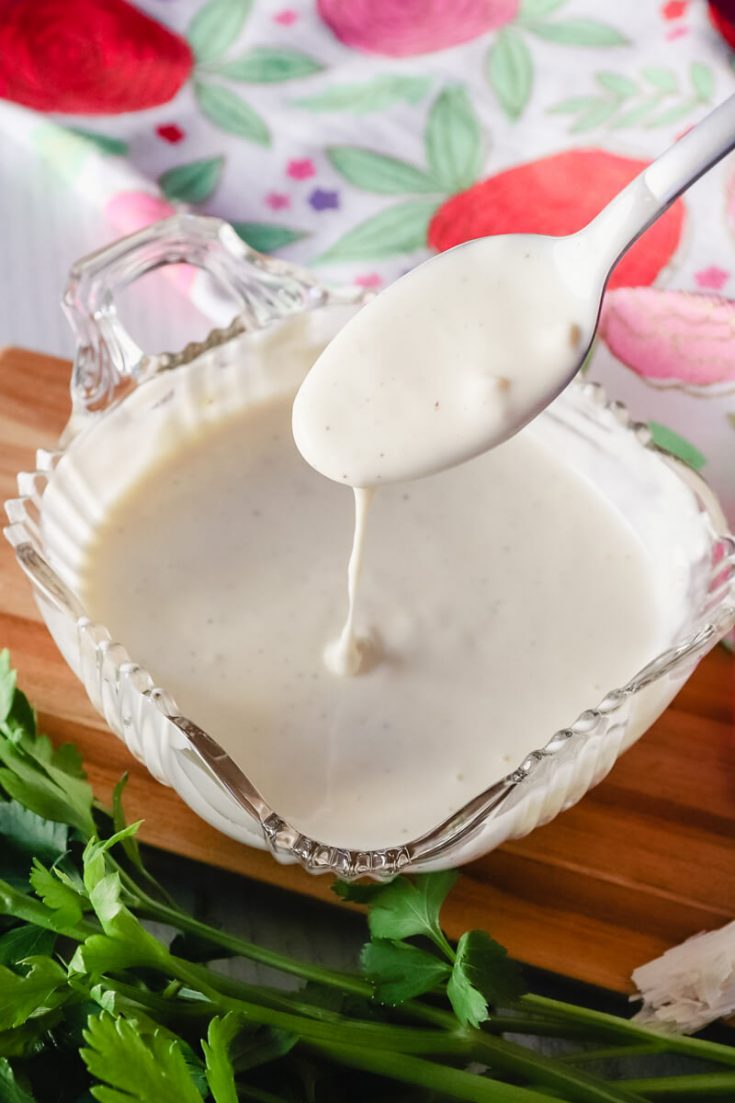
How to make flavored mayonnaise
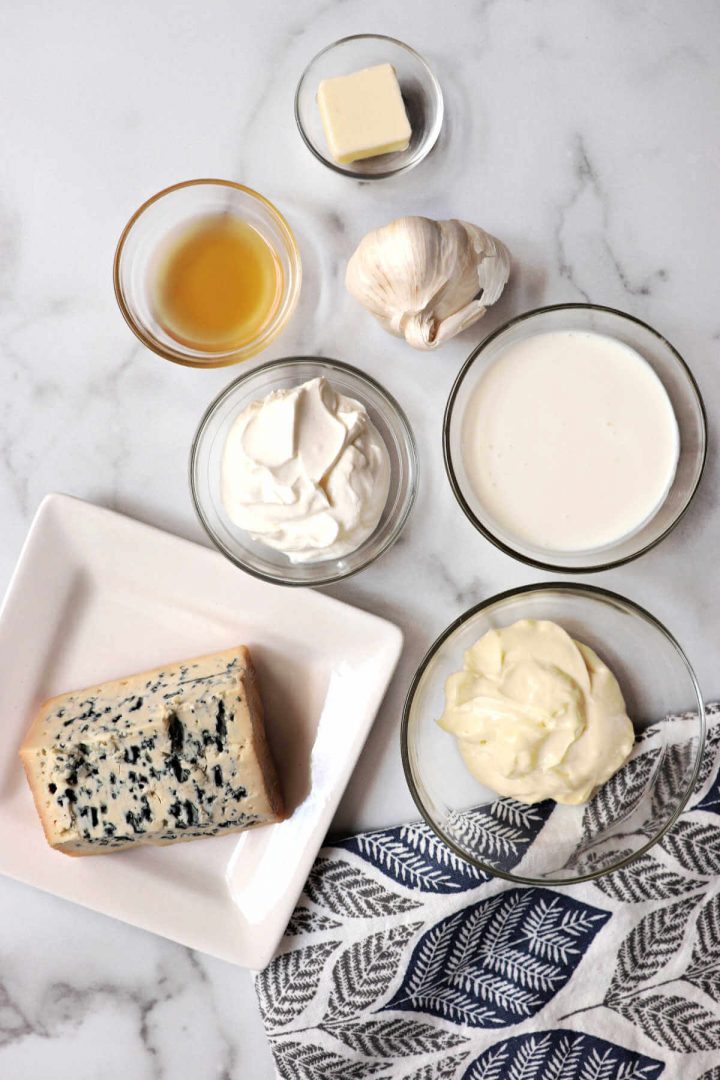
To make a good flavored mayonnaise for the burgers, it's as simple as stirring different flavor ingredients into a quality mayo. If I don't make my own mayo, a good choice is Chosen Foods Avocado Oil Mayonnaise. I get ours at Costco, but you may also find other good quality mayo at your local store, just read the labels.
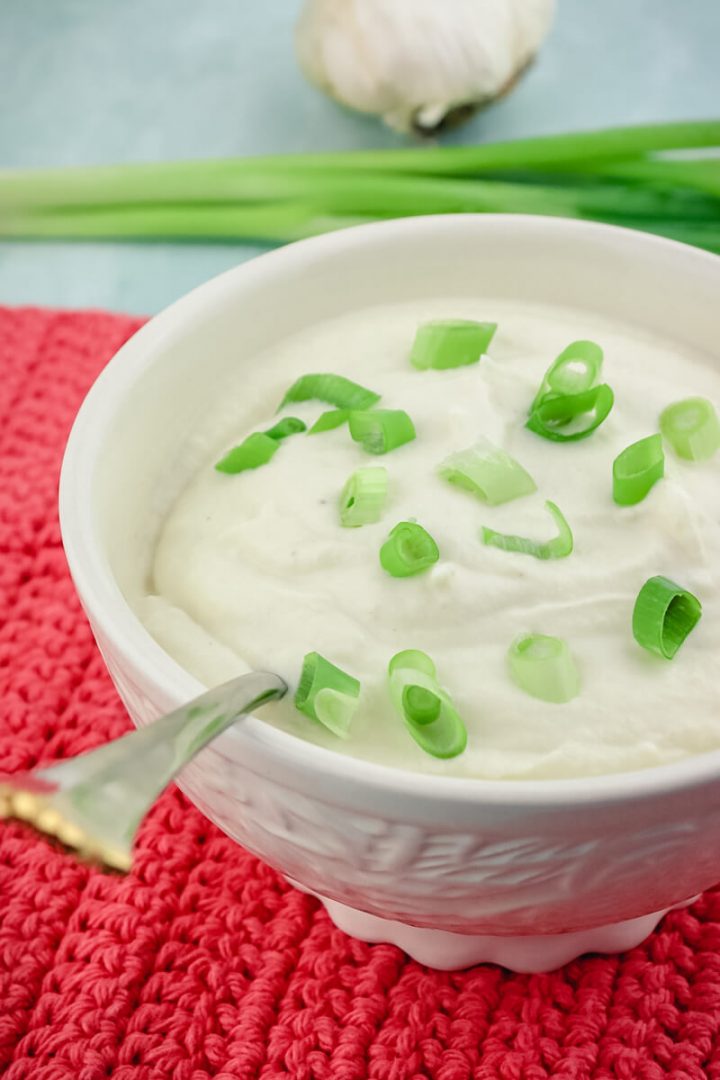
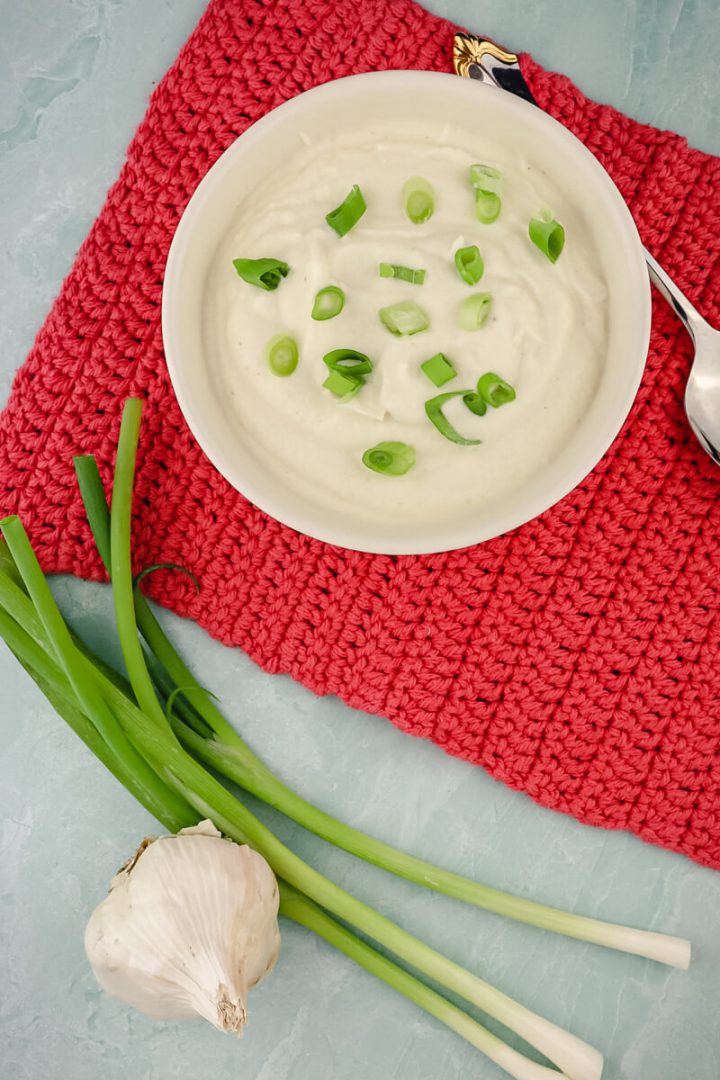
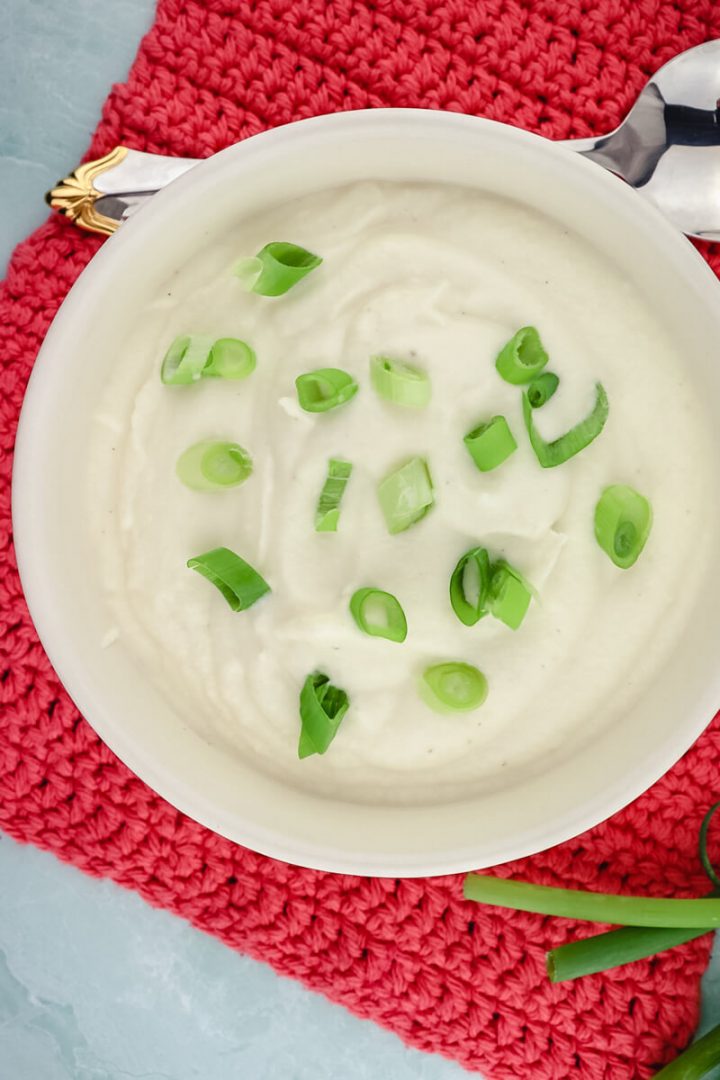
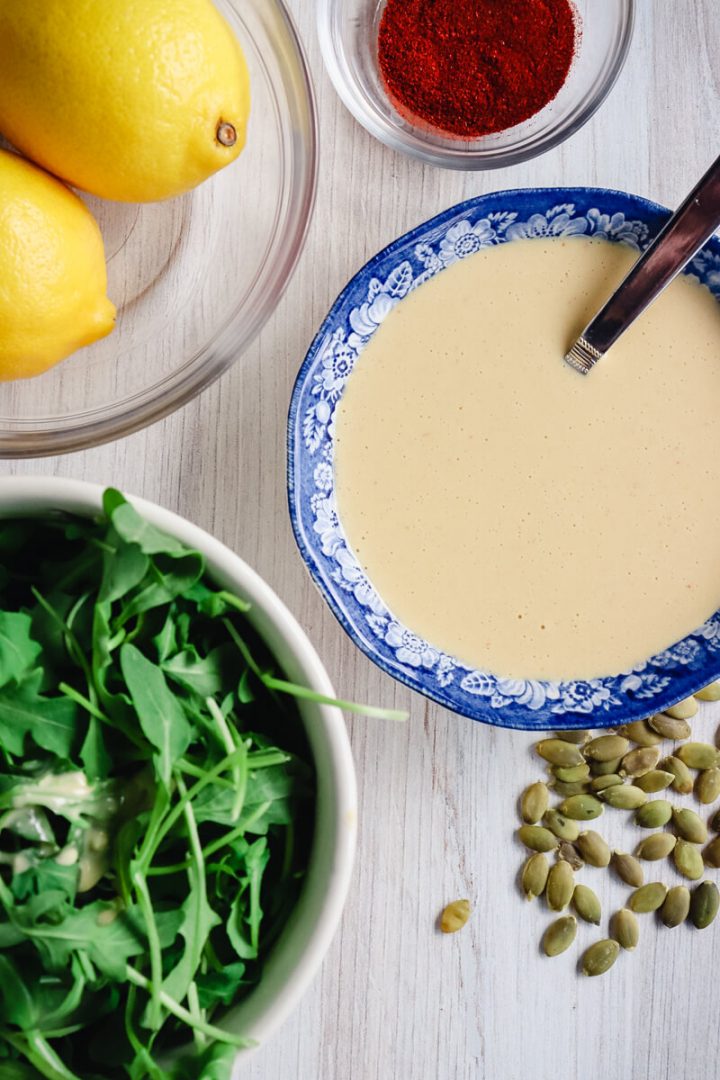
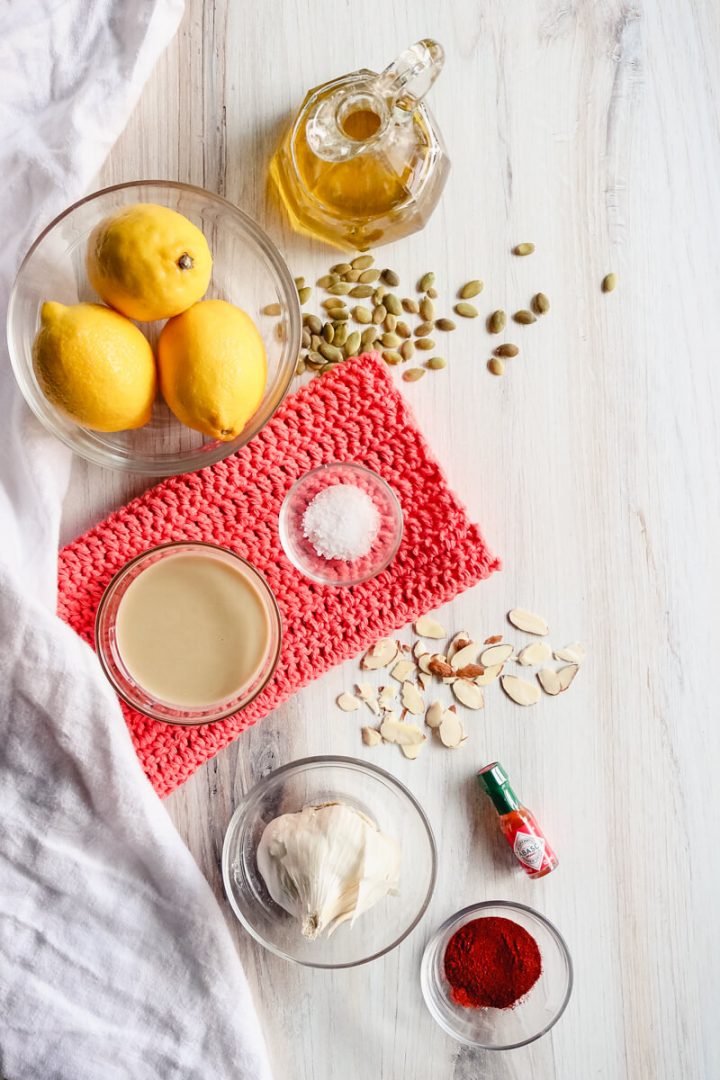
Options to mix in with the mayo (one or a combo of flavors):
- minced garlic
- chopped basil
- chopped chives
- chipotle seasoning
- taco seasoning
Get creative!
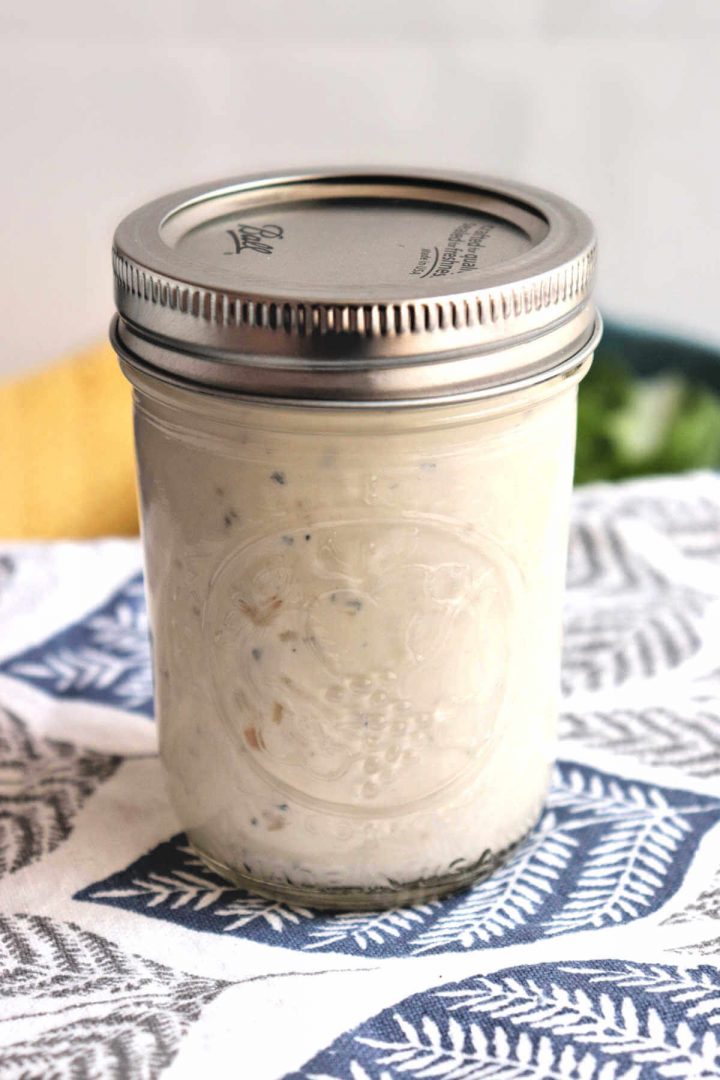
Mix up the flavorings in the mayo and refrigerate for three hours or overnight. This allows the flavors to blend and settle in well for the best taste experience!
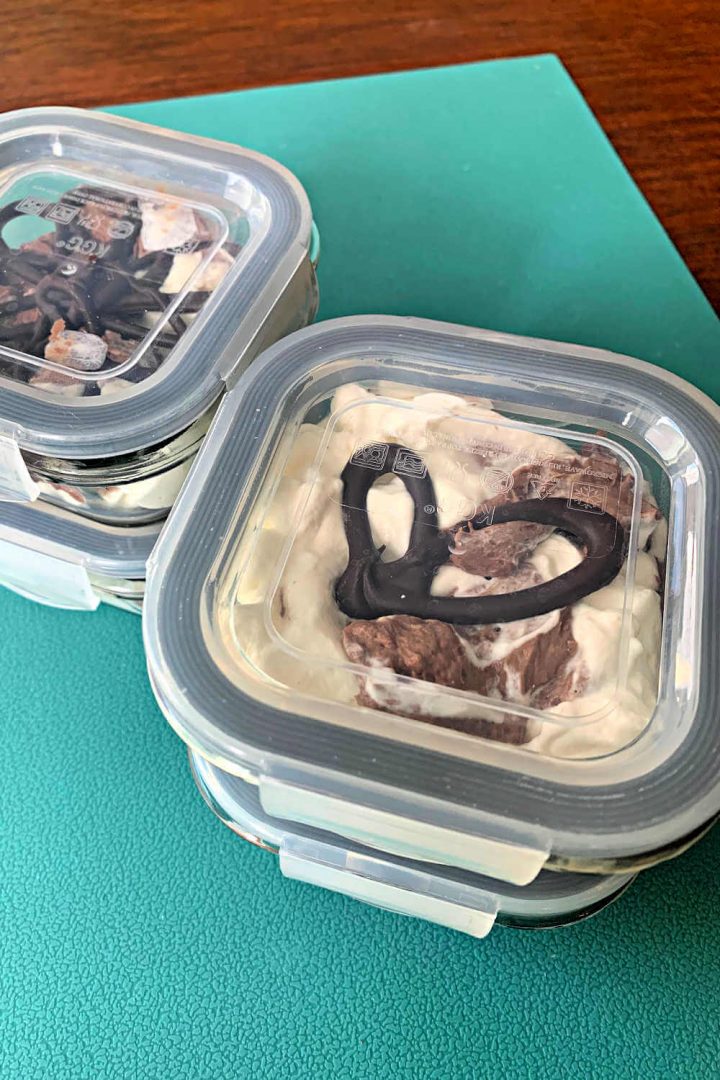
🥣 How to store keto turkey burgers
Any leftover burgers can be kept in the refrigerator in an air-tight container for four to five days. Then easily reheat them on the stovetop, in the air fryer, or in the microwave and enjoy.
Also, turkey burgers low carb version do very well in the freezer. Personally, I like to freeze the uncooked patties on wax paper on cookie sheets. Once they're frozen, stack 'em up and place them in an air-tight freezer bag or container. They'll keep for about a month or a little more and are practically ready when you are.
Tip: Only freeze the raw burger patties if the meat has not been frozen before. If your ground turkey was frozen previously, cook all the keto turkey burger patties you make.
Favorite low carb turkey recipes
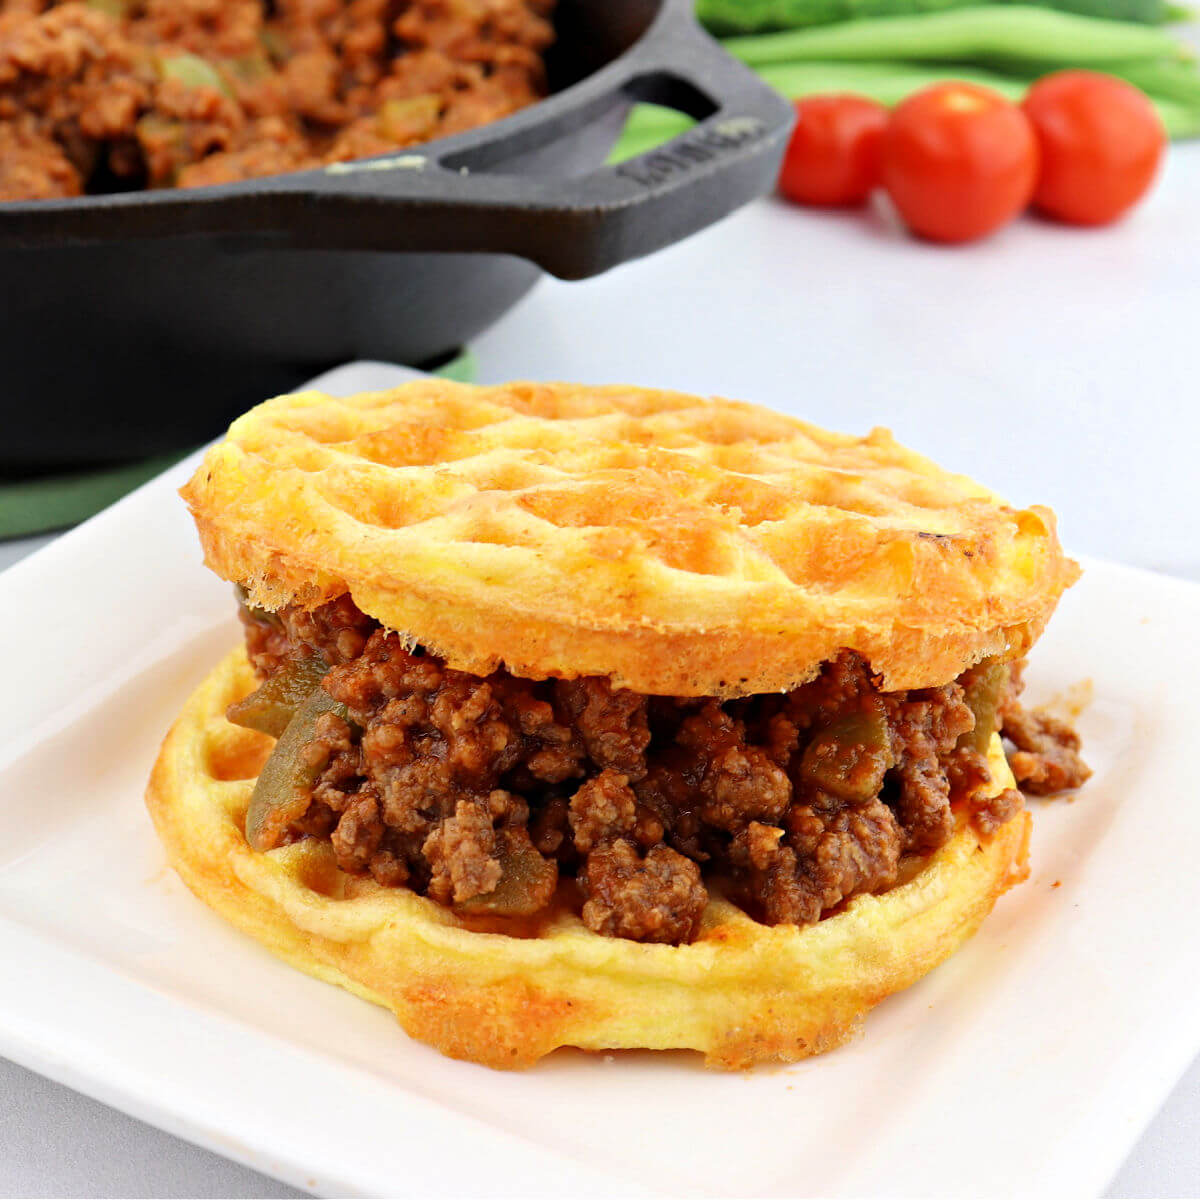
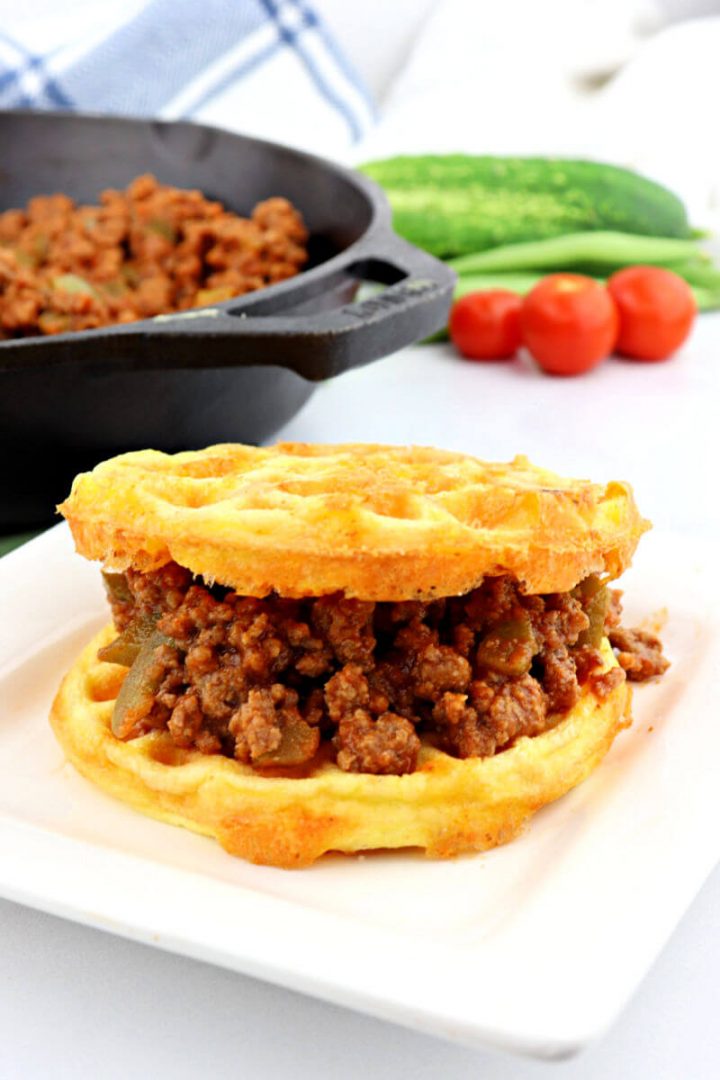
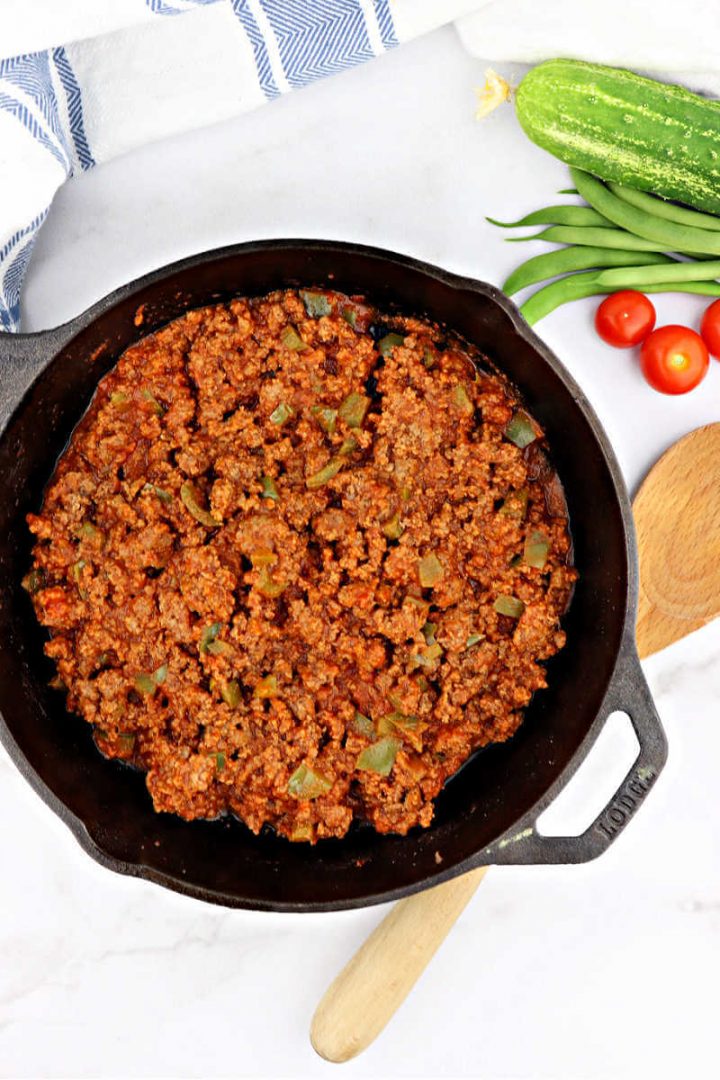
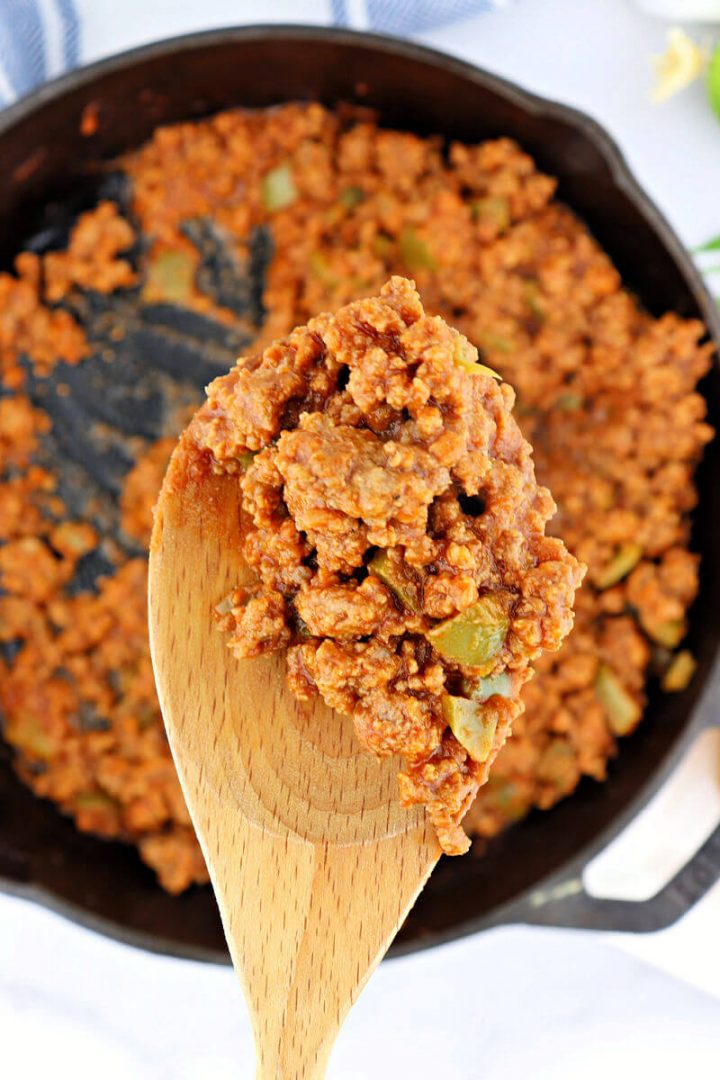
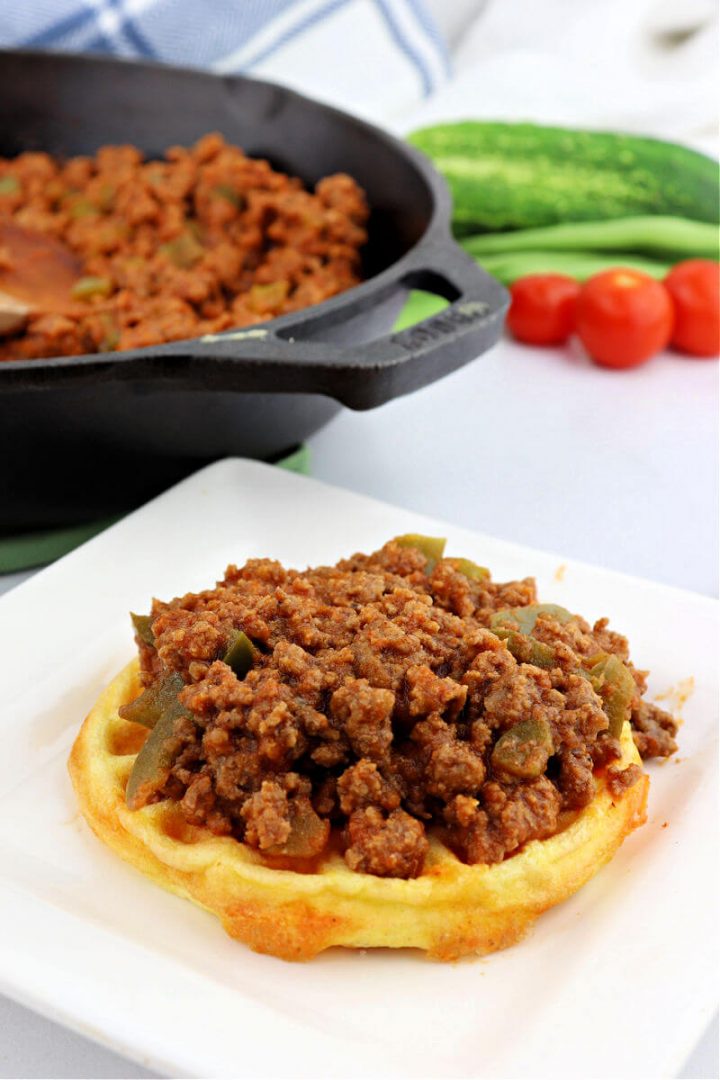
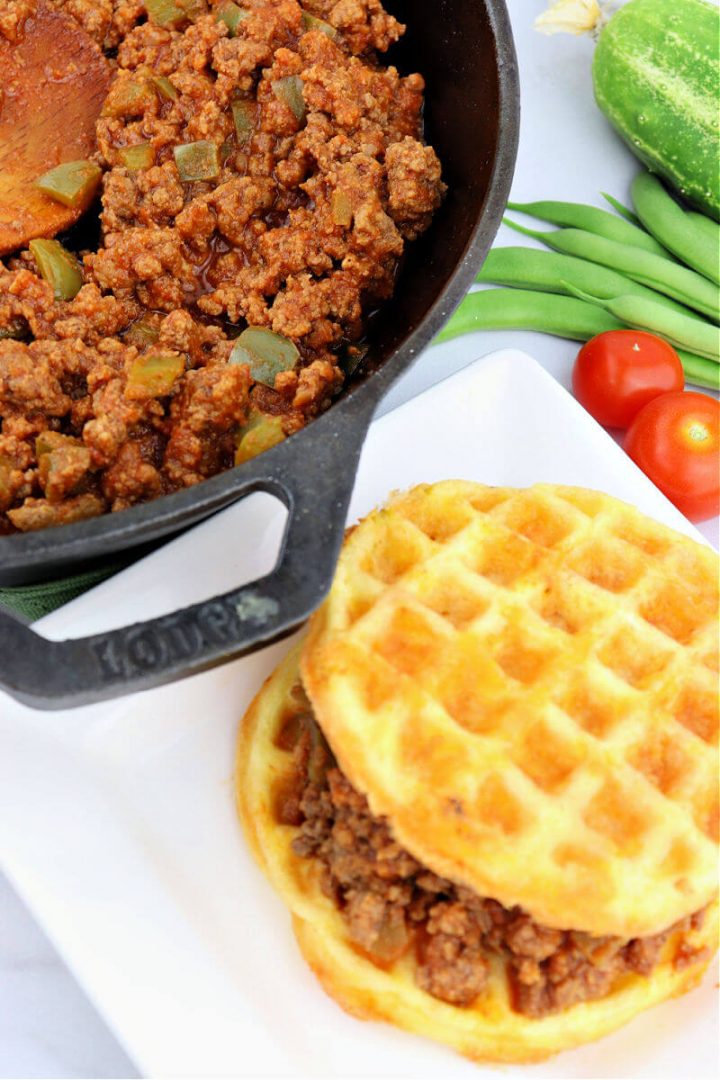
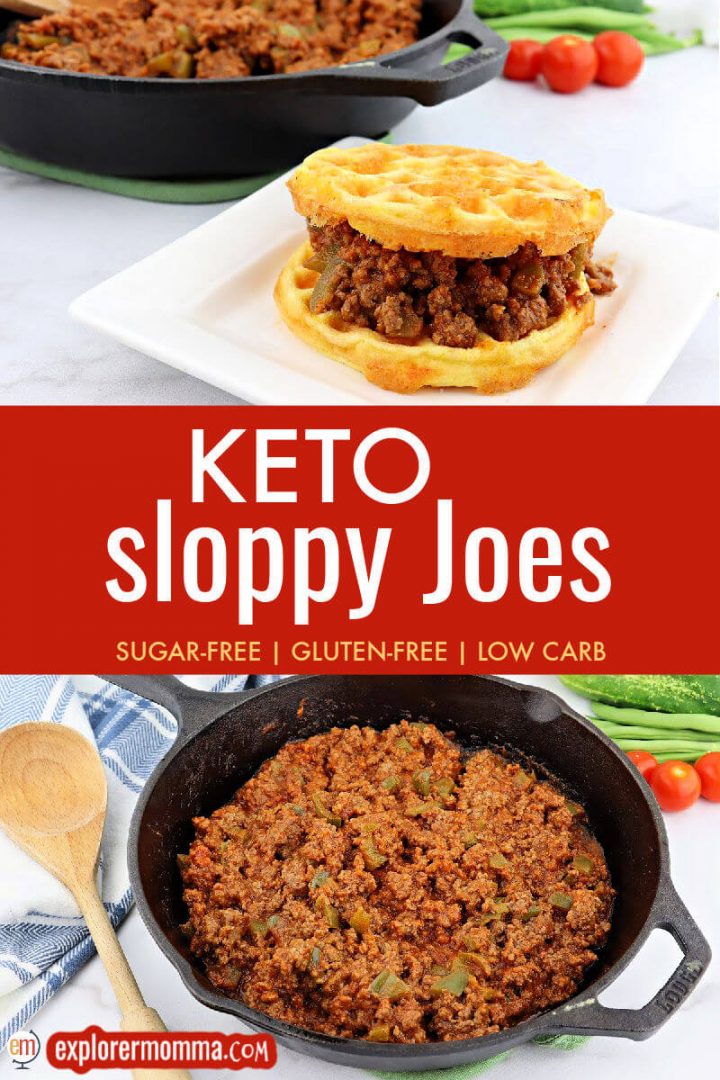
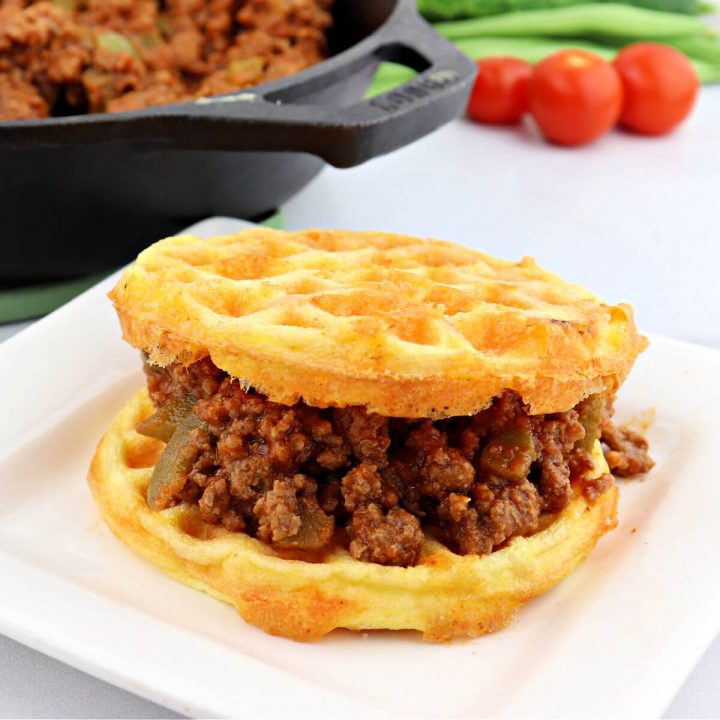
Like I said before, ground turkey is one of my daughter's favorite meats to use in so many recipes. We make Keto Turkey Meatloaf, turkey meatballs, and even use ground turkey in this Keto Sloppy Joes recipe.
What are your favorite ways to use up ground turkey or even Thanksgiving turkey?
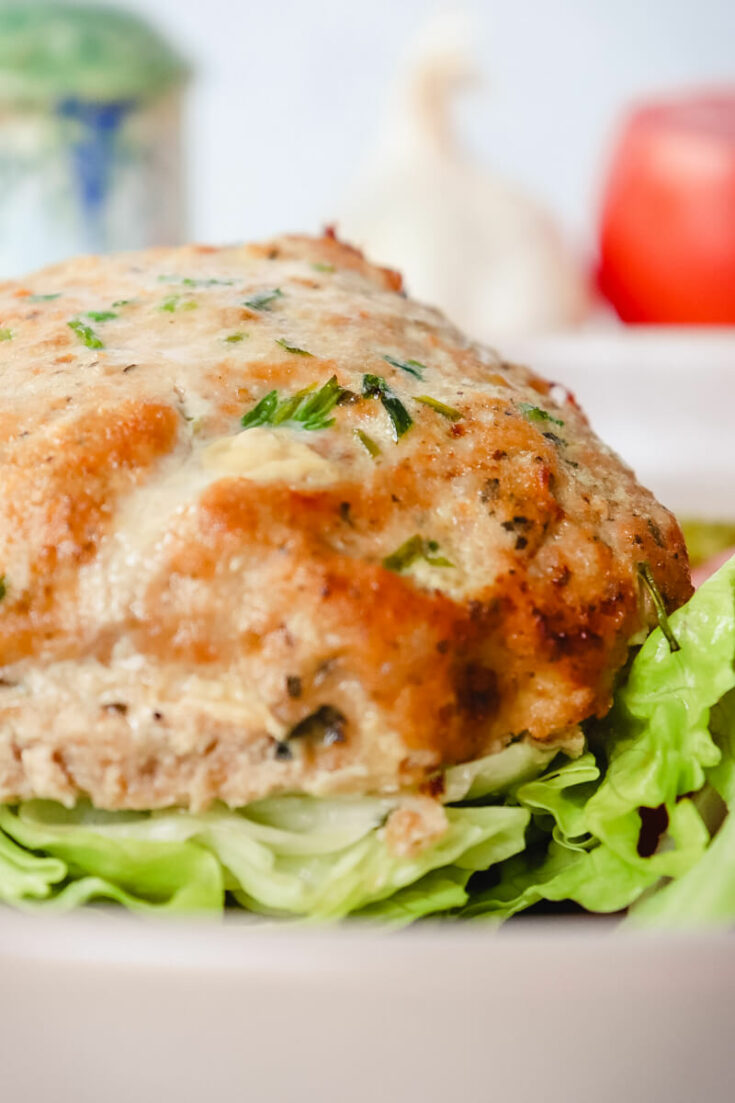
Good luck with the keto turkey burgers. Perfectly cooked, they are so moist and delicious I could eat them almost every day of the week! Enjoy!
Pin the recipe here:
Tag me in your recipe pics on Instagram @explorermomma.
If you LOVE this recipe please consider giving it a five-star rating in the review area below!
🍲 More keto dinner recipes
📖 Printable recipe card
📖 Recipe
Keto Turkey Burgers
Keto turkey burgers are moist and delicious and easy to make. They're a super kid-friendly low carb dinner with just the right amount of garlic and herbs.
Ingredients
- 1 pound ground turkey
- ¼ cup powdered pork rinds (or finely ground almond flour)
- ¼ teaspoon onion granules or powder
- 1 egg
- ¼ cup chopped fresh basil or 1 teaspoon dried basil
- 1 clove garlic, minced
- ¼ teaspoon salt
- ¼ teaspoon black pepper
- 2 tablespoon no sugar added ketchup
- chives or green onions, sliced to garnish (optional)
Instructions
- Use a spatula or hands to mix all ingredients together in a medium bowl until everything is evenly dispersed.
- Form the mixture into four equal patties.
- Grill over medium heat to desired doneness, 5-7 minutes on each side or until the internal temperature reaches 165 degrees F.
- Serve plain or on lettuce wraps/buns with sliced red onion, provolone cheese, tomato, and other favorite condiments.
Notes
Air fryer instructions: Set air fryer to 375 degrees F and air fry for 9 minutes or until internal temperature reaches 165 degrees F.
Recommended Products
As an Amazon Associate and member of other affiliate programs, I earn from qualifying purchases.
-
 Azure Market Organics Garlic Granules, Organic - 1 lb
 -
Pork King Good Low Carb Keto Diet Pork Rind Breadcrumbs! Perfect For Ketogenic, Paleo, Gluten-Free, Sugar Free and Bariatric Diets (Original) (Original, 12 Oz Jar)
-
Primal Kitchen Organic Unsweetened Ketchup, Whole 30 Approved, Paleo & Keto Friendly (11.3 Ounce Bottle) - Two Pack


Nutrition Information:
Yield: 4Amount Per Serving: Calories: 271Total Fat: 15gCarbohydrates: 3gNet Carbohydrates: 2gFiber: 1gProtein: 28g
*Nutrition Facts per MyFitnessPal.com. For the most accurate facts, calculate your own with the exact ingredients you use in the recipe.
Nutrition Disclaimer
Please be aware I am not a medical specialist or nutritional professional. On this blog, I share recipes and what works for me. Please do not take anything on this blog as medical advice and always consult with your doctor before starting any diet or exercise program.
I use MyFitnessPal.com to calculate nutrition facts as a courtesy to my readers, and I remove erythritol from the final carb count and net carb count because does not affect my own blood glucose levels.
This is as accurate as possible, but it's best to independently calculate nutritional information on your own with the specific ingredients you use. I expressly disclaim any and all liability of any kind with respect to any act or omission wholly or in part in reliance on anything contained in this website.


![Premium Quality Organic Turmeric Root Powder with Curcumin (1lb), Gluten-Free, Non-GMO & Keto Friendly (16 ounces) | Immunity Booster | Indian Seasoning. [Packaging May Vary]](https://m.media-amazon.com/images/I/41M6GZ0Yx1L._SL500_.jpg)


 4.
4.