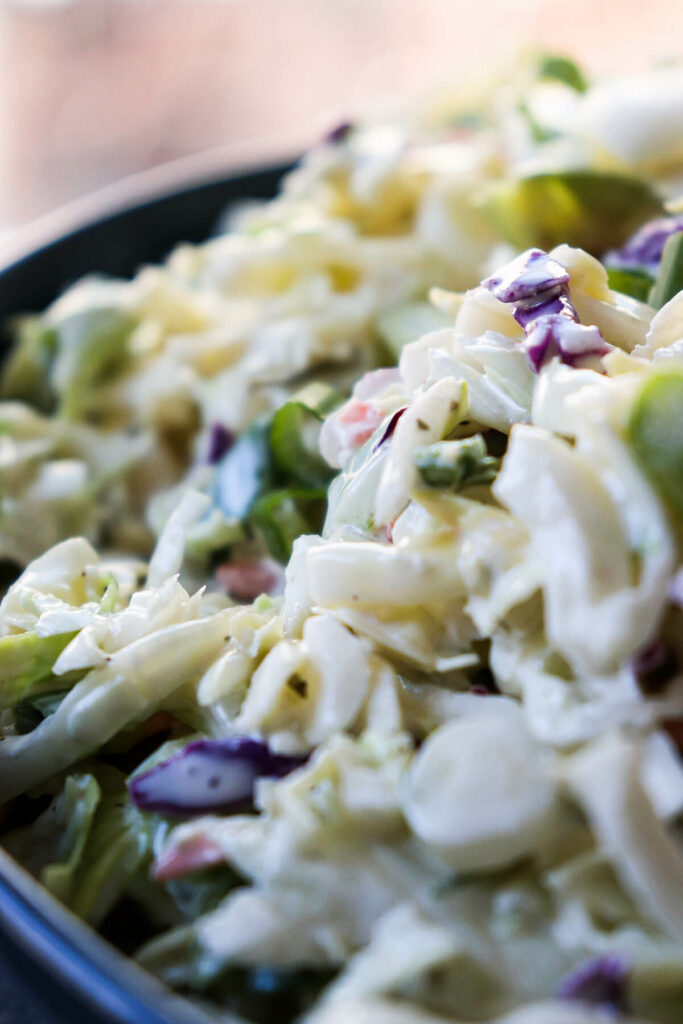
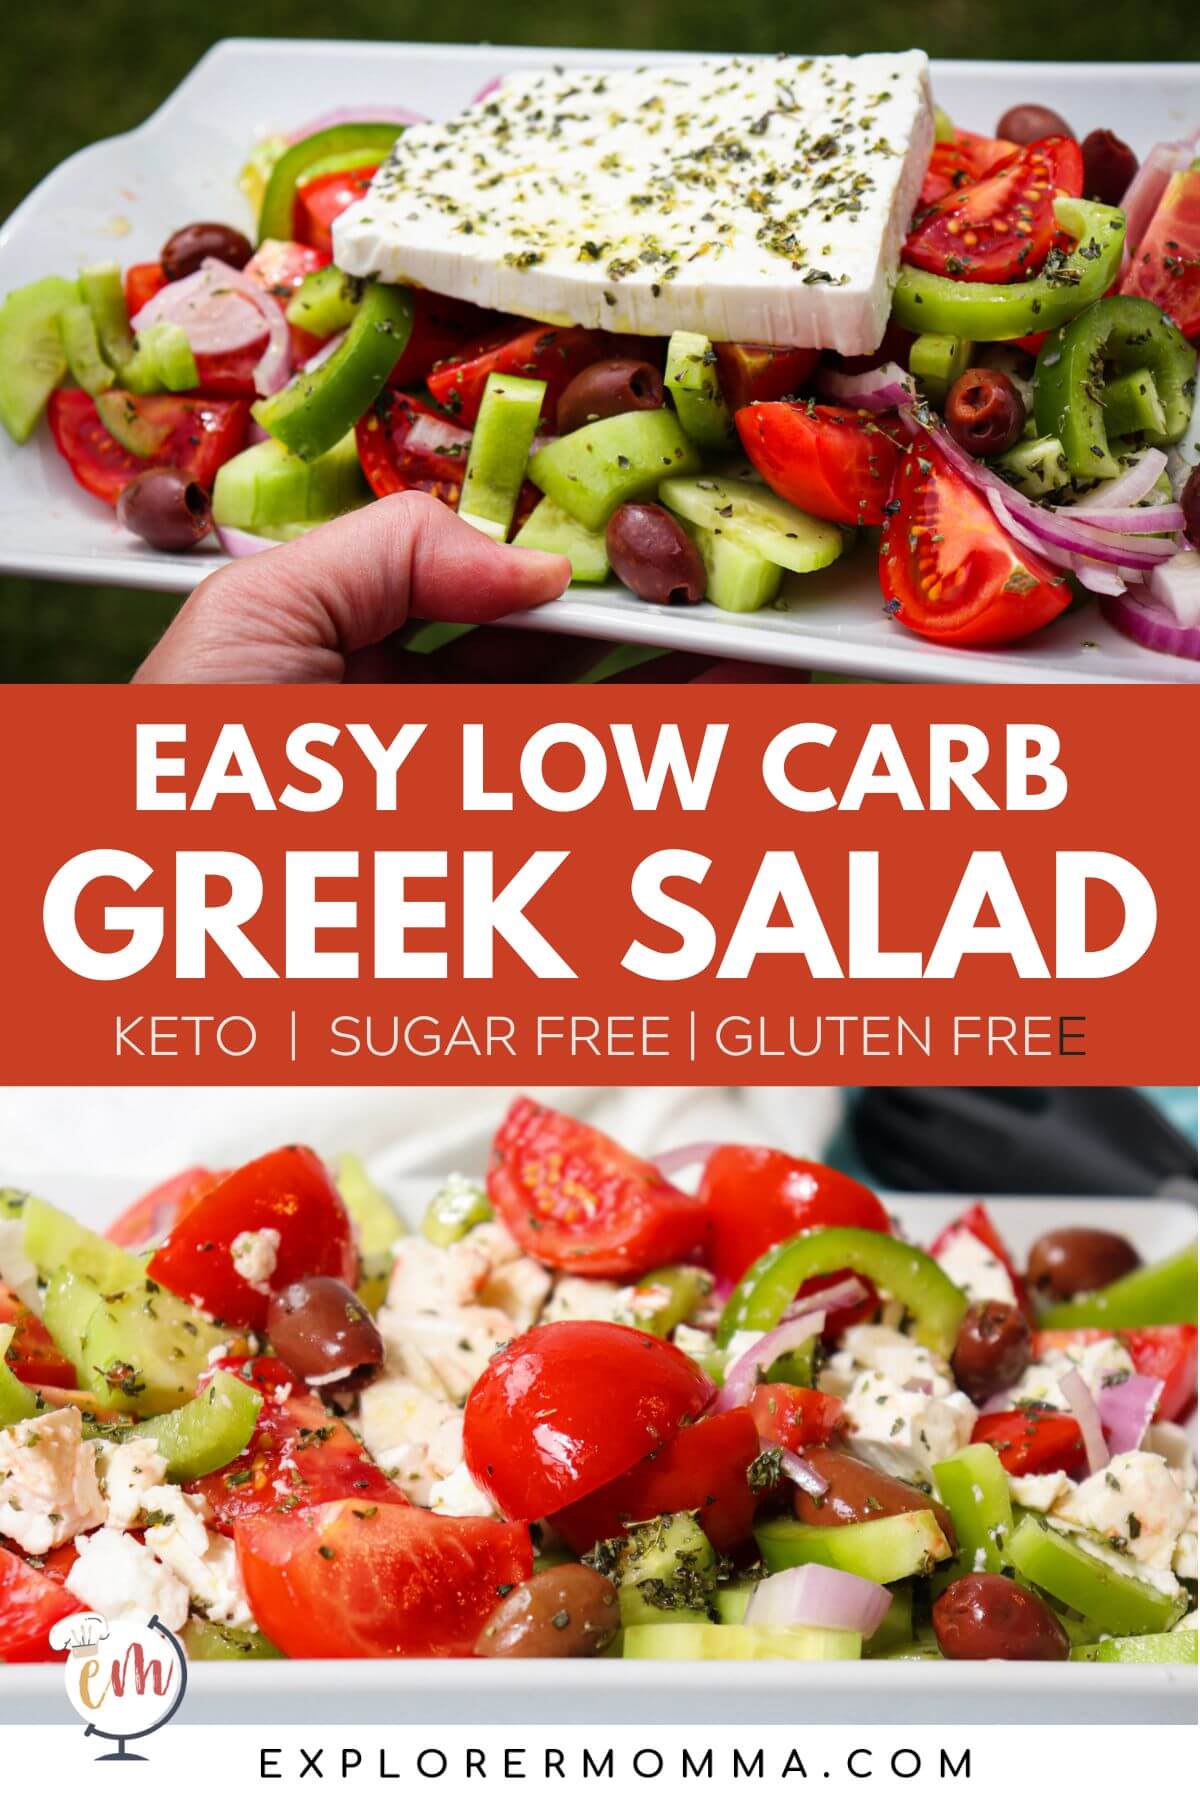
There's nothing quite like a refreshing cucumber salad to beat the heat during the scorching summer months. And if you're following a low-carb or keto diet, there's no need to compromise on flavor either! Enter the Greek cucumber salad recipe - a tantalizing medley of cool, crisp cucumbers, juicy tomatoes, and tangy feta cheese, all tossed in flavorful olive oil and oregano.
Not only is this salad incredibly easy to make, but it's also packed with essential nutrients, making it the perfect dish to fuel your body and soothe your taste buds. So, put on your chef's hats, grab your aprons, and let's get chopping!
This post may include Amazon or other affiliate links. As an Amazon Associate, I earn from qualifying purchases.
🤔 What's in a traditional Greek cucumber salad recipe?
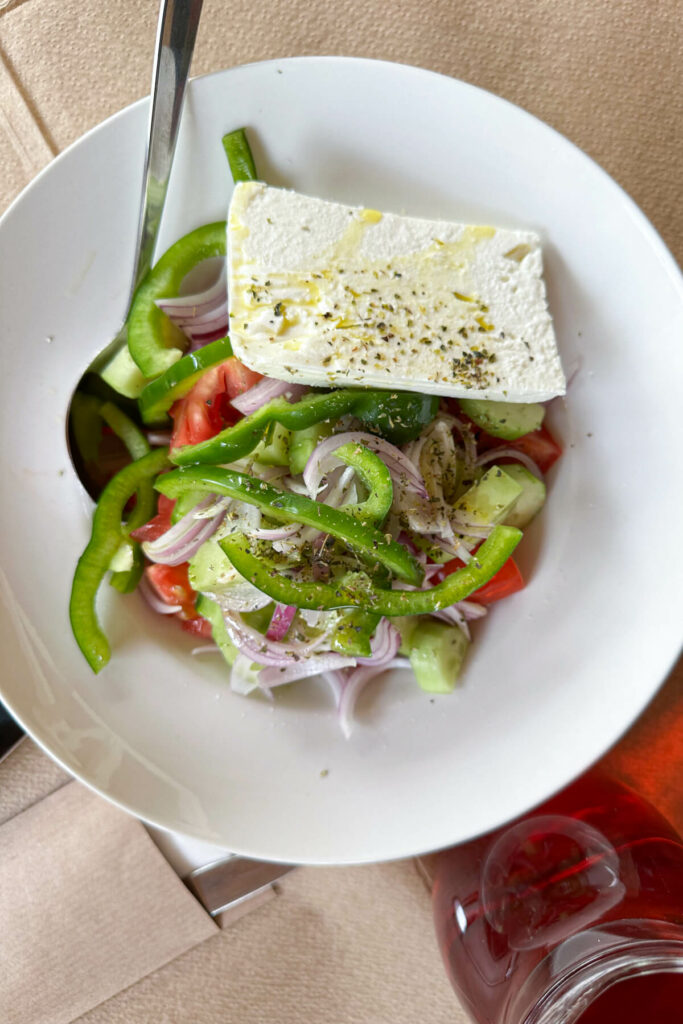
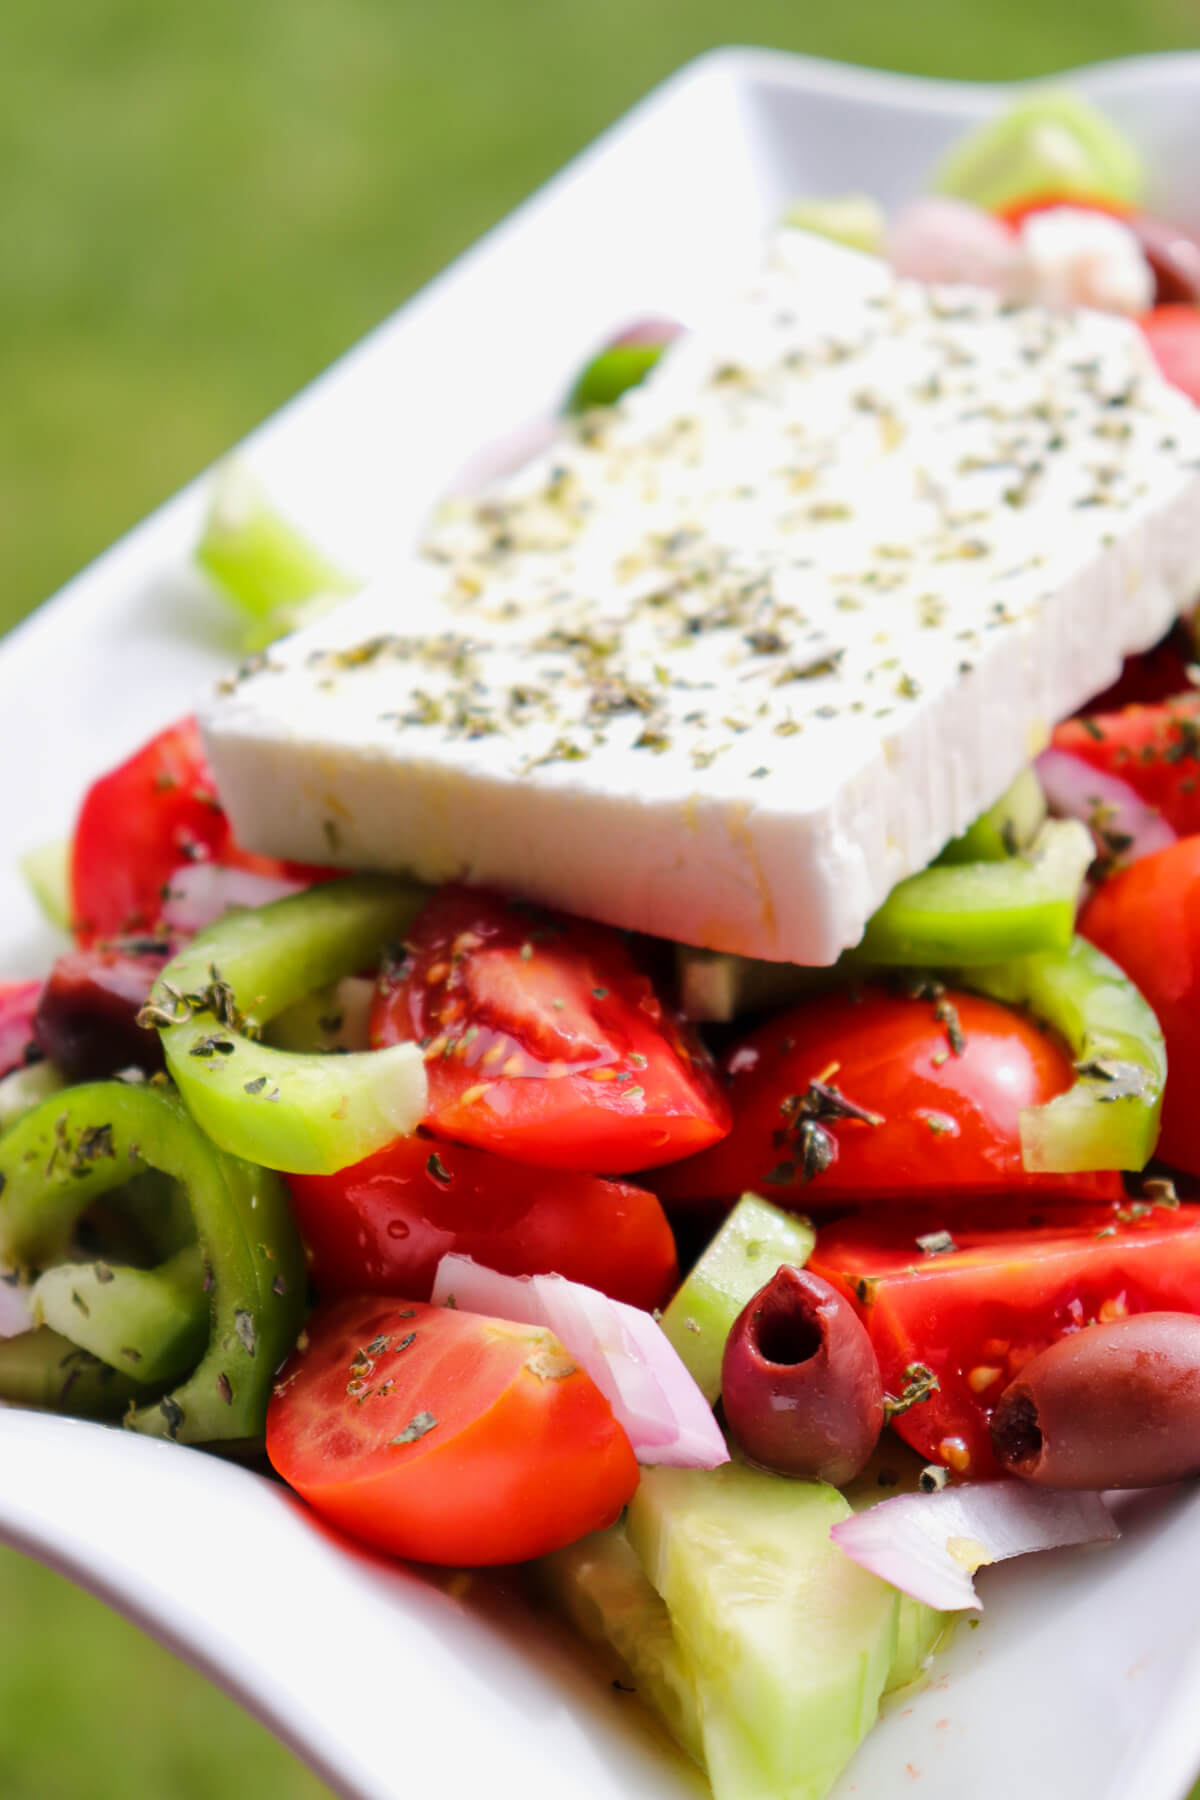
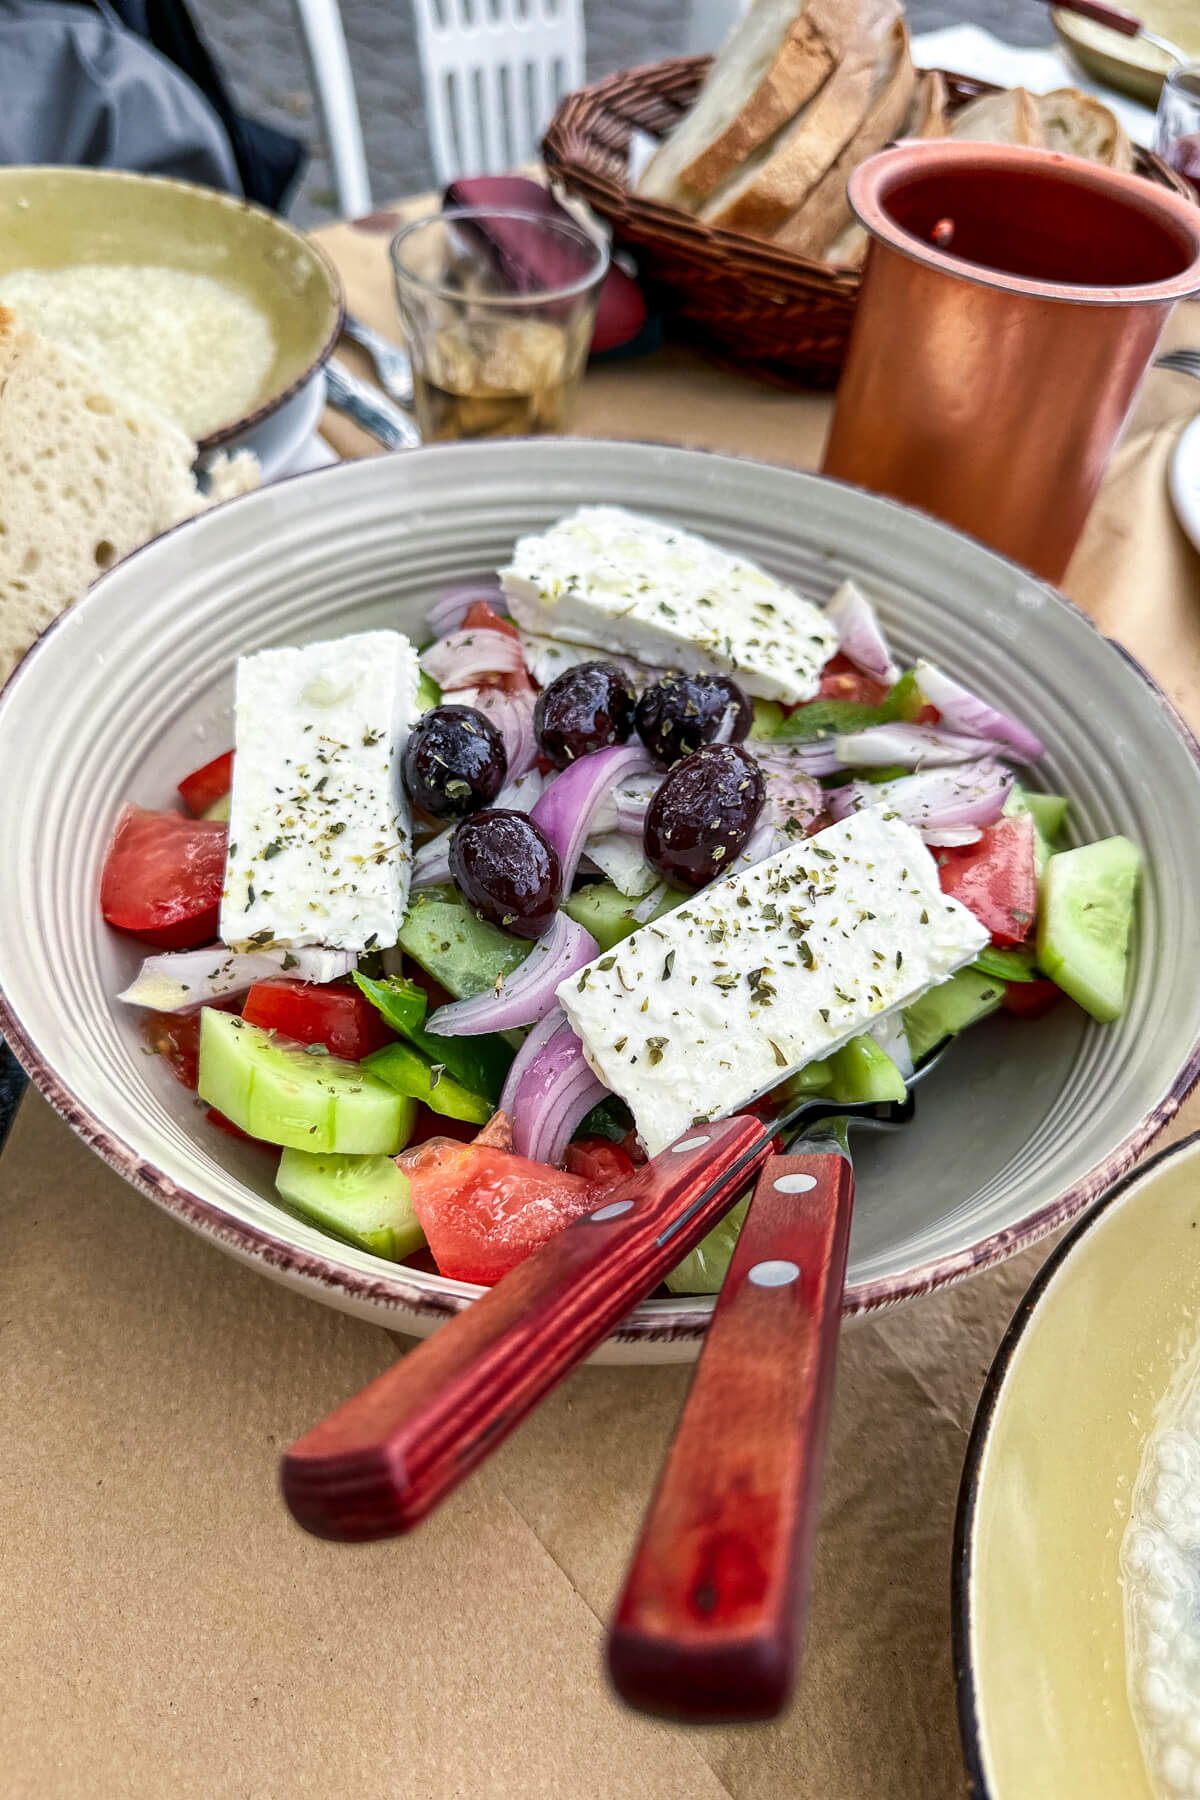
Let me tell you, folks, there is absolutely nothing like authentic Greek cucumber salad. I had the pleasure of visiting Greece last month for a conference and some much-needed exploration of the beautiful Peloponnese region. And let me tell you, I was absolutely blown away by the freshness, taste, and sheer deliciousness of the salads that accompanied every meal!
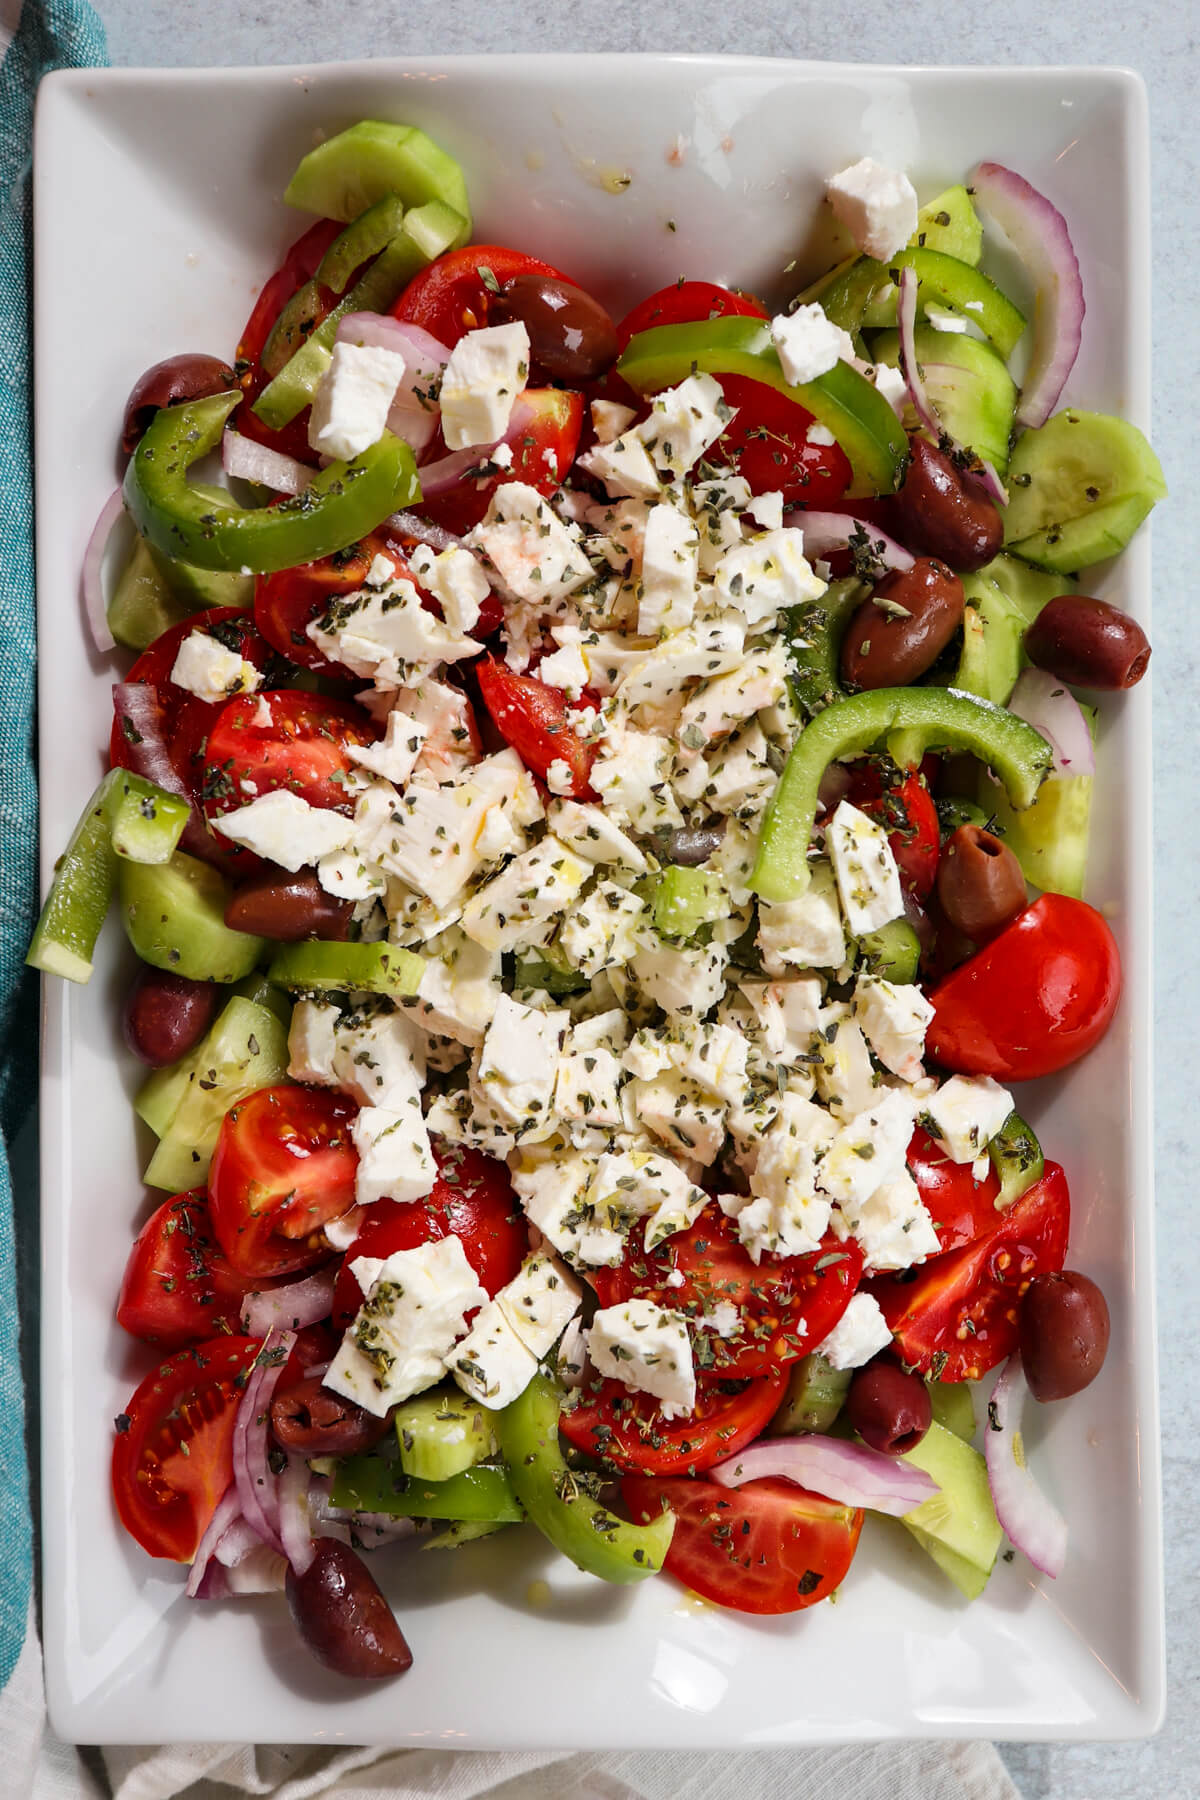
Every bite was a burst of flavor, a symphony of local vegetables, olive oil, oregano, and tangy feta cheese. The cucumber salad, in particular, was a standout for me. It was the perfect blend of crisp, cool cucumber, juicy tomatoes, crunchy bell peppers, and zesty red onion. And let's not forget the generous helping of feta cheese that added a creamy, salty, and slightly tangy kick to every forkful.
But it wasn't just the flavor that captivated me. It was the attention to detail and the use of only the freshest, most flavorful ingredients that truly made this cucumber salad a standout. You could practically taste the sunshine and the Mediterranean breeze in every bite. This was no bland, soggy salad that you might find in a run-of-the-mill fast food joint. This was Greek cuisine at its finest - flavorful, wholesome, and totally irresistible.

🫒 Greek olive oil
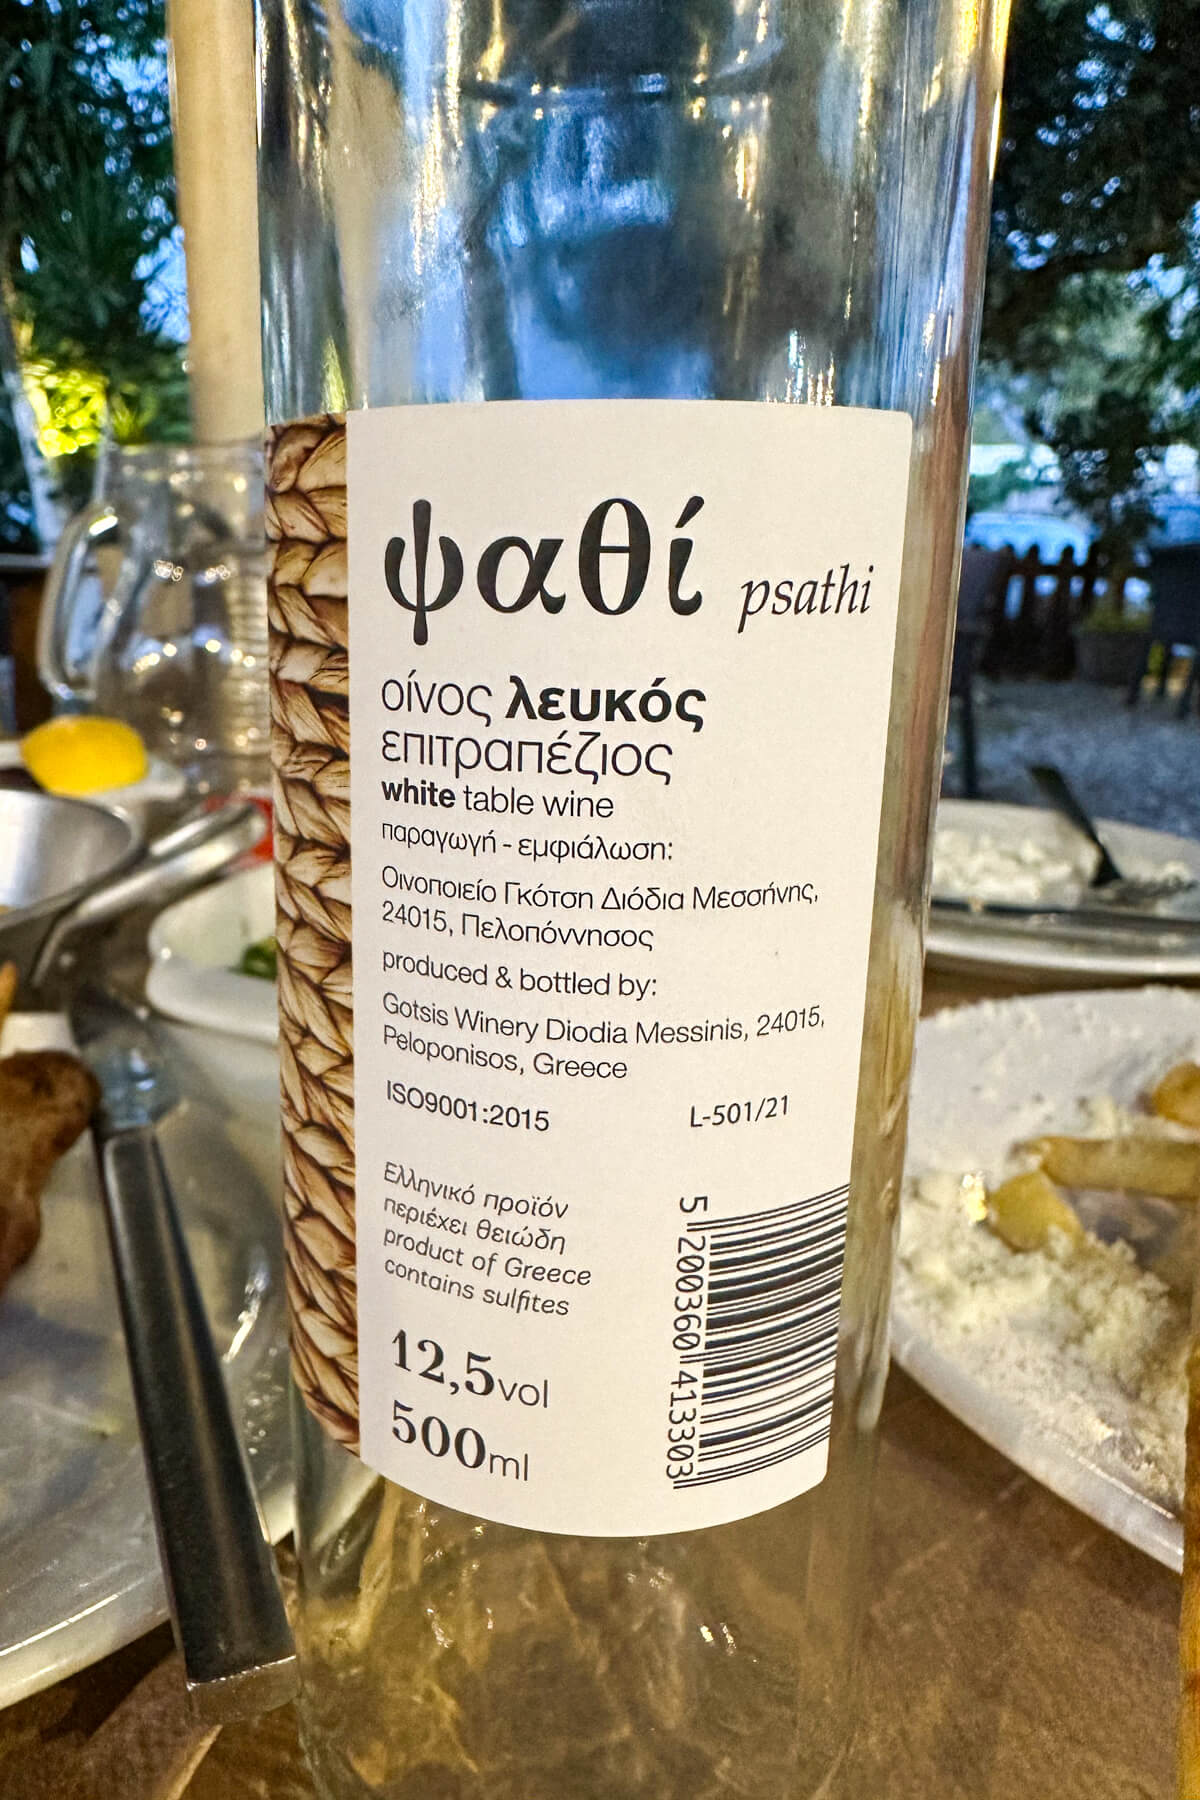
And don't even get me started on the olive oil. The Greeks sure know how to do it right! I swear, I could have just poured that golden elixir over everything - from my salad to my breakfast eggs to my afternoon cocktail. It was that good! 😂
Olive oil tasting
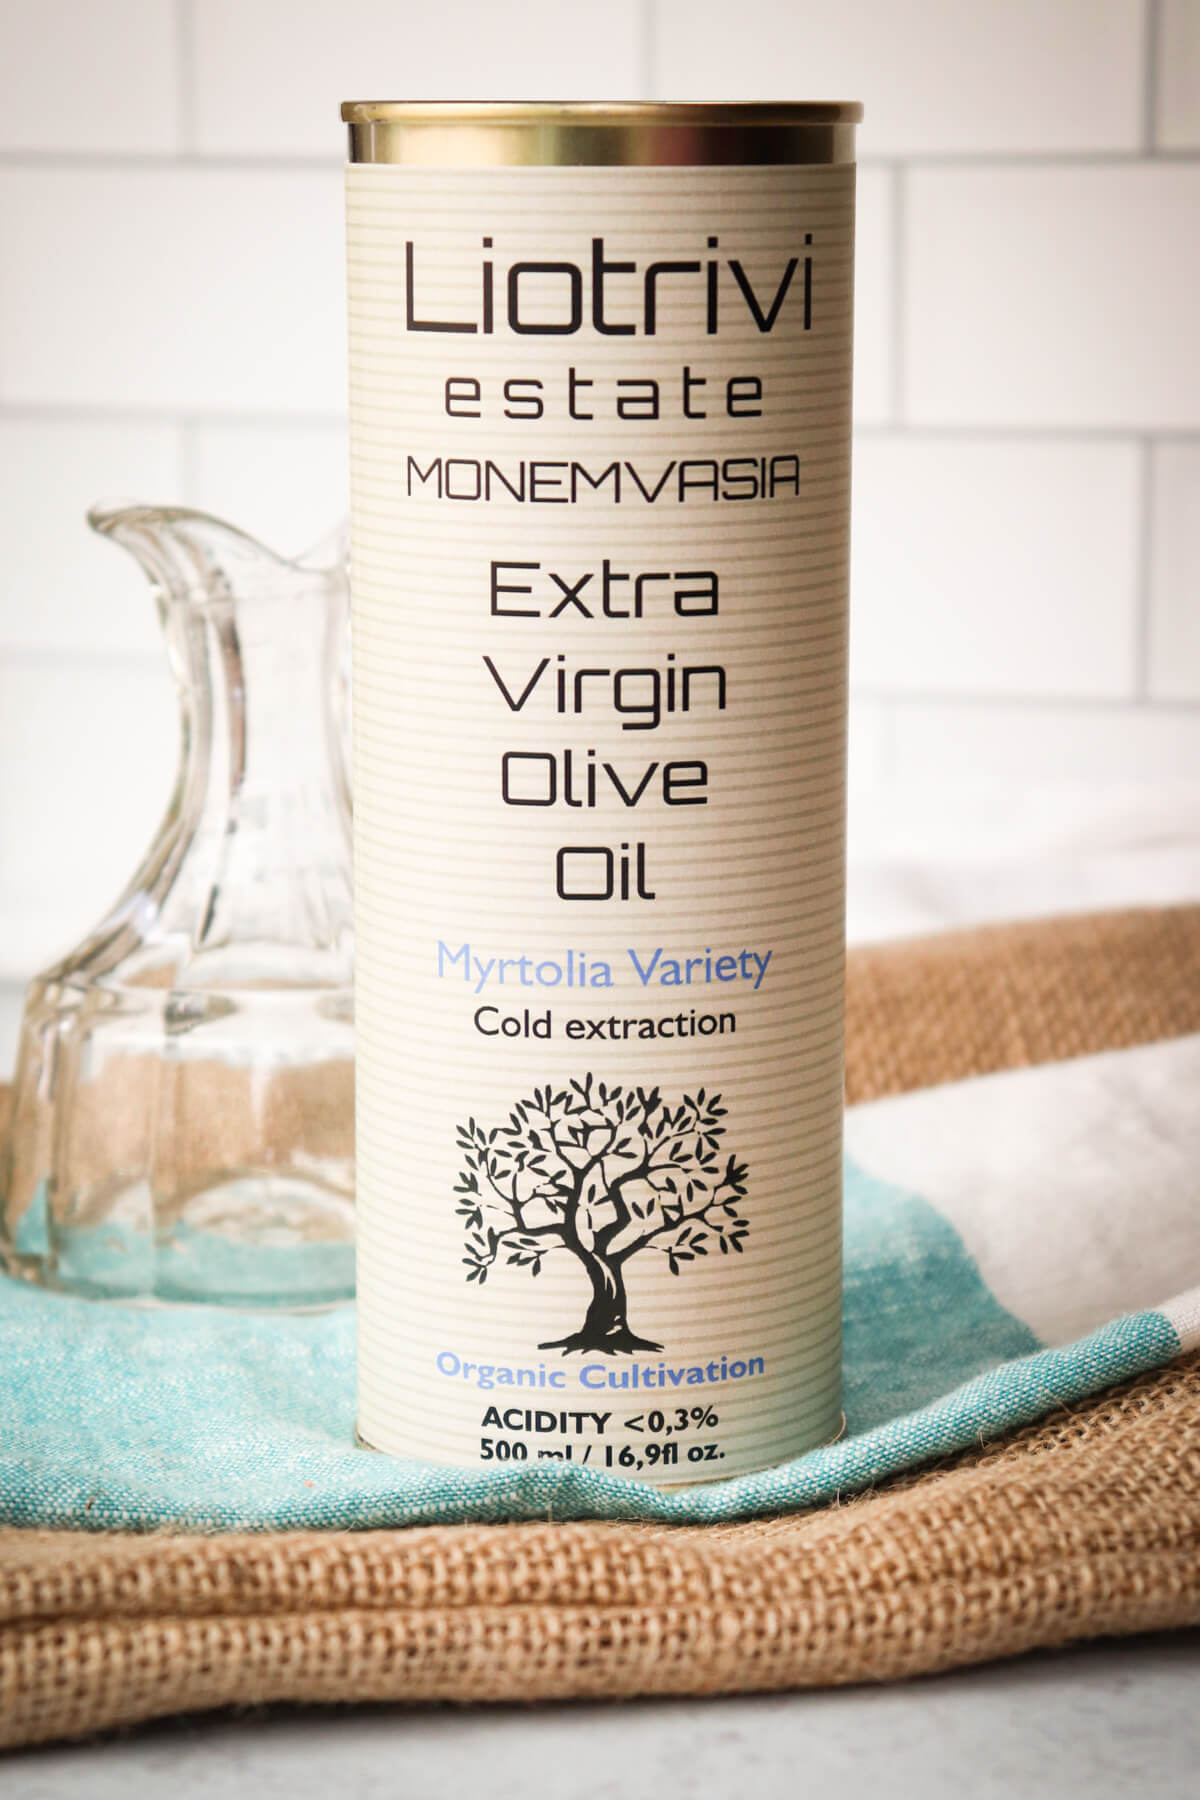
Recently, while I was in Greece I had the amazing opportunity to visit the fabulous Liotrivi Monemvasia Experience on their family-owned olive grove for an olive oil tasting arranged by JayWay Tours. Now, let me tell you - that was an experience! We were led through the entire process, from harvesting to pressing to bottling and tasting. It was absolutely amazing! If you EVER have the chance to go to Greece, definitely go visit this place!

We tasted several different varieties of olive oil, ranging in color and flavor. The depth of flavor was simply incredible - nutty, earthy, buttery, and fruity all at the same time. It was truly an eye-opening experience that I will never forget. This is not the olive oil you get in the States!!
All in all, I think it's safe to say that I fell head-over-heels in love with Greek cucumber salad while I was in Greece. And while I may not be able to transport myself back there at a moment's notice, I can certainly replicate that amazing flavor and freshness by using the same high-quality ingredients and cooking techniques that I discovered during my travels. So here's to delicious, authentic Greek cuisine - may it continue to inspire us all!
🙋♀️ Is Greek cucumber salad good on a low carb diet?
Absolutely! This Greek cucumber salad is naturally low-carb, making it perfect for anyone following a keto or low-carb diet. Not only does this salad contain healthy fats from the olive oil and feta cheese, but it also offers plenty of rich nutrients thanks to the cucumbers, tomatoes, bell peppers, and red onion. Just avoid the bread generally served with it.
🙋♂️ Is Greek salad keto?
The traditional Greek cucumber salad includes keto friendly feta and olive oil along with all the delicious fresh veggies. While cucumbers and tomatoes have more carbs than some other vegetables, this Greek cucumber tomato salad can definitely be incorporated into a keto diet. Just be sure to keep portions in check and enjoy this dish as part of an overall low-carb lifestyle.
🙋 Is Greek cucumber salad good for a Mediterranean diet?
Is that even a question?
Of course! Greek cucumber salad is the perfect side dish, for anyone following a Mediterranean diet. Not only is it low-carb and nutritious, but its flavors perfectly embody the essence of classic Greek cuisine. Plus, with all that awesome olive oil goodness, you know you're getting some truly healthy fats into your diet. Enjoy this tangy, fresh salad with a side of crusty whole grain bread, and you're all set for the ultimate Mediterranean feast.
📏 Nutritional information: macros
Let's take a look at nutrition calories and the macros. In this recipe for Greek cucumber salad, one serving is one sixth of the recipe. Each good sized serving has 225 calories, 4 grams of protein, 21 grams of fat, and 2 gram net carbs per serving.
These macros for the Greek cucumber salad recipe are figured with MyFitnessPal, with the ingredients I use in the recipe. I always recommend figuring out your own with the exact ingredients you use. It's especially important to determine your own if you're keeping close track and want to be accurate.

🍽 Equipment needed to make Greek cucumber salad
- large and medium-sized bowls
- a spatula or large spoon
- measuring cups and spoons
- knife and cutting board
- serving dish
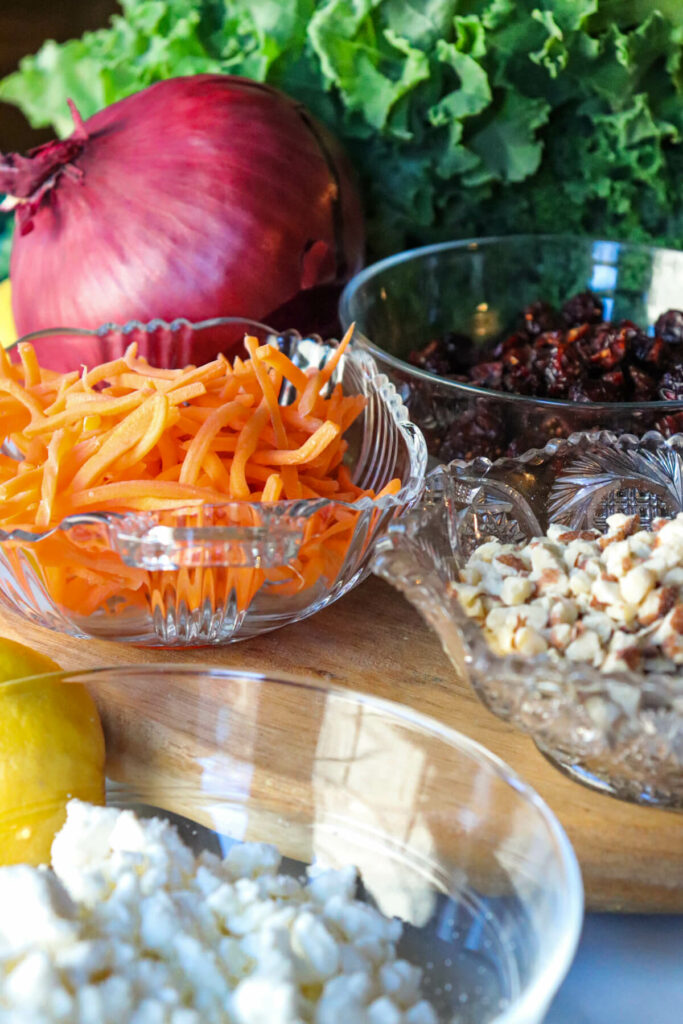
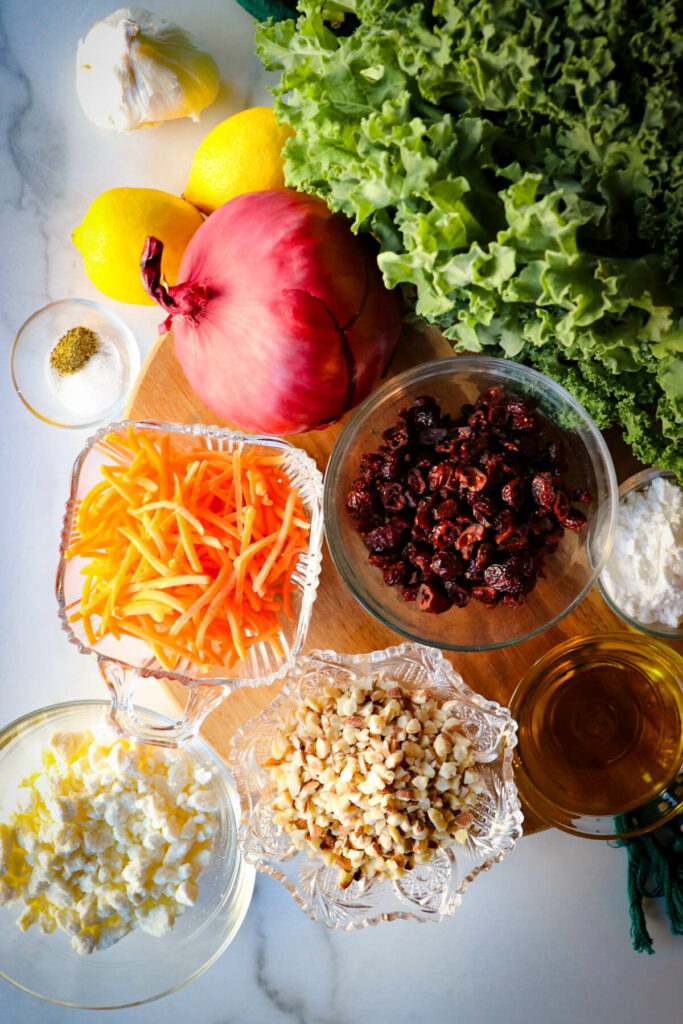
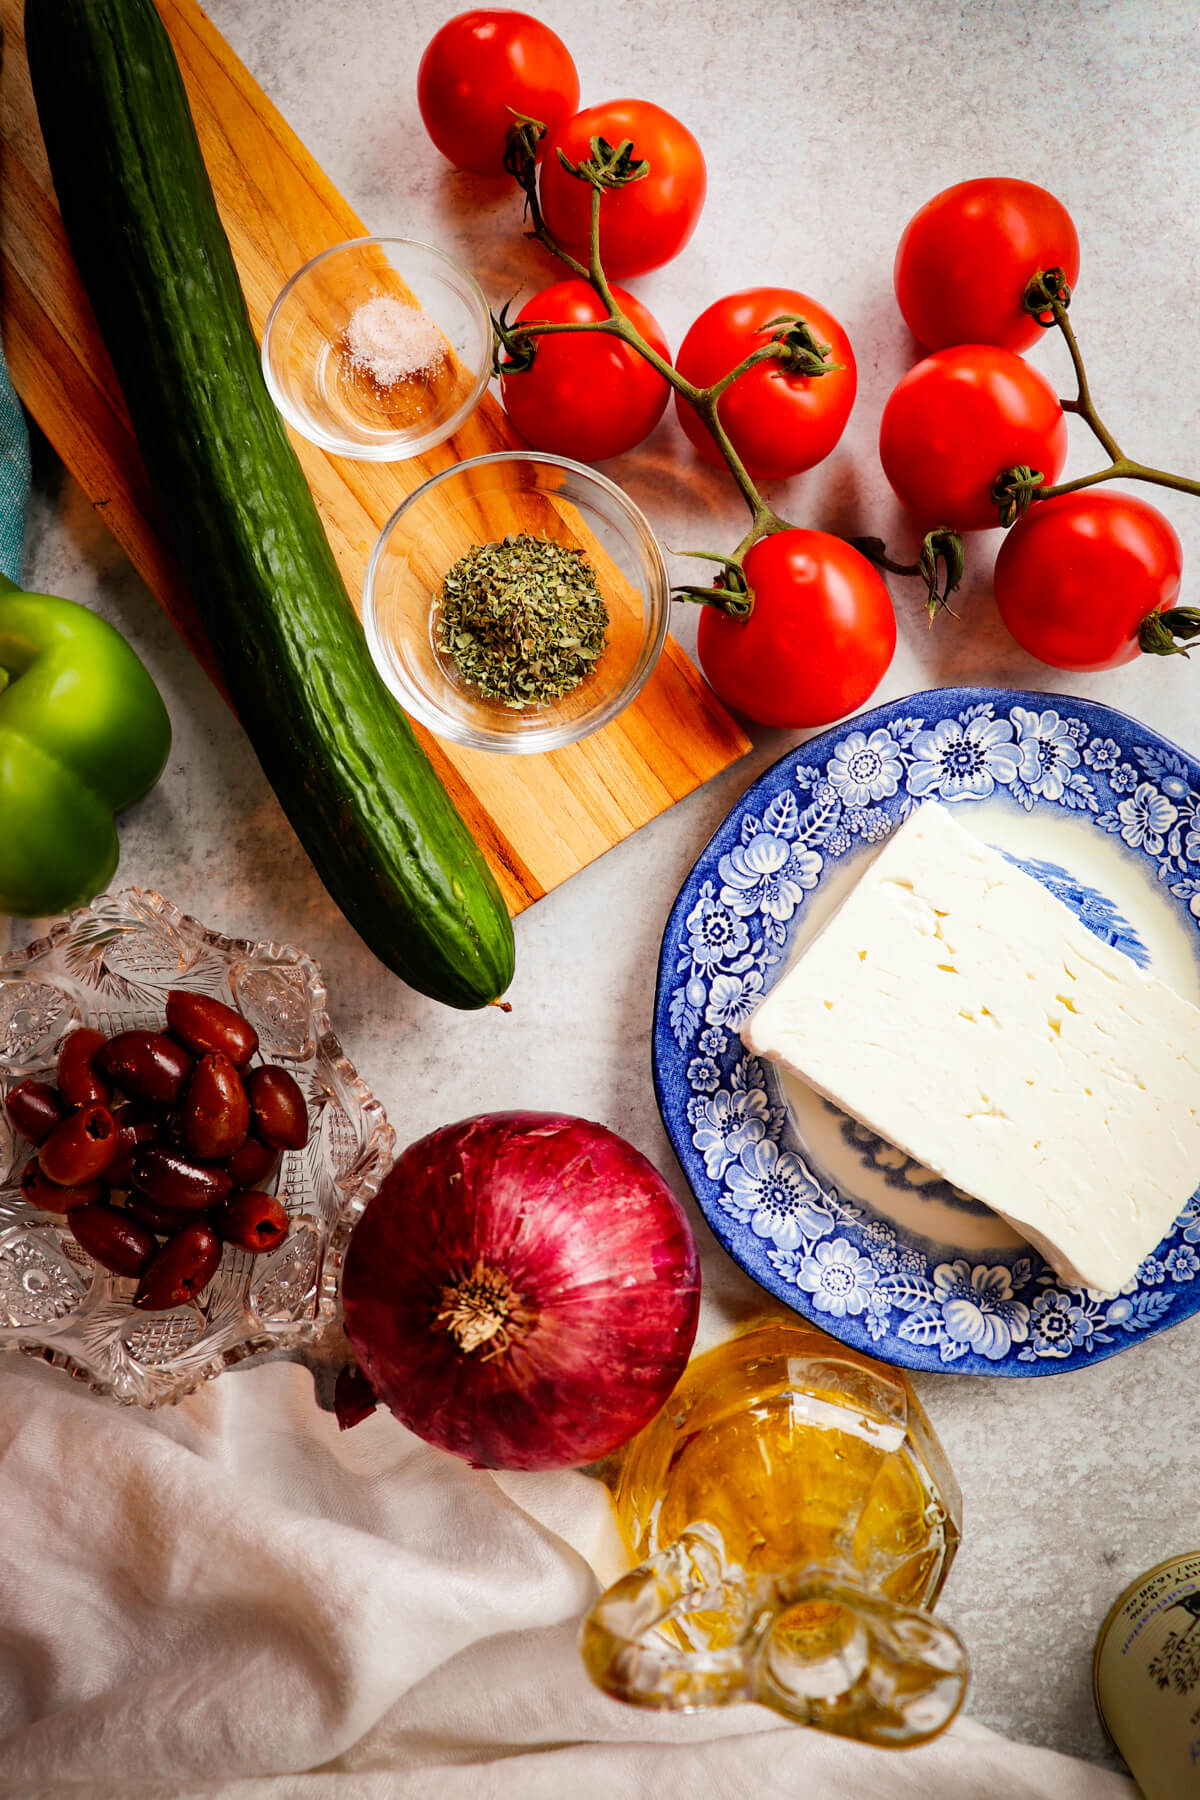
🥘 Ingredients in Greek cucumber salad
In this Greek cucumber salad recipe, good ingredients are imperative!! What makes this salad amazing are the fresh and flavorful ingredients. If you want your Greek salad recipe to be delicious and remind you of a trip to Greece, be sure to get the best ingredients. I also prefer organic. Do NOT complain that your salad has no flavor if your Greek salad ingredients aren't fabulous!!
This is a great recipe to use those garden vegetables that tend to have so much more flavor than the bland ones you sometimes get at the grocery store. Let me walk you through what to look for when selecting each ingredient:
English Cucumber
This type of cucumber is preferred for its lack of bitterness and abundance of juicy flesh. When selecting an English cucumber, look for one that is firm, smooth-skinned, and heavy for its size. Avoid cucumbers that are wrinkled or soft to the touch. Sliced cucumbers should be fresh and are perfect when picked directly from the garden!
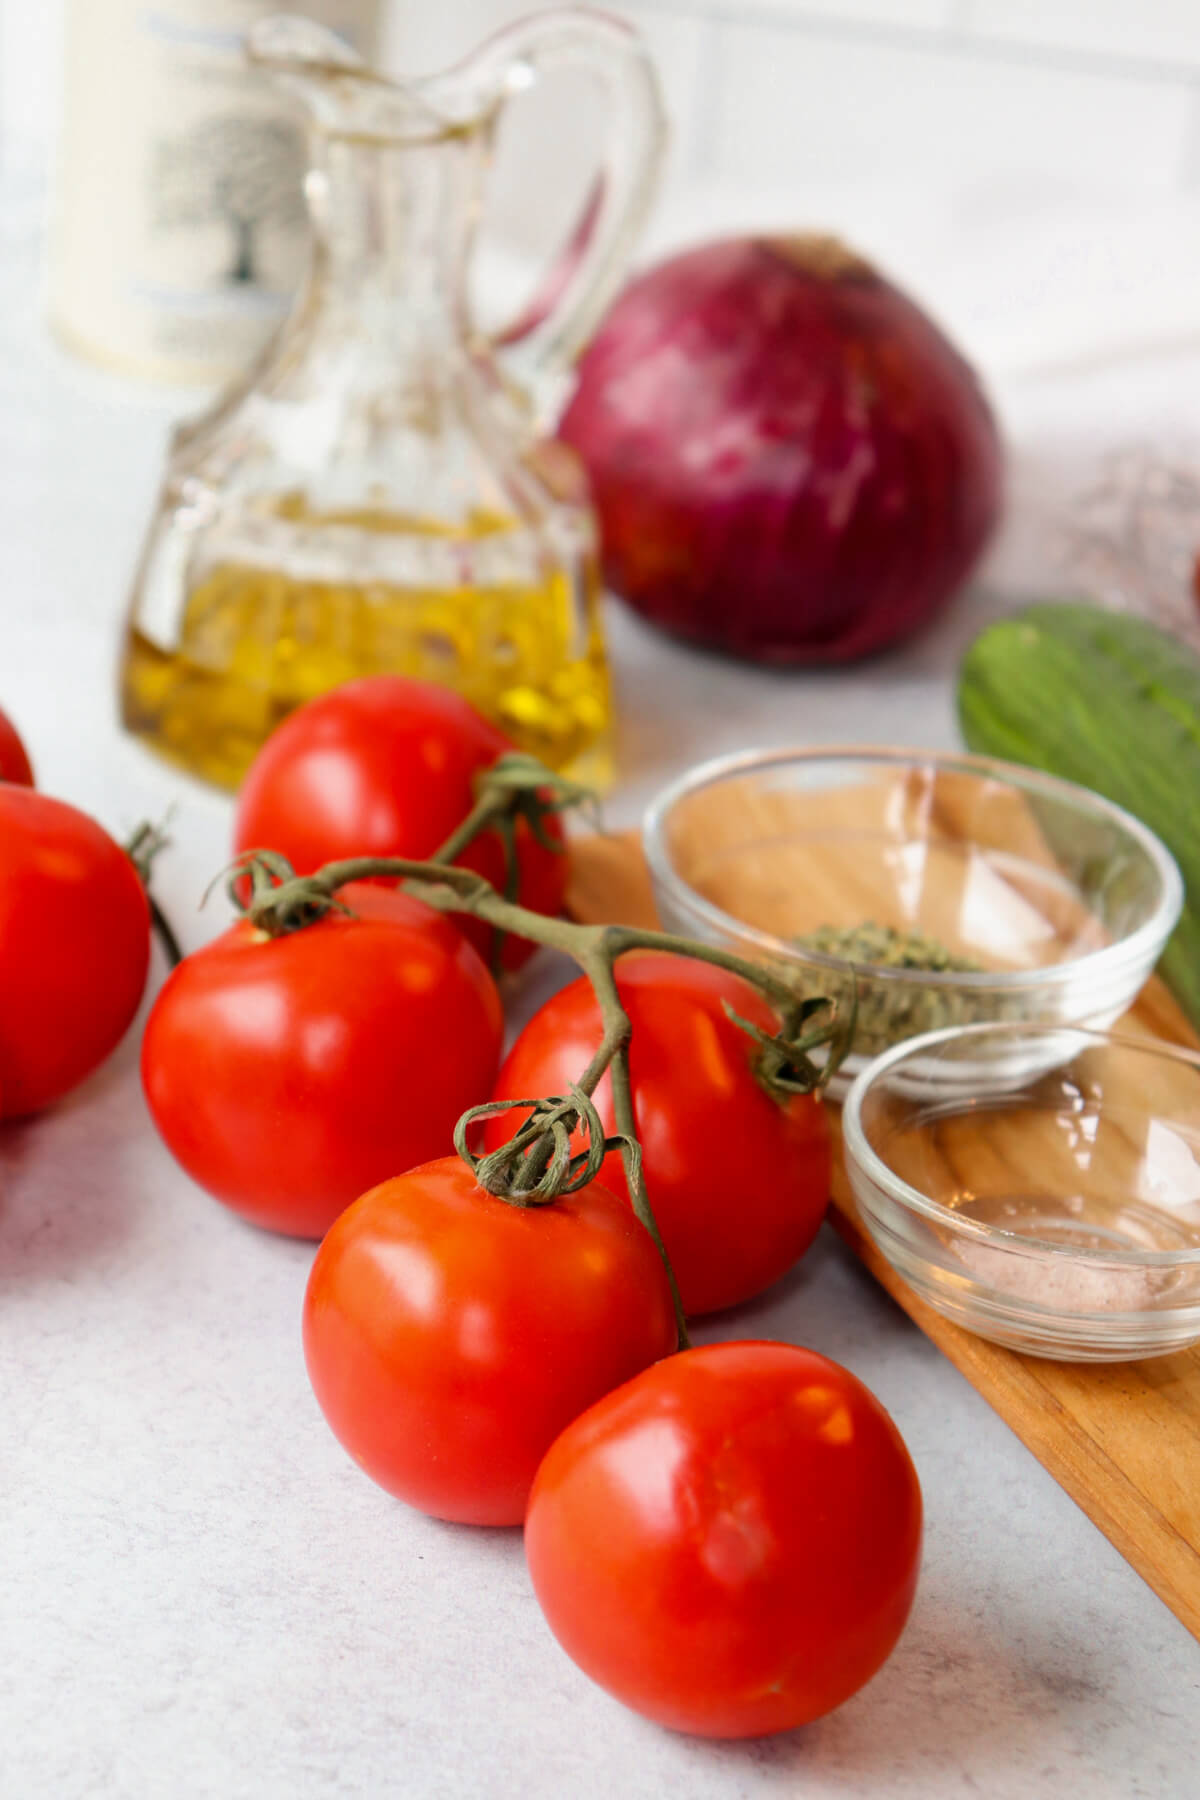
Tomatoes
When selecting tomatoes, look for ones that are firm and have a bright red color. They should also have a slightly sweet aroma that indicates ripeness. You can use garden cherry tomatoes or the freshest best tomatoes you have. Avoid tomatoes with blemishes or soft spots, as they tend to spoil faster.
Kalamata Olives
The best Kalamata olives are wrinkly, dark brown, and plump. They should have a firm texture and a slightly bitter taste. Make sure they are stored in a brine solution to preserve their freshness. I had the best experience with Kalamata olives at the Liotrivi Estate Monemvasia, an olive farm in the Peloponnese. I highly recommend getting your olives and olive oil directly from Greece if possible! I'm so passionate about this I'm actually considering sponsoring a tree at the farm. I was also lucky enough to spend several days in the actual town of Kalamata! I'll write more about that soon!
Green Bell Pepper
A good quality green pepper should have a bright green color and a firm texture. Avoid ones that are wrinkled or have soft spots. If you want a sweeter option, try a red or yellow bell pepper instead.
Extra Virgin Olive Oil
Look for a good quality extra virgin olive oil that has been cold-pressed and has a vibrant green color. It should have a fruity and slightly bitter taste. Avoid ones that have a yellowish tinge or a rancid smell. Again, I'm super obsessed about good olive oil after my olive oil tasting at the farm in Greece. There is SOOOO much more flavor in a quality olive oil so ask your Greek friends where they get theirs near you. Don't worry, they WILL have an opinion!
If I don't end up sponsoring a tree at the Liotrivi Estate Monemvasia, I have connections to a place in Denver. 😂
Red Wine Vinegar
This ingredient is optional, but if you choose to include it, look for a red wine vinegar that has a bright red color and a tangy flavor. Avoid ones that are cloudy or have sediment at the bottom of the bottle.
Or, if you prefer, you can also substitute fresh lemon juice for the vinegar if you like that bright lemon flavor for your Greek salad dressing.
Dried Oregano
The best quality dried oregano should have a bright green color and a strong aroma. It should also have a slightly bitter taste. Avoid ones that are pale in color or have no aroma. Also, it's best to use a dried oregano less than a year old. If you have a jar in your cabinet that may have been there 5-10 years, throw it out! It will have no flavor!!
Note: Oregano is a MUST in a traditional Greek salad. However, some people will substitute fresh dill for a different flavor or if oregano is not on hand.
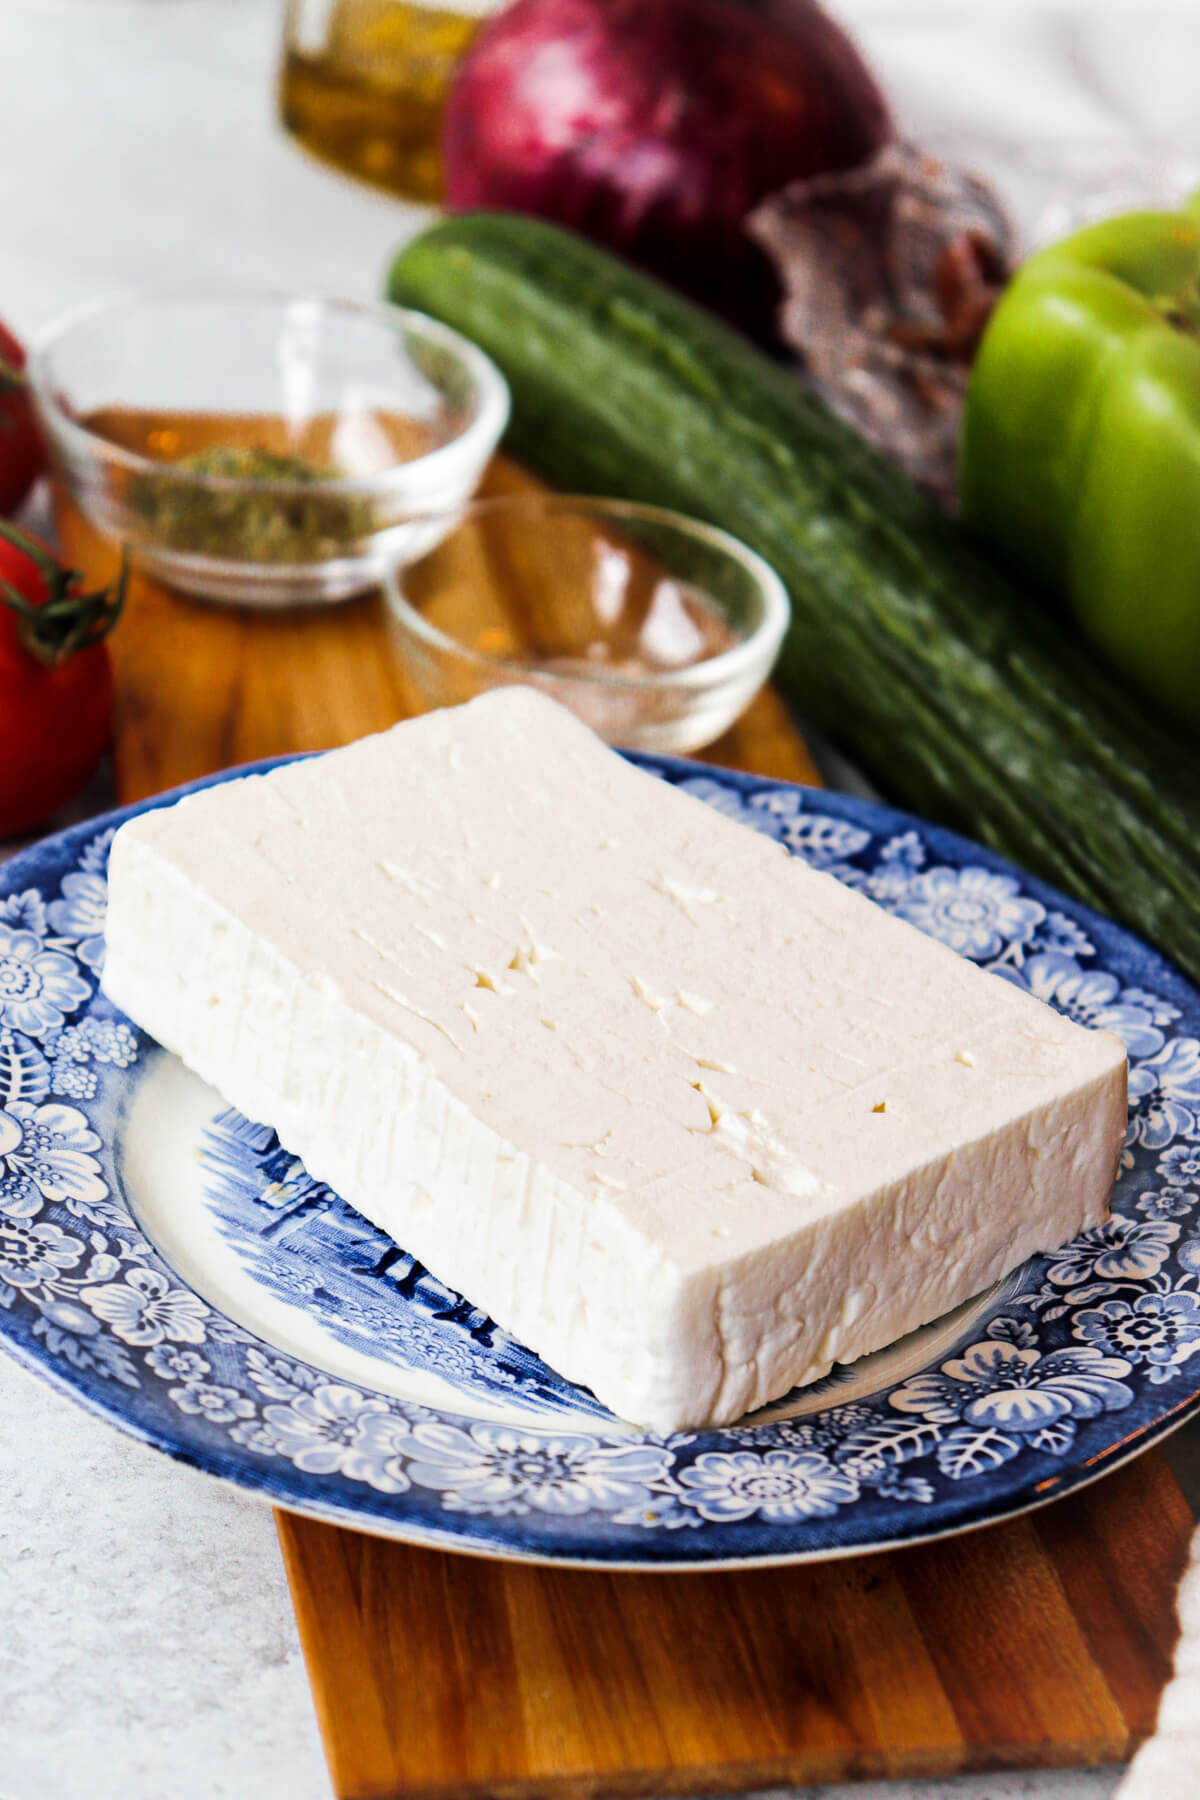
Feta Cheese
The best feta cheese is made from sheep's milk (sometimes goat's milk) and has a tangy and salty flavor. Look for a block of feta cheese that is creamy white with a slightly crumbly texture. Avoid ones that are brownish in color or have a sour smell.
I hope this helps you select the freshest and best quality ingredients for your Greek cucumber salad!
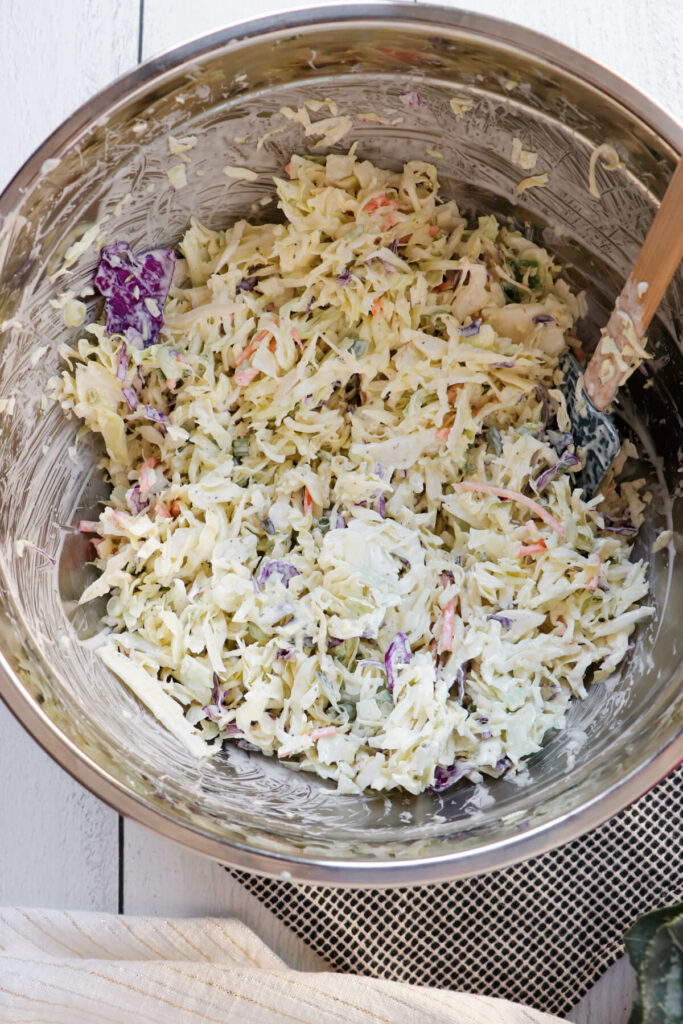
🔪 Instructions
Firstly, let's get everything washed and prepped. Grab a sharp knife and carefully peel and slice your English cucumber into pieces. Cut the tomatoes into bite-sized chunks, and the green bell pepper into thin strips. Once that's done, add it all into a large mixing bowl.
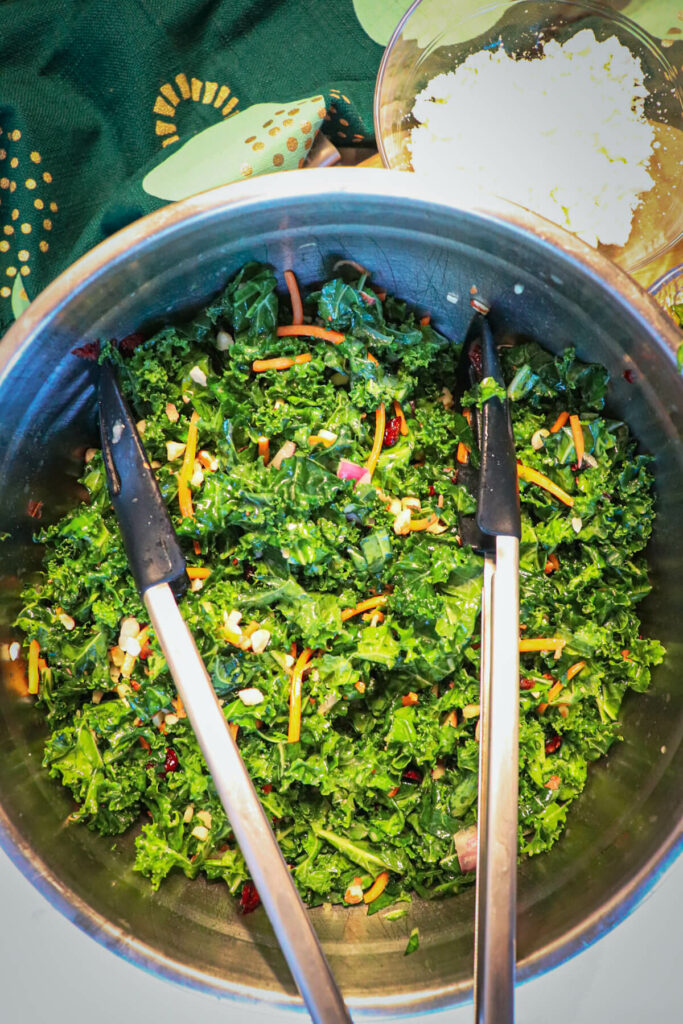
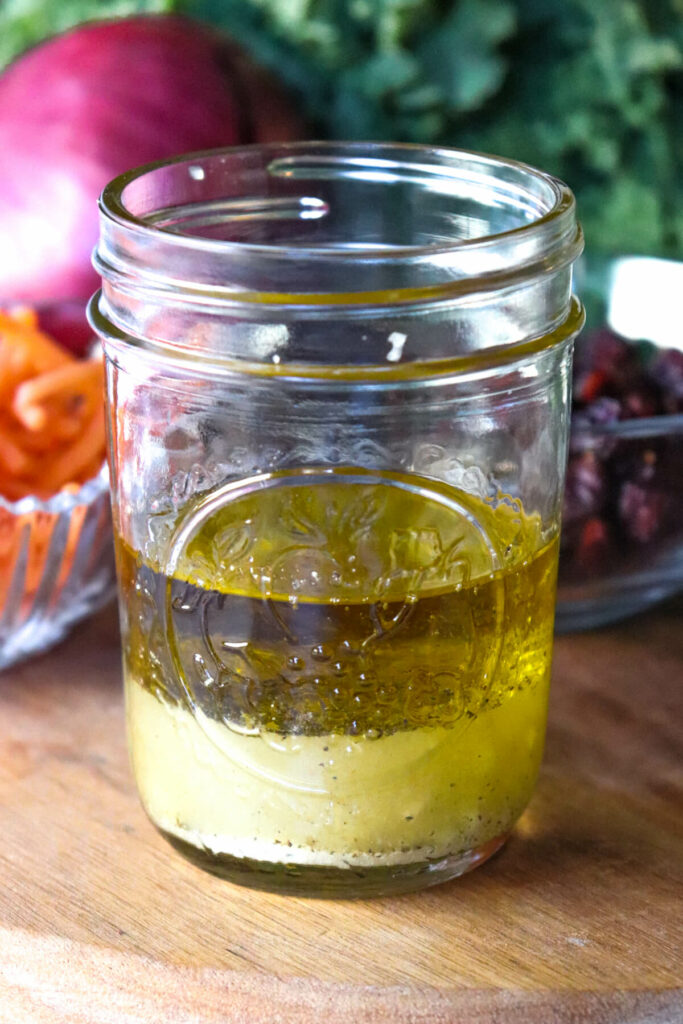
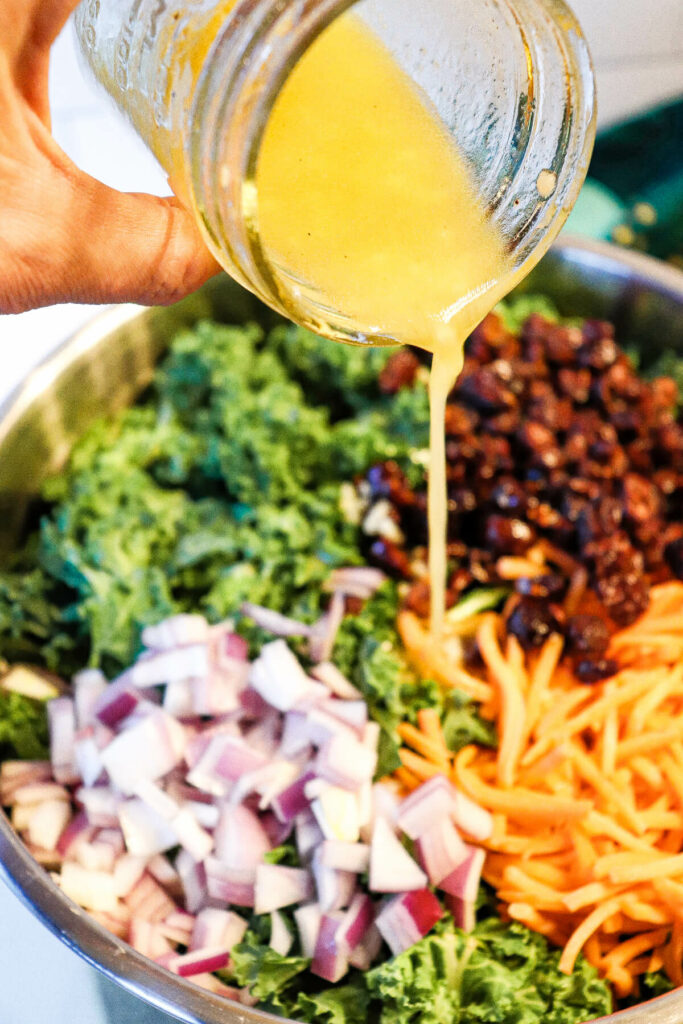
Now, here comes the fun part - let's add some flavor! Pour ¼ cup of good quality extra virgin olive oil over your veggies, and toss everything together until they're well coated. To add a tangy kick to your salad, add 3 tablespoons of red wine vinegar (but this is optional, so you can skip this step if you prefer milder flavors).
To give your salad that classic Greek flavor, sprinkle about ½ of a tablespoon of dried oregano and ½ teaspoon of salt over your salad. Then give everything a good stir to evenly distribute all the flavors.
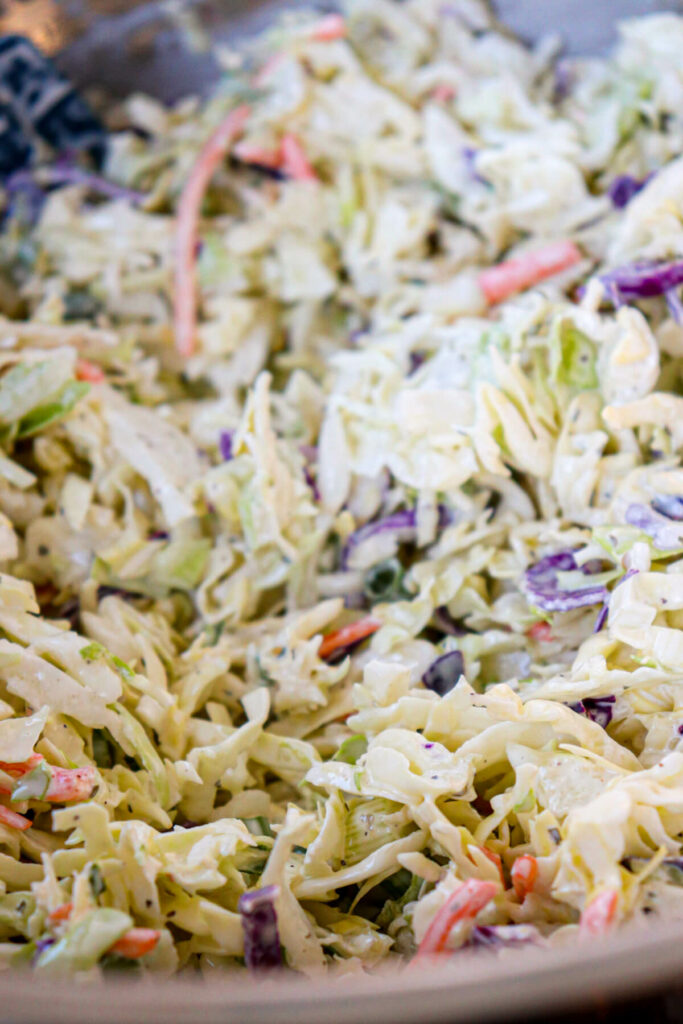
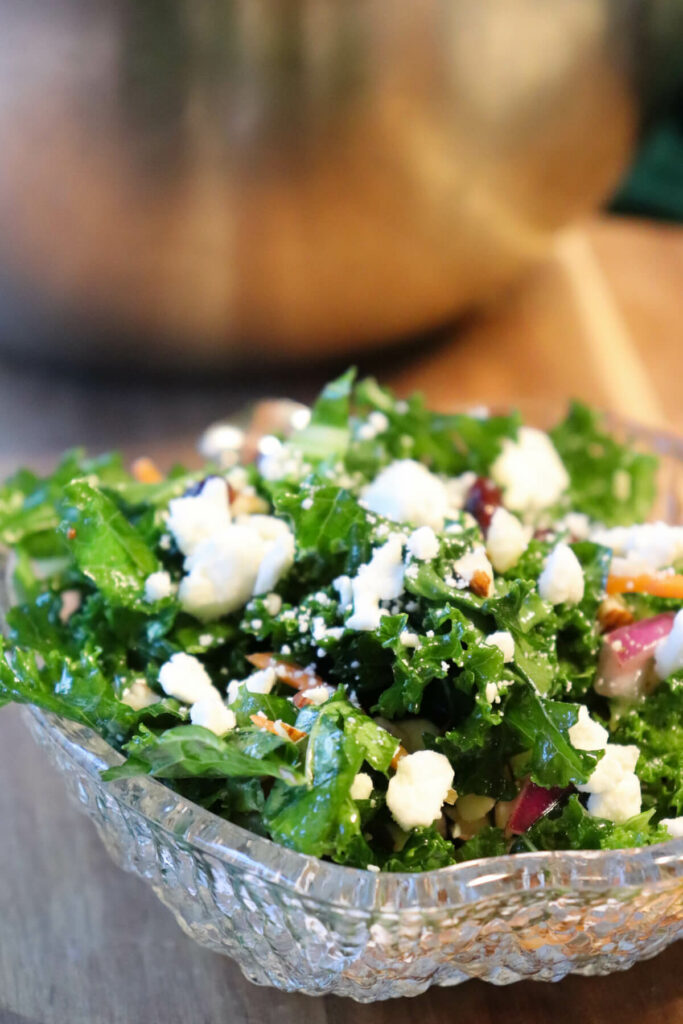
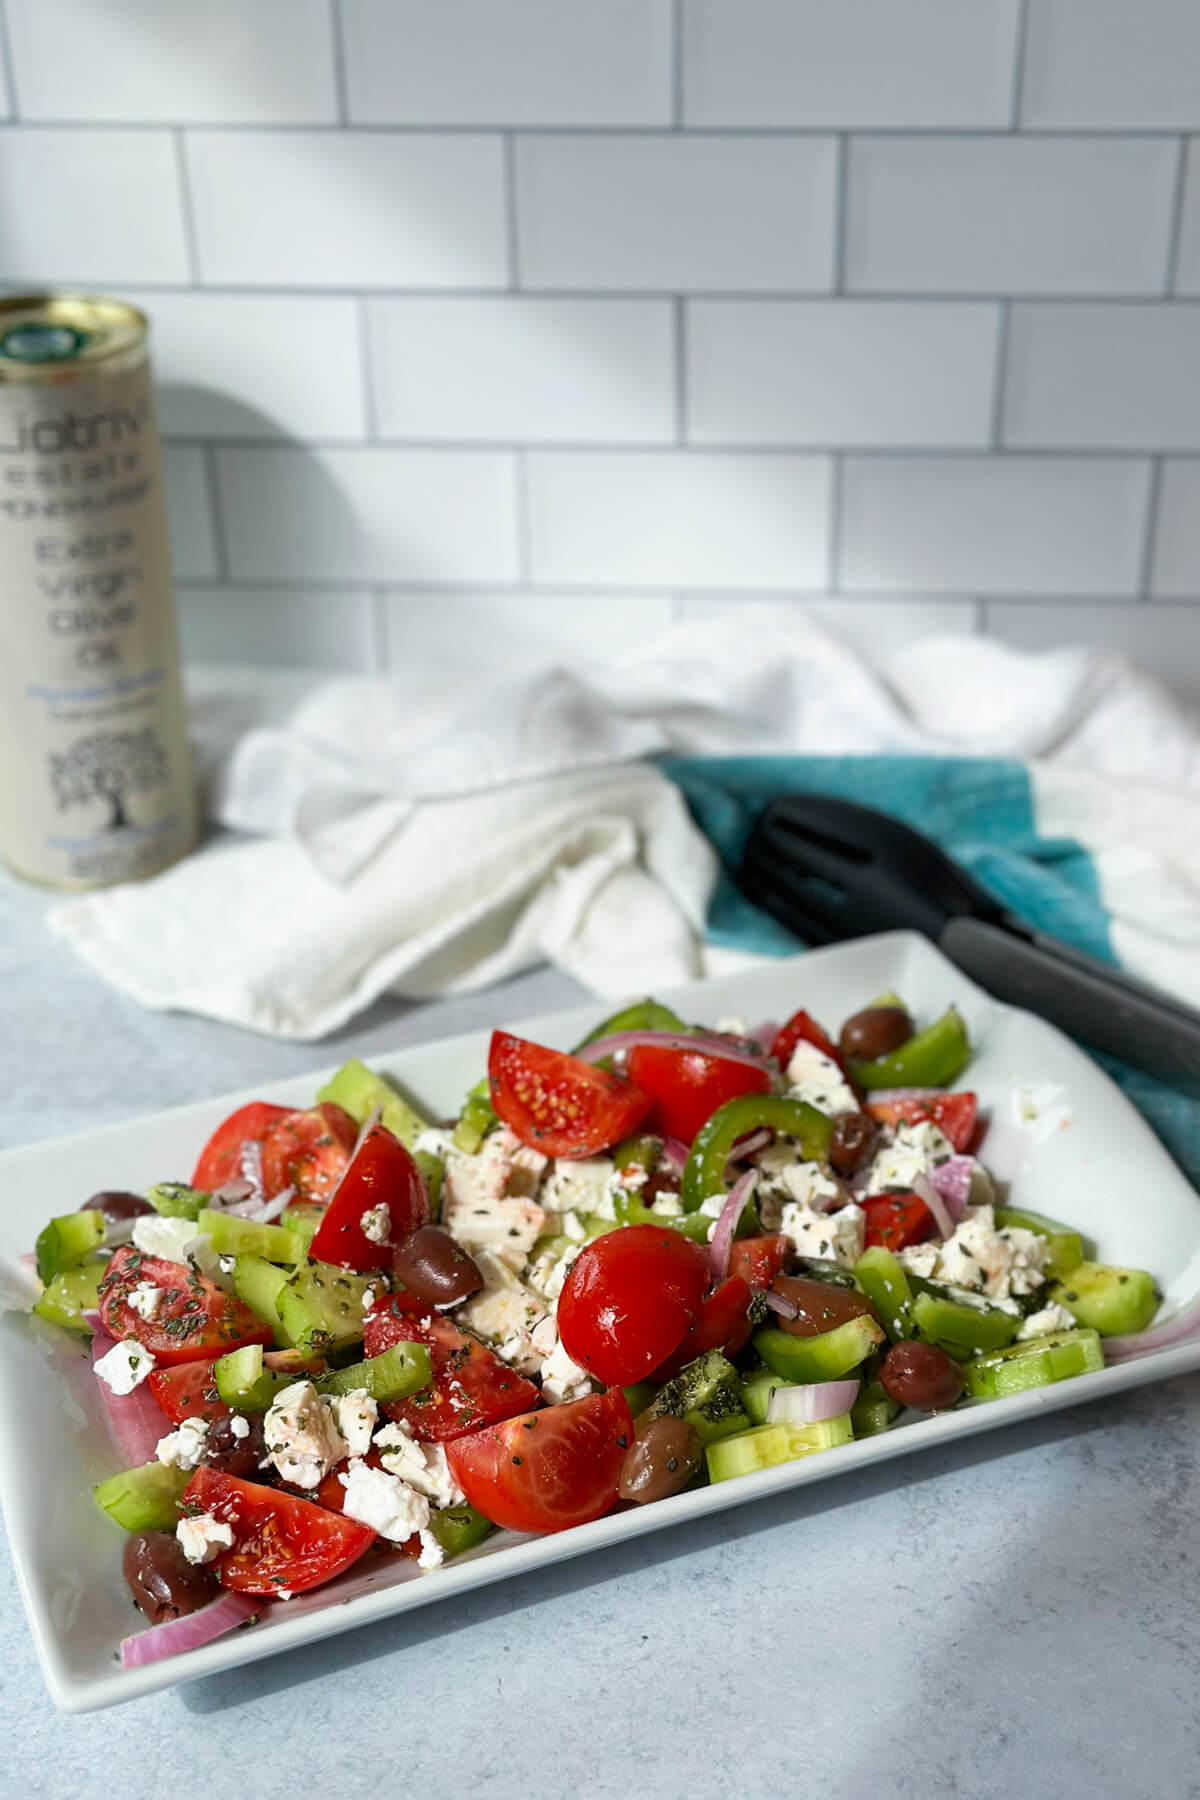
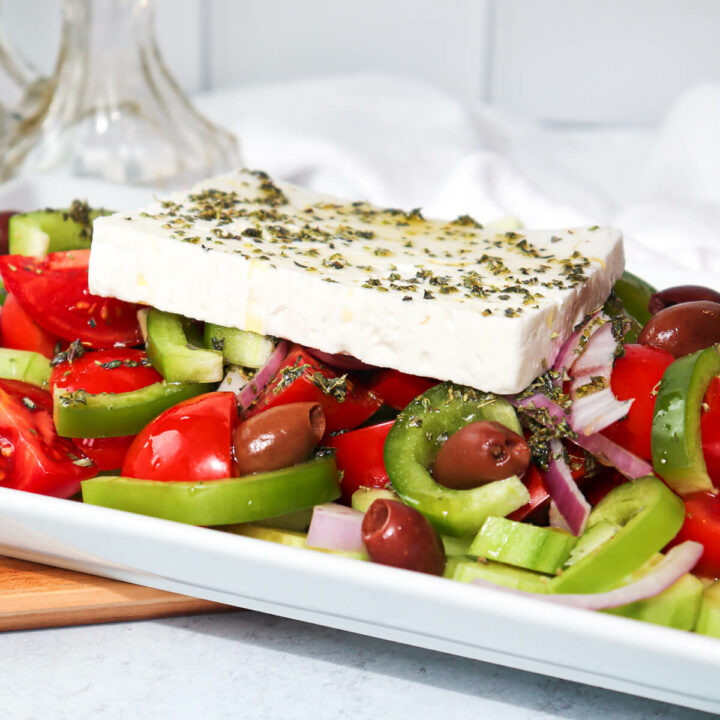
And now, the piece de resistance - feta cheese! Crumble a good sized slice (100 grams) of feta cheese over your salad. Or if you're feeling fancy, serve the salad with a slice of feta on top of the cucumber salad. The feta cheese adds a creamy, salty flavor that pairs perfectly with fresh herbs and the flavorful dressing.
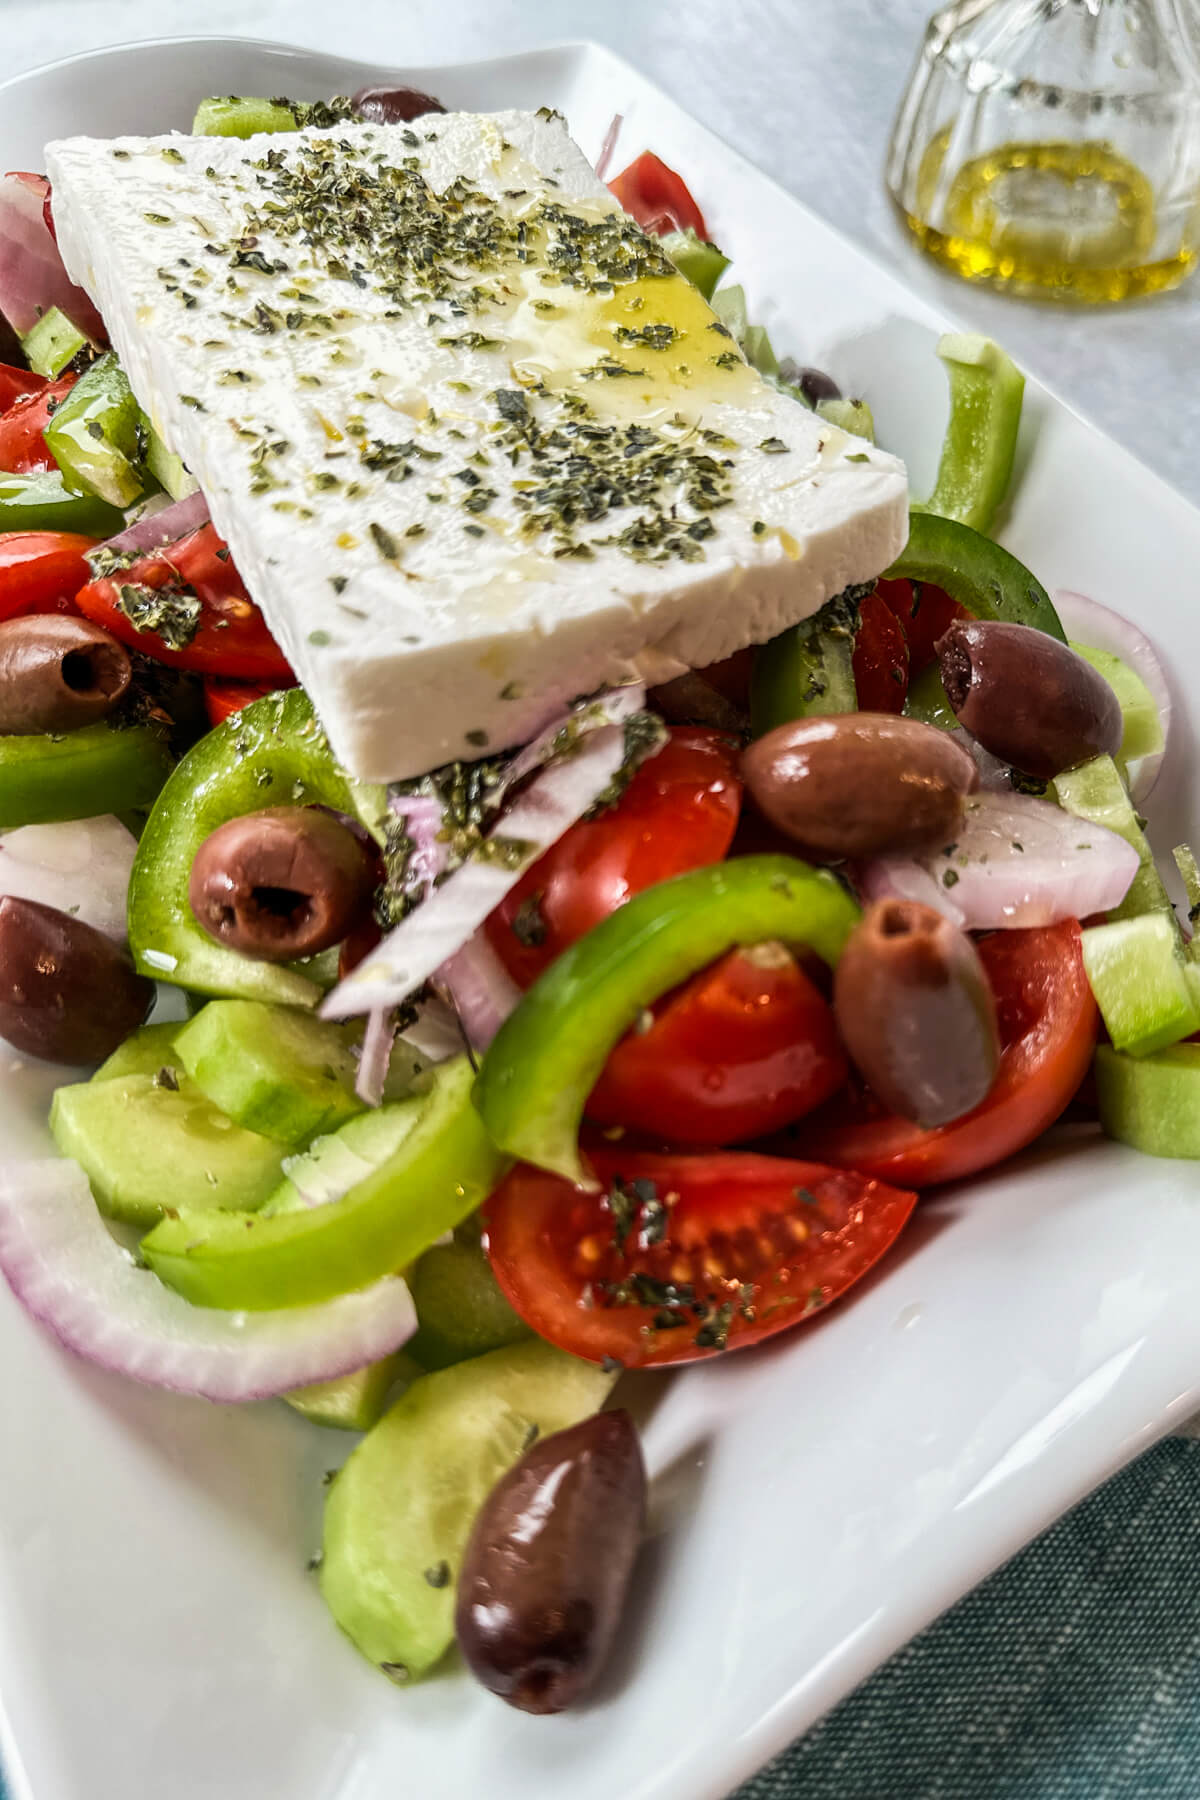
Finally, give your Greek cucumber salad one last toss, and it's ready to serve! You can add an extra drizzle of olive oil and a sprinkle of oregano on top for a little extra pizzazz. And for a fun pop of color, garnish the salad with a sprig of fresh oregano or a few extra olives.
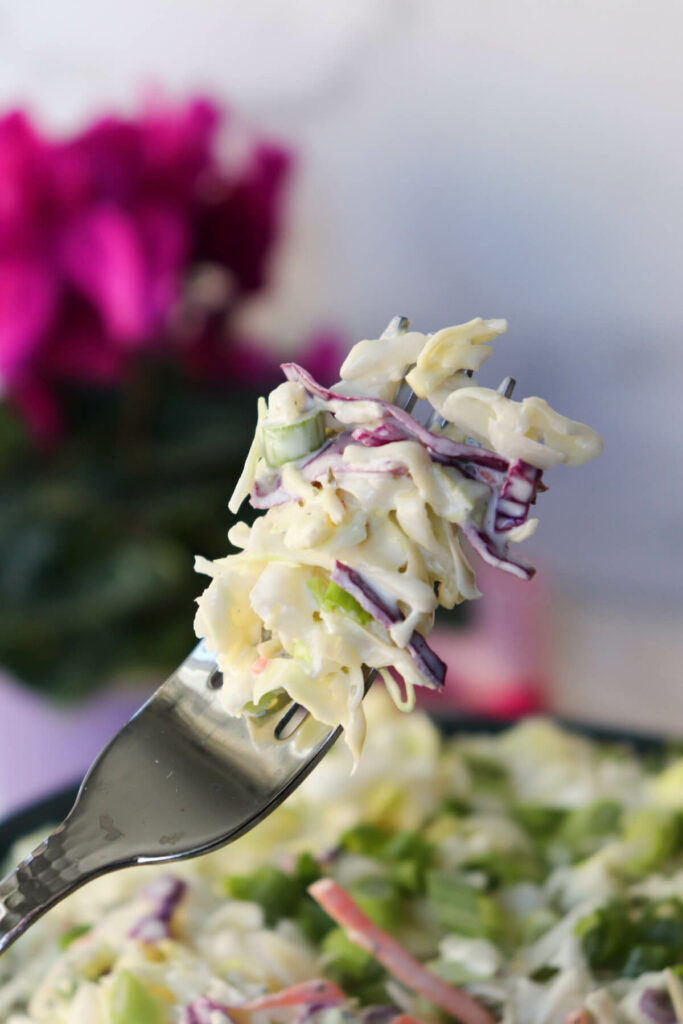
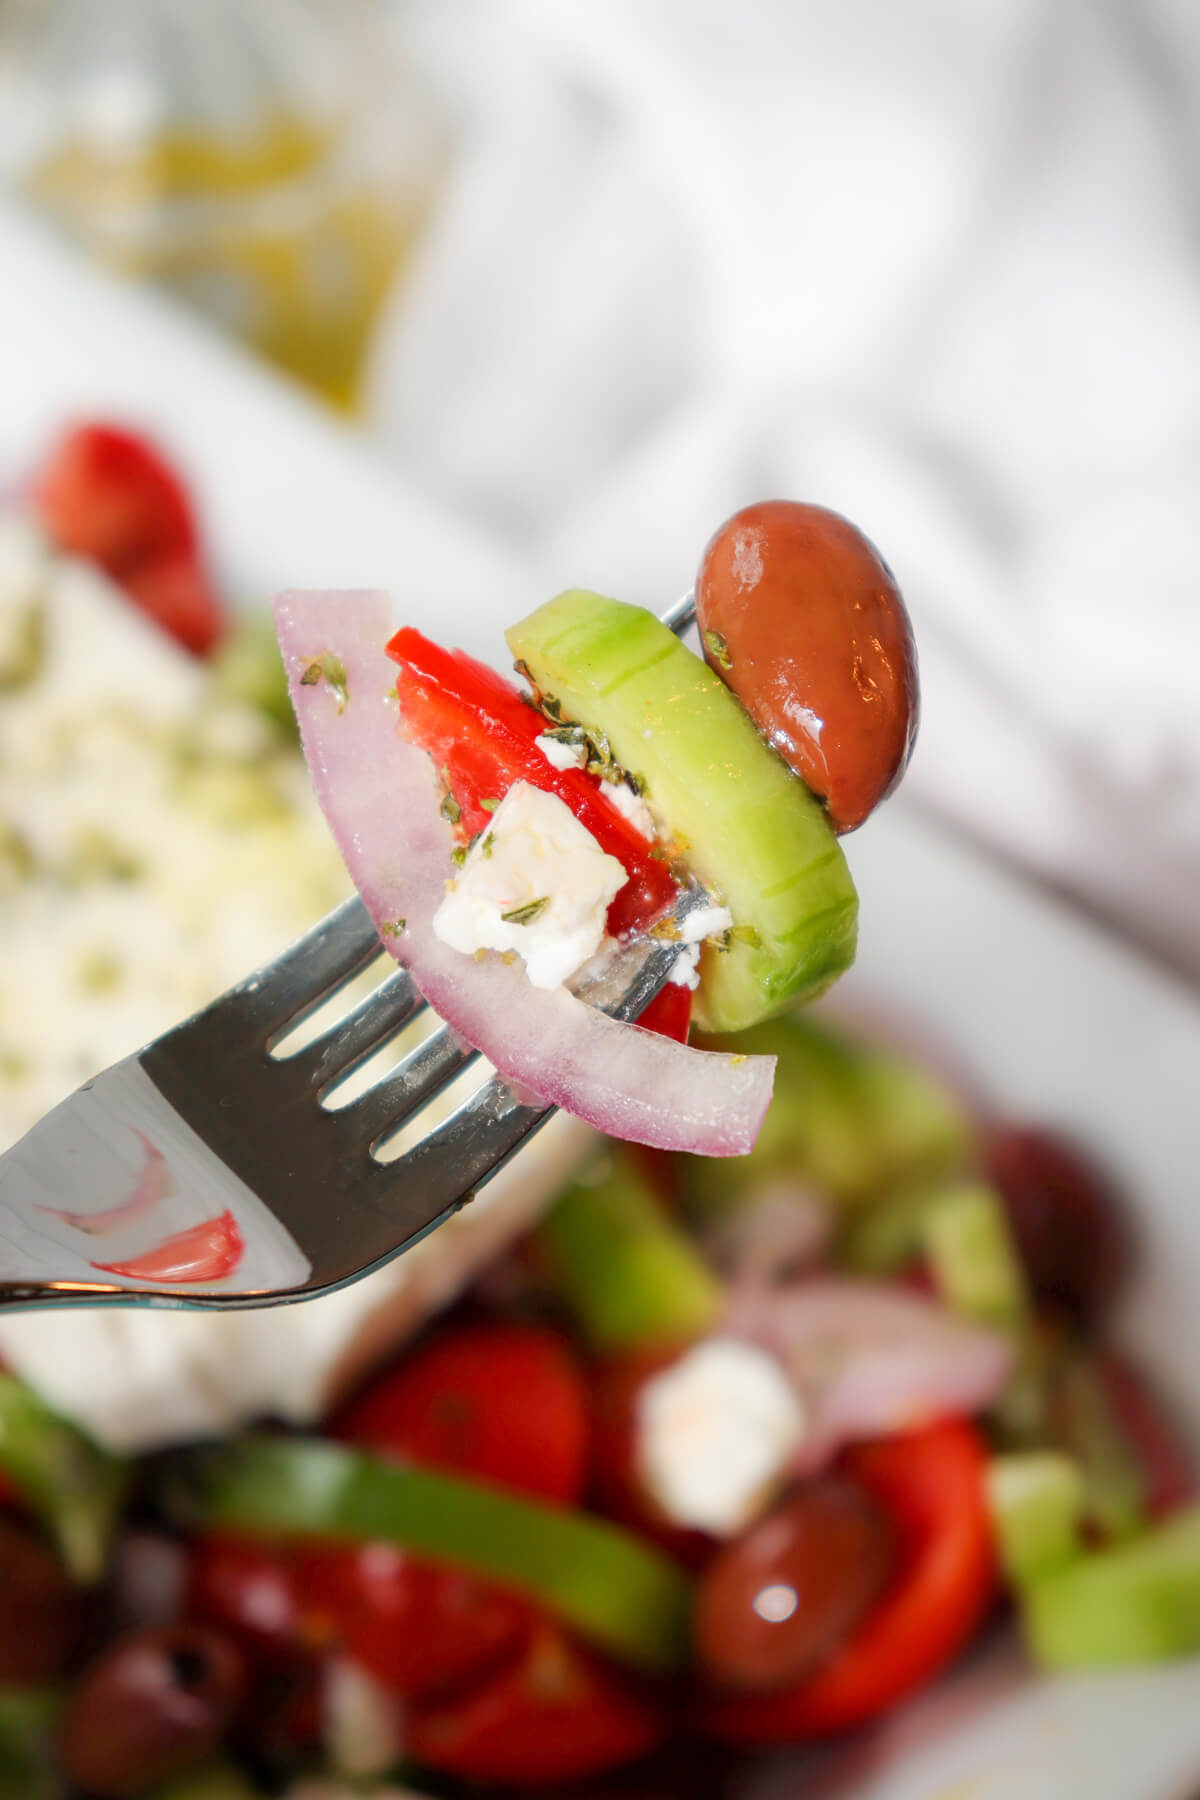
That's it, folks! Enjoy your Greek cucumber and tomato salad, it's healthy and scrumptious at the same time. Happy eating!
💭 Top tip
If you plan to serve your salad later, don't add the olive oil, vinegar, and feta cheese until just before serving. The cucumber and feta cheese tends to become soggy if it sits for too long in the dressing. It's best enjoyed fresh and crunchy! 🥗 Enjoy!! 😋 Bon appetit! 🍴
🥣 How to store Greek cucumber and tomato salad
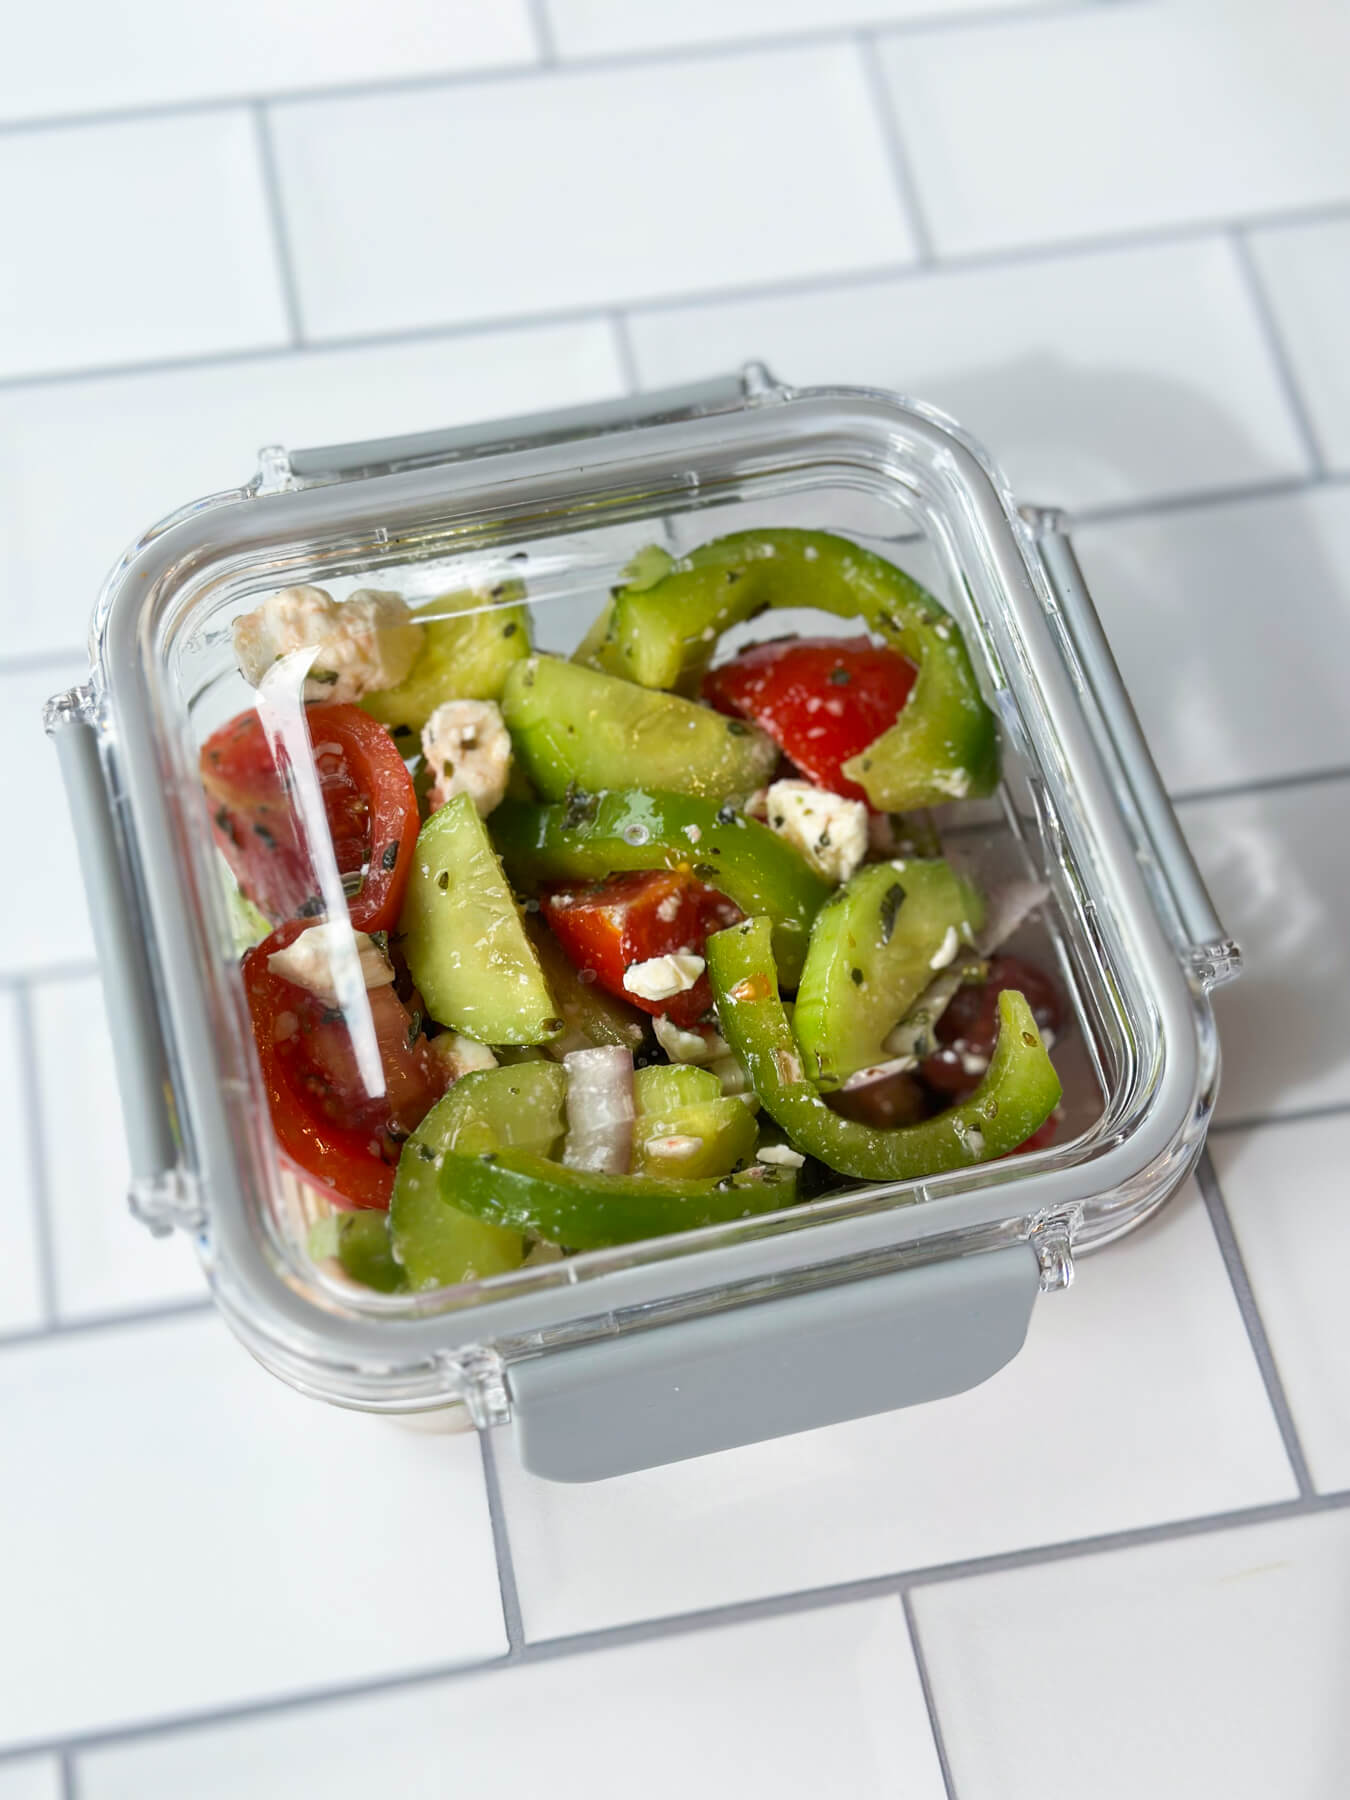
This salad is best served fresh and should be eaten within a couple of hours. If you have any leftover, store it in an airtight container in the fridge for up to 2 days. To serve again, simply mix with a little extra olive oil and feta cheese (if desired) just before serving!
The cucumber will release some liquid during storage, so be sure to drain off any excess liquid before serving. 🥒
Say Opa! to this Delicious Greek Cucumber Salad Recipe
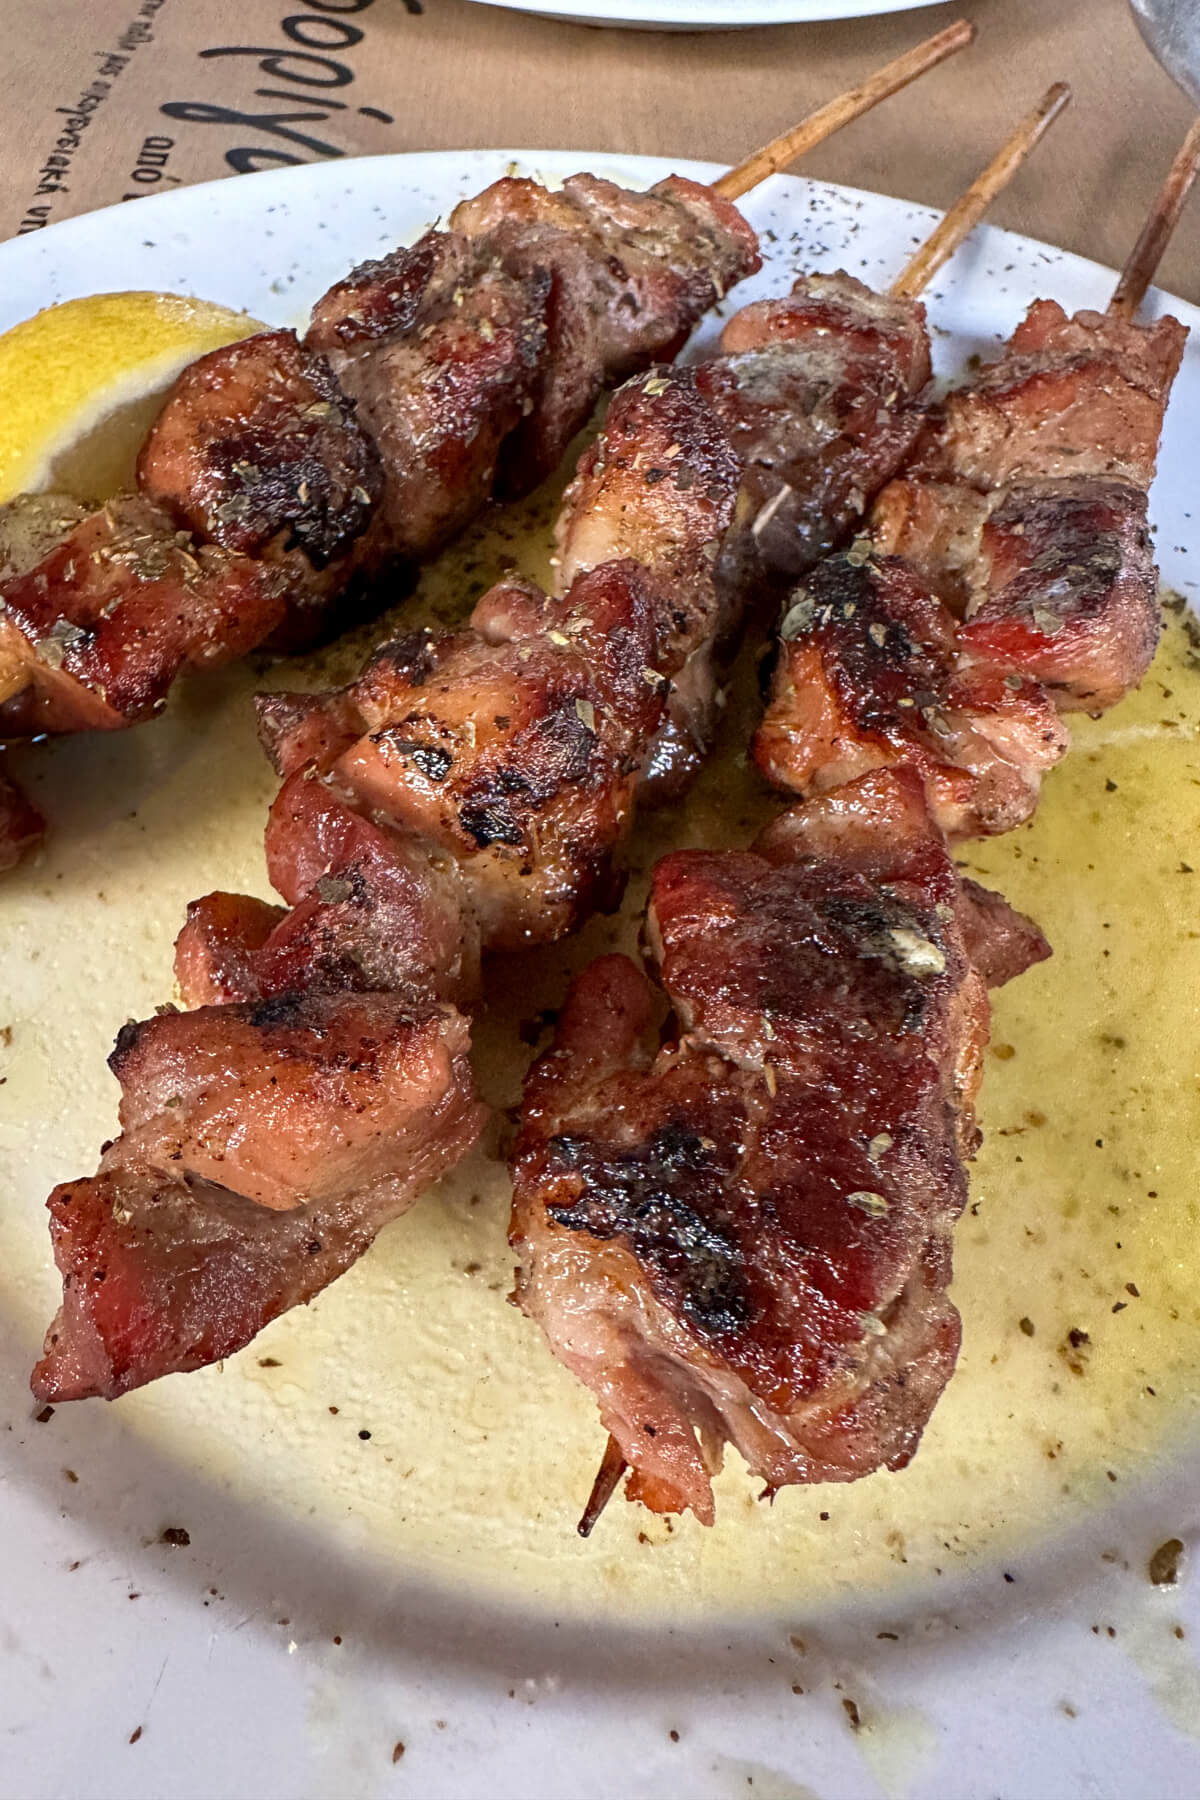
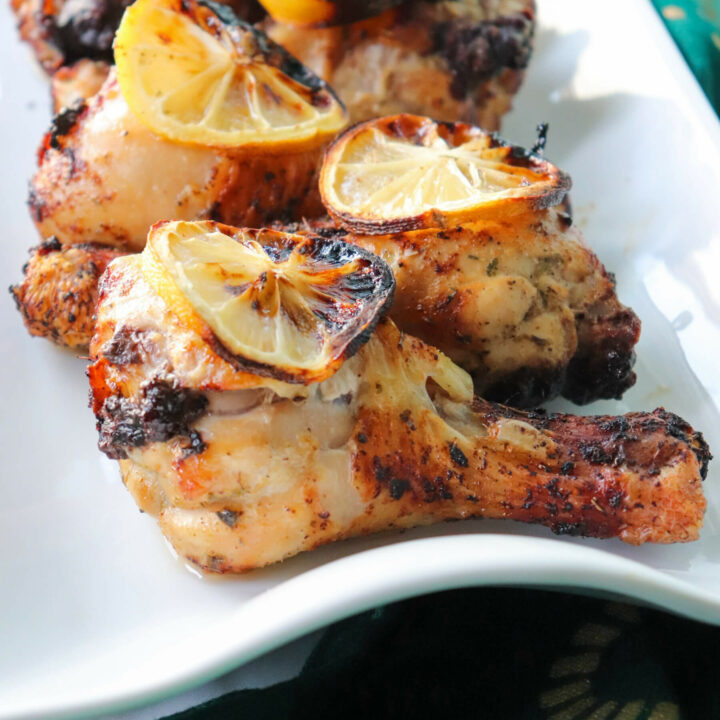
With these tips and tricks, you'll have a delicious Greek cucumber and tomato salad in no time. Sit outside on a beautiful summer day and imagine that Mediterranean breeze - it's the perfect way to enjoy an authentic cucumber Greek salad maybe with some grilled chicken or other grilled meats!
And don't forget - the best salads always start with the freshest ingredients. This is key! So make sure to pick the best quality produce for the best results.
Happy eating! 🥗🍴 Buon appetito! 🇬🇷 🍅 🥒 🧀 ✨
👉 Are you traveling to Greece any time soon and need help planning? Check out these useful links:
- Cheap Flights: Score great deals on airfare.
- Accommodation Savings: Find affordable stays from hostels to luxury hotels.
- Budget Car Rentals: Get great rates on car rentals.
- Travel Adapter: All-in-one adapter for hassle-free charging.
This post contains affiliate links for your convenience. Click here to read my full disclosure policy.
Ready to plan your perfect trip? Let's do it! 🌍✈️
📋 More low carb recipes
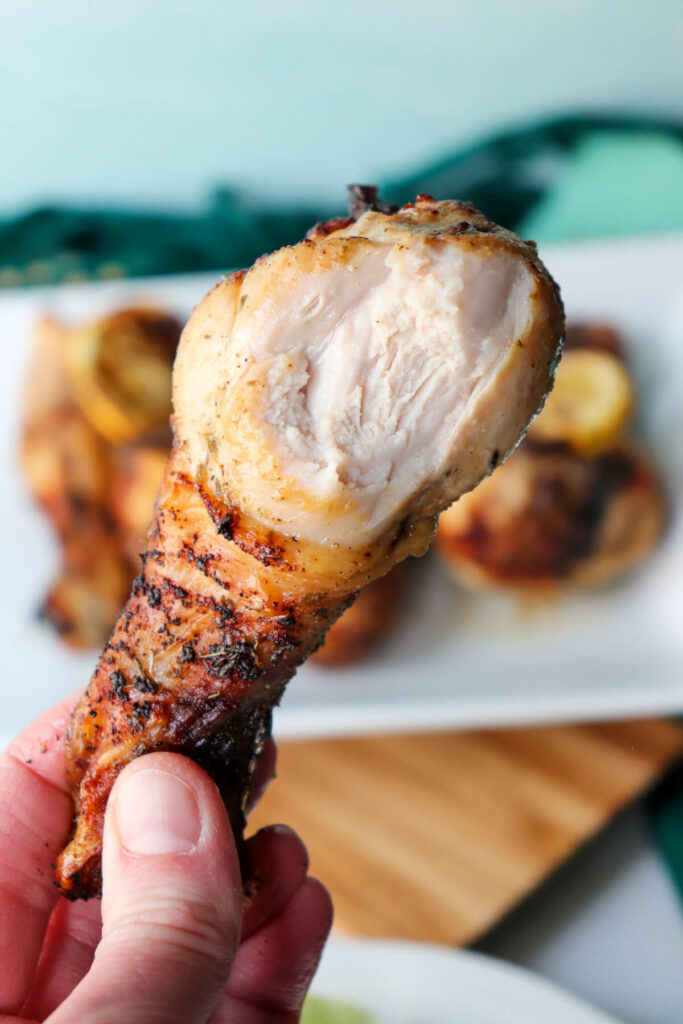
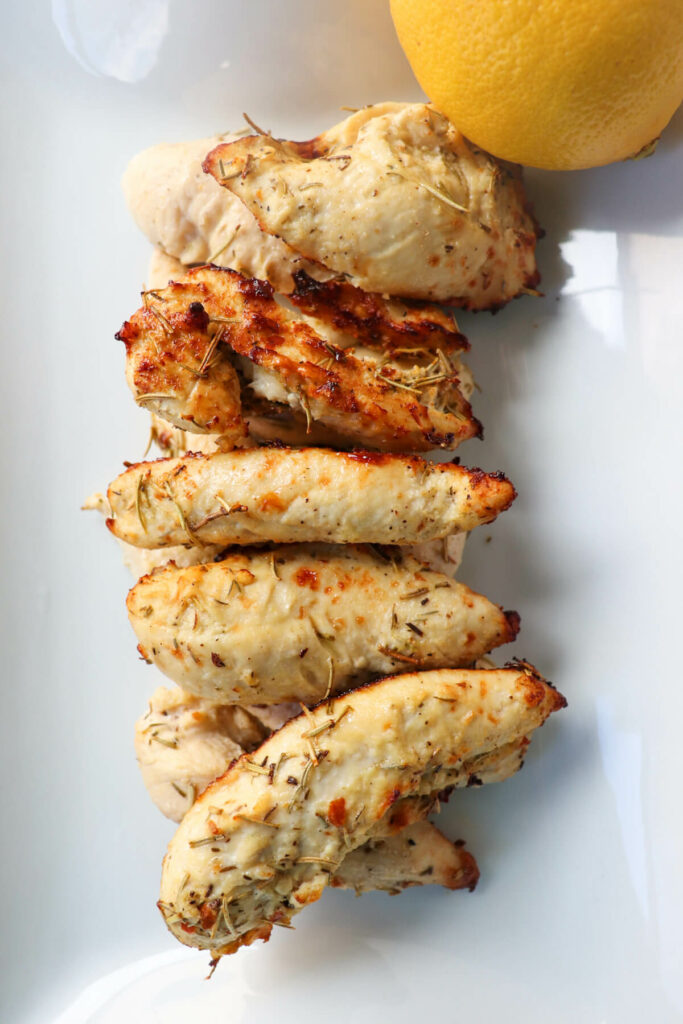
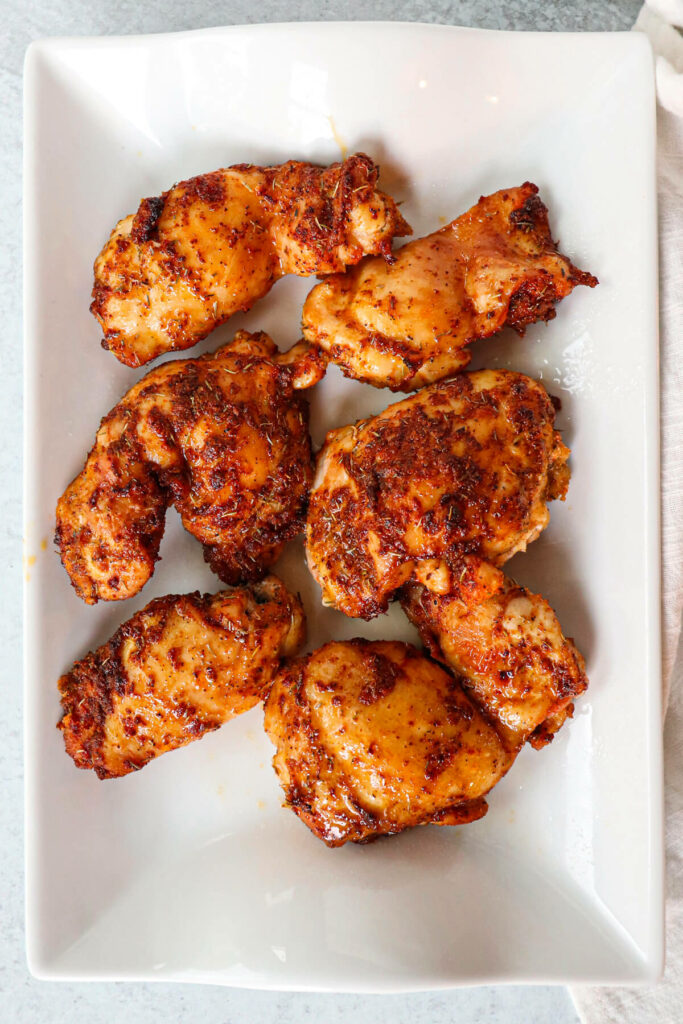
- Keto Air Fryer Chicken Tenders {Greek style!}
- Sugar Free Popsicles: Keto Strawberry Lemonade
- Creamy Low Carb Keto Fruit Dip
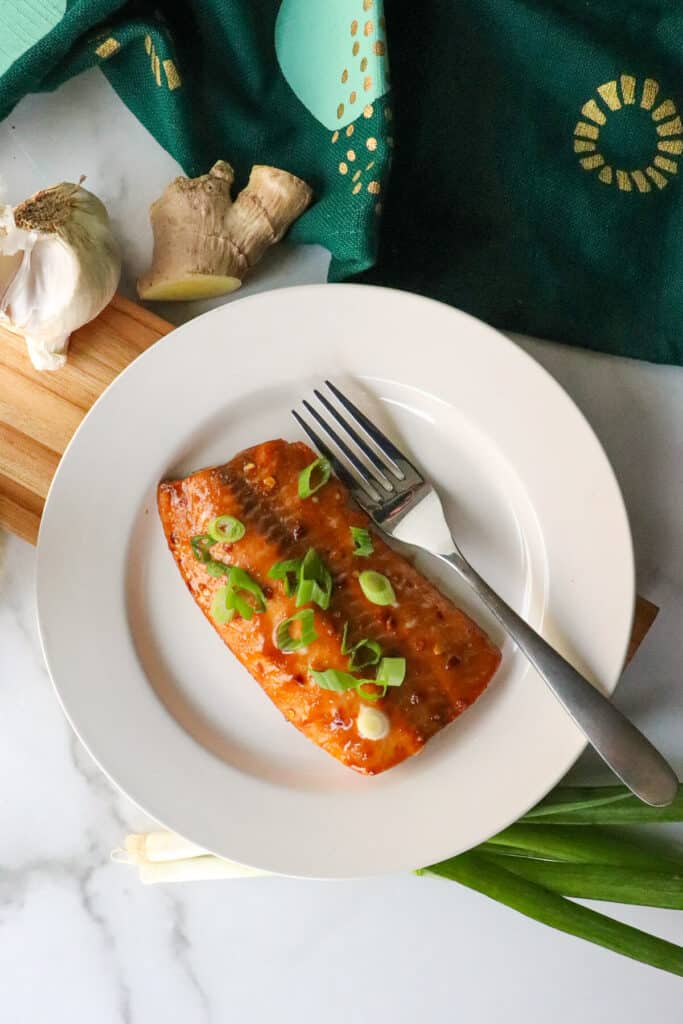
- Air Fryer Teriyaki Salmon
- Curry Keto Chicken Salad Recipe
🇬🇷 Read more about my travel to Greece!
One Day in Athens Itinerary: What to do in 24 hours
Hiking Greece: Discover the Menalon Trail

📌 Pin the keto recipe here:
🖨 Printable recipe card
📖 Recipe
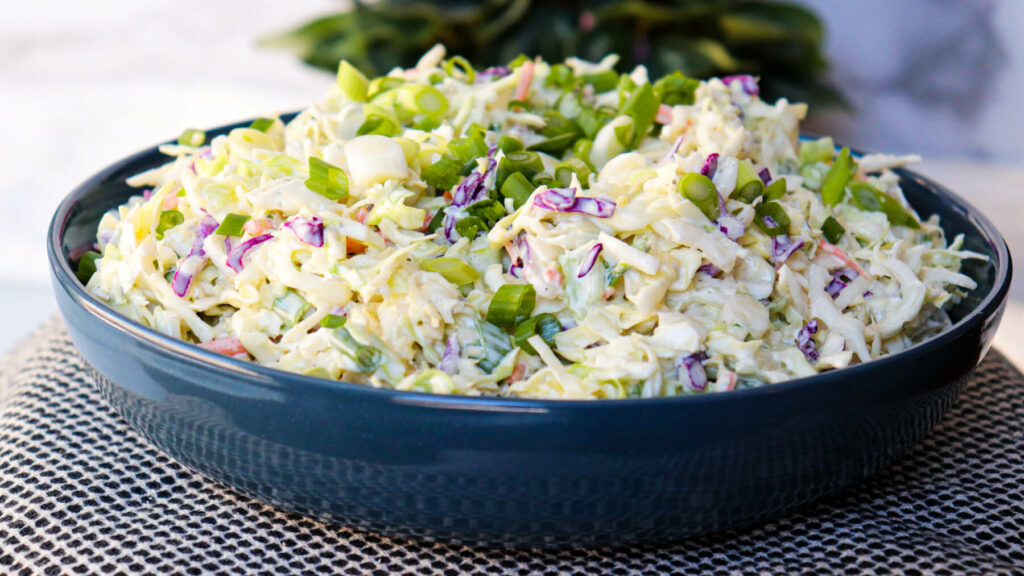
Greek Cucumber Salad Recipe (Keto & Low Carb)
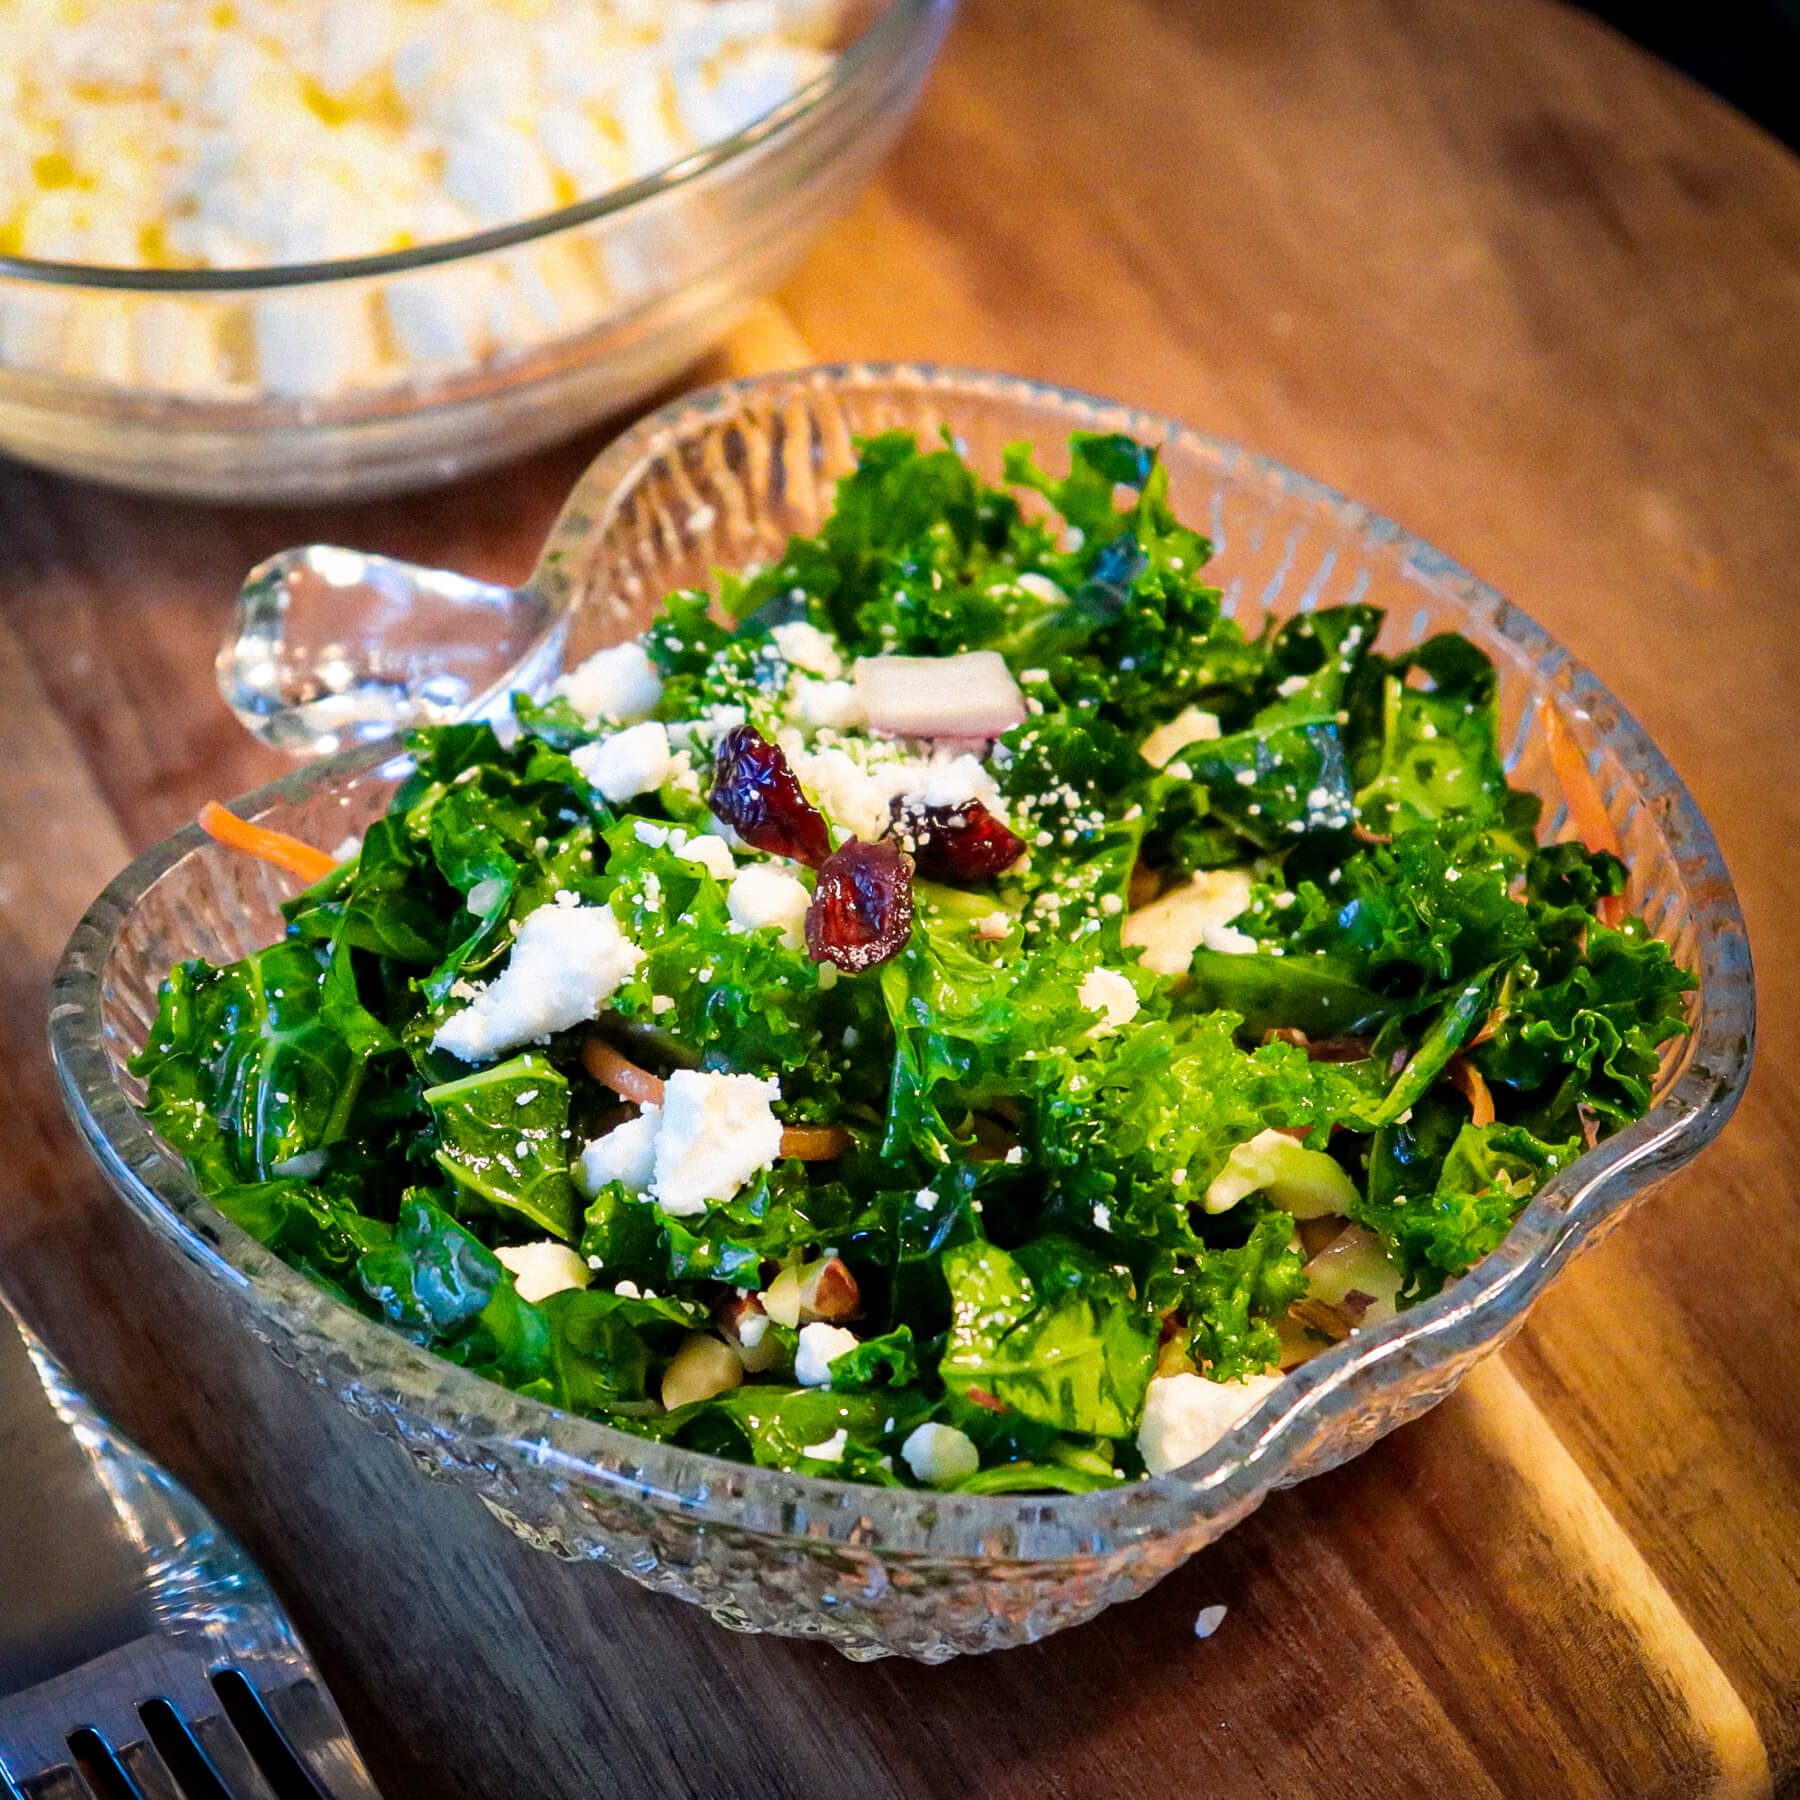
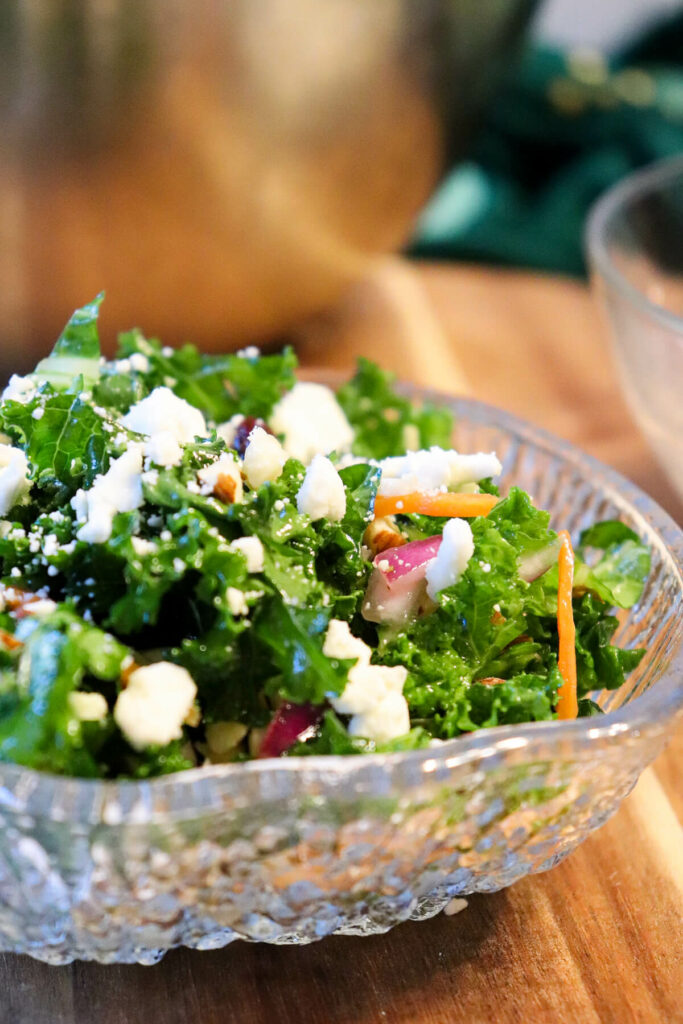
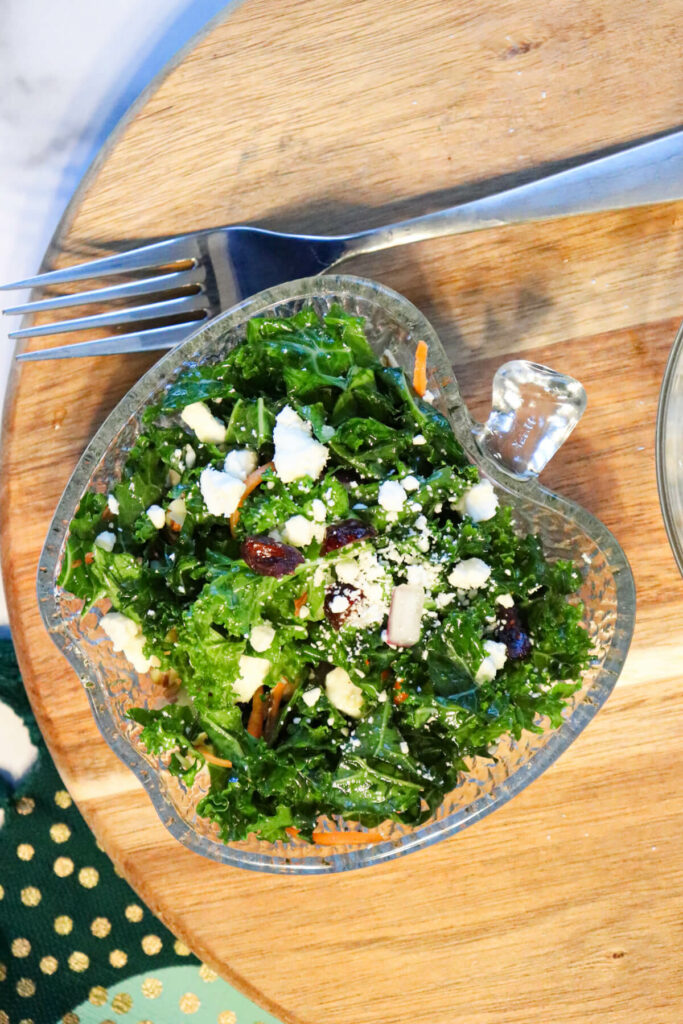
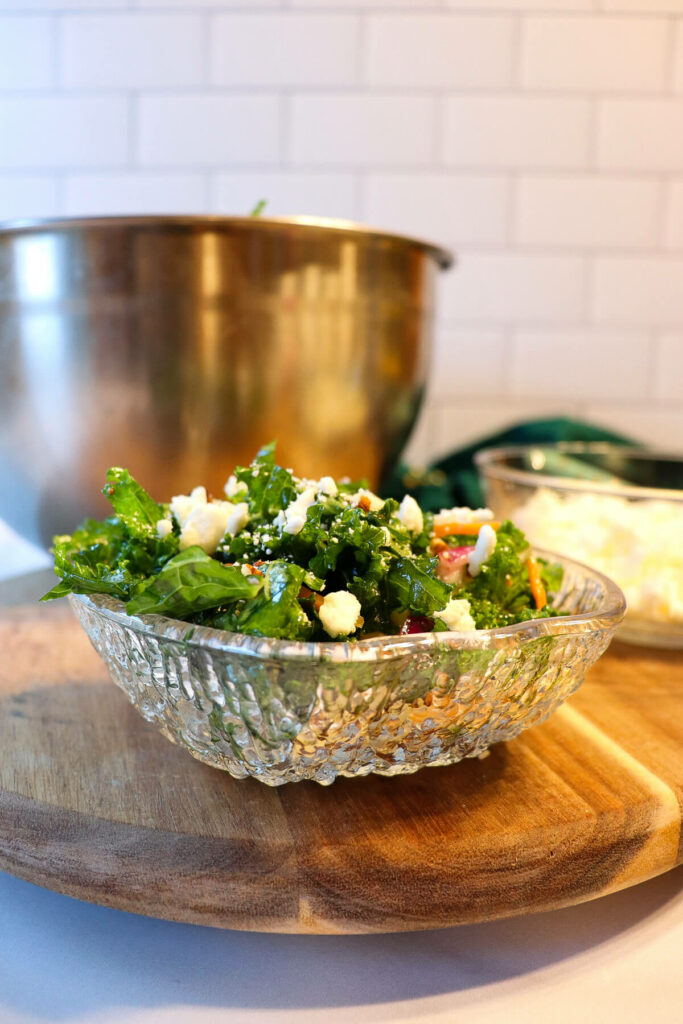
Fresh Greek Cucumber Salad bursts with flavors from juicy tomatoes, good olive oil, oregano, and tangy feta cheese, a perfect summer side dish for any meal. It will take you to an olive farm in the Greek Peloponnese!
Ingredients
- 1 English cucumber, peeled and sliced (if small, use 2)
- 2 cups tomatoes
- ½ cup Kalamata olives
- 1 small green bell pepper
- ¼ cup good quality extra virgin olive oil
- 3 tablespoons red wine vinegar (optional)
- ½ tablespoon dried oregano (good quality)
- ½ teaspoon salt (more or less to taste as the olives and feta are salty)
- 100 grams feta cheese (a good sized slice)
Instructions
- Begin by washing and preparing your ingredients. Make sure to peel and slice your English cucumber, and cut your tomatoes into bite-sized pieces. Slice your green bell pepper into thin strips, and set aside.
- In a large mixing bowl, combine your sliced cucumber, tomatoes, Kalamata olives, and green bell pepper. (or see note below)
- Pour ¼ cup of good quality extra virgin olive oil over your vegetables, and toss everything together until well-coated.
- Add 3 tablespoons of red wine vinegar (optional) to your bowl. This will give your salad a tangy kick, but if you'd prefer a milder flavor, feel free to skip this step.
- Sprinkle about ½ of a tablespoon of dried oregano and ½ teaspoon of salt (or more or less to taste) over your salad, and stir everything together until the seasonings are evenly distributed.
- Finally, crumble a good sized slice (100 grams) of feta cheese over your salad. Or as they do in Greece, serve the salad with a slice of feta on top of the cucumber salad. The feta cheese adds a creamy, salty flavor that pairs perfectly with the tangy dressing.
- Give your Greek cucumber salad a final toss, and serve it immediately with an extra drizzle of olive oil and a sprinkling of more oregano. You can garnish your salad with a sprig of fresh oregano or a few extra olives for a pop of color.
Notes
Note: In Greece, many restaurants and families will just layer the ingredients, drizzle with olive oil and oregano, and top with a slice of good feta. Feel free to do this if you have a really good quality flavorful olive oil or want to simplify.
Enjoy your refreshing Greek cucumber salad as a side dish or a light lunch. It's perfect for hot summer days and pairs beautifully with grilled meats or fish. You can also store any leftovers in an airtight container in the fridge for up to 2-3 days.
Nutrition Information:
Yield: 6 Serving Size: ⅙ of recipeAmount Per Serving: Calories: 221Total Fat: 21gCarbohydrates: 3gNet Carbohydrates: 2gFiber: 1gProtein: 4g
*Nutrition Facts per MyFitnessPal dot com. For the most accurate facts, calculate your own with the exact ingredients you use in the recipe. **Also, the portion size, ⅙ of the recipe, is pretty large. If you eat it as a side, you may need to adjust the nutritional facts for your portion.
Tag me in your recipe pics on Instagram @explorermomma.
If you LOVE Greek cuisine and this recipe please consider giving it a five-star rating in the review area below!
Nutrition Disclaimer
Please be aware I am not a medical specialist or nutritional professional. On this blog, I share recipes and what works for me. Please do not take anything on this blog as medical advice and always consult with your doctor before starting any diet or exercise program.
I use MyFitnessPal dot com to calculate nutrition facts as a courtesy to my readers, and I remove erythritol from the final carb count and net carb count because does not affect my own blood glucose levels.
This is as accurate as possible, but it's best to independently calculate nutritional data on your own with the specific ingredients you use. I expressly disclaim any and all liability of any kind with respect to any act or omission wholly or in part in reliance on anything contained in this website.